Wednesday, June 8, 2022

Stencils Aren't Just for Cards

 Lately I have been on a fake plant kick. I just can't get enough fake plants. They are like cats for me. I brought one home and now I can't stop. LOL
Anyway, I was looking for some really cute pots to put them in and they were kind of expensive. So I decided to make my own using the new stencils from Tim Holtz and Stampers Anonymous. ?Here is a quick photo tutorial for making these very quick decorative pots.
 Start with some Idea-ology Collage Paper. This can be any paper you have. I just grabbed Botanical because it was close at hand. Then get the Distress Transluscent Texture Paste and while you are at it, get some Distress Embossing Glazes ready too. Choose a few stencils I used the three new stencils from Tim and Stampers for these projects in large and mini.
 
Put a thin layer of the Translucent Texture Paste through the stencil and sprinkle it with Distress Embossing Glaze immedialey after. Then let it dry naturally. Now you can use one color as I did here, or you can mix colors as I did on the smaller pots. For those I used Speckled Egg, Villainous Potion, Peeled Paint and Hickory Smoke. Once the texture paste is completely dry, you can heat emboss it and make it turn a cool glossy color that shows the text of the Collage Paper through it.
Put a layer of Picket Fence Distress Paint on the pots you are going to decorate. Let it dry.
You need to trim the embossed Collage Paper into strips as wide as the lip of the pots. Then apply it to the lip with Distress Collage Medium. It should look a little like tile work on the lip of the pot.
I loved how it looked when I was finished, but I wanted it to feel a little less shiny, so I added a watered down coat of Picket Fence Distress Paint to the pots and gently wiped it off the embossed areas so the color, texture and print showed through but it was a tiny bit muted.
To finish them off, I added some floral foam in each pot, covered it with moss and and added a fake plant or succulent. I have these on my bookshelves tucked in with  books and bits of my art work.


I am loving the new plants and how they add a bit of fresh, greenery to my home without all the work and without being a hazard to my cats.


 So now my new plant collection is on par with my cat collection. 😁


I do hope this tutorial sparked some ideas for using stencils, texture pastes and Distress Embossing Glazes for more than papercrafts.

Thanks you so much for stopping by. I truly appreciate your support!

Have a crafty day!

Tami

I am an affiliate with Simon Says Stamp and Scrapbook.com so the links below send you to one of those stores depending on which logo you choose.  If you wish to purchase something from either store and use one of my links below, I get a small percentage of your order, at no additional cost to youThis helps me to defray the costs of this blog, the time, the ideas and tutorials I post here. 

Your help is greatly appreciated! Thank you!
Wednesday, June 1, 2022

Be Fearless - Stampers Anonymous

 I'm sure if you are here that you have already heard the exciting news! New stamps and stencils from Tim Holtz and Stampers Anonymous are available for pre-order now! Click one of the links below to get yours today.
 

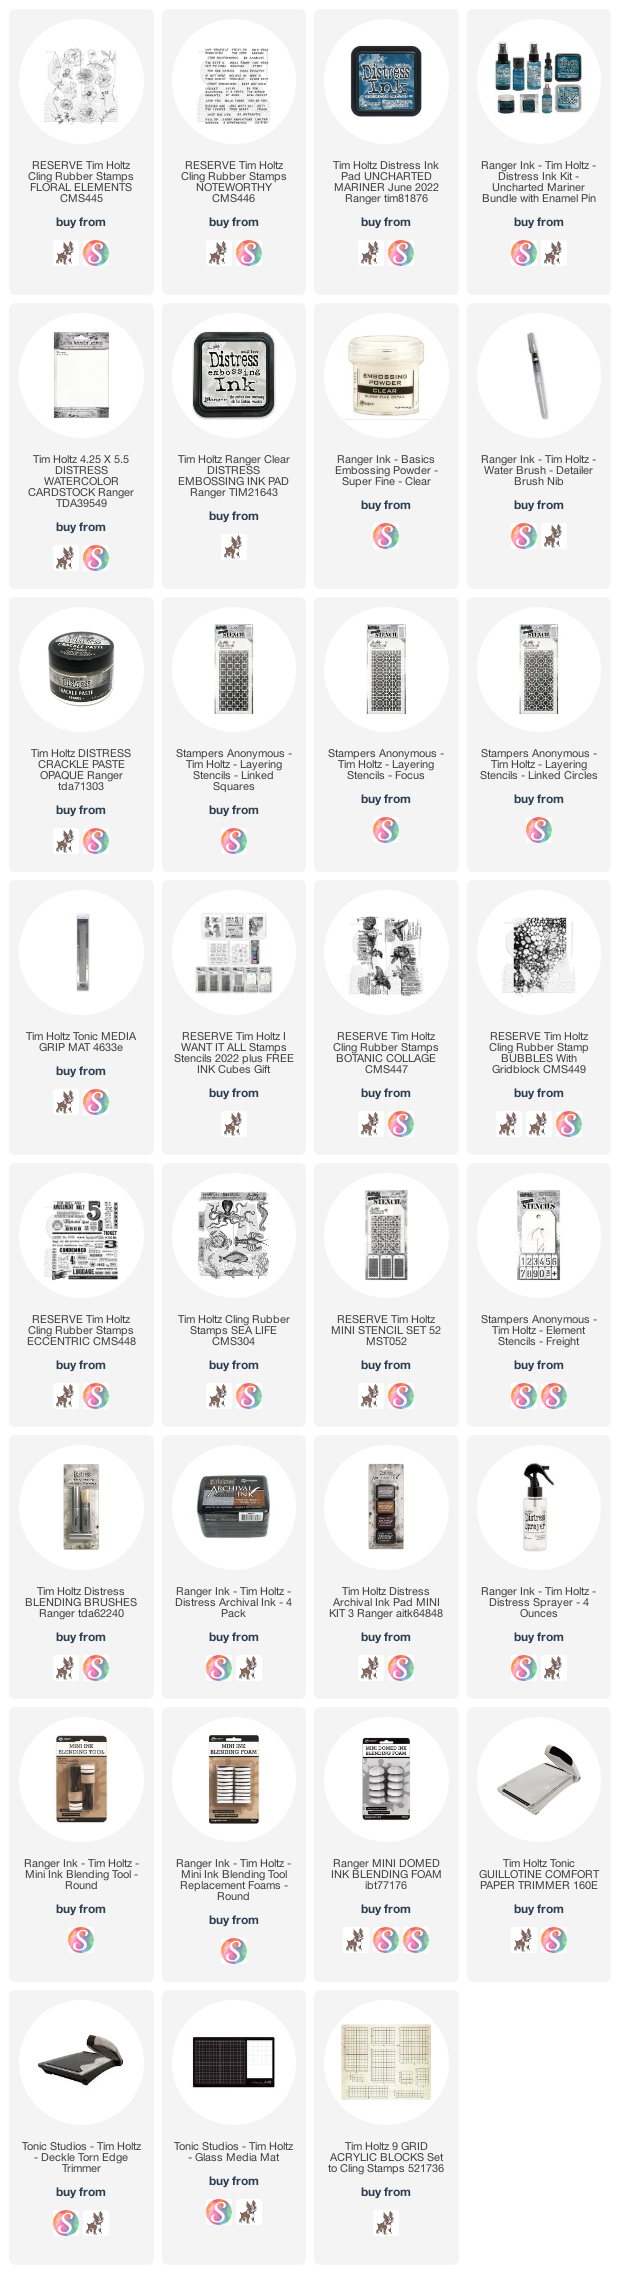
To make this card I stamped the smaller butterfly and text stamp from the Botanic Collage CMS447 set in Distress Clear Embossing Ink on Distress Water Color Cardstock twice, then covered it in clear embossing powder. I used a blending tool to color the paper, sprayed it with water and let it dry naturally. 

Once it was dry, I covered it with a scrap piece of paper and ironed the clear embossing off of the watercolor paper. I cut one of the butterflies out and then trimmed the other with a Deckle Trimmer.


Sew around the outside edge of the stamp. Add a foam dot or piece of chipboard behind the cut butterfly and attach it over the trimmed stamped piece so it has some dimension.

To make the background, apply Salvaged Patina, Salt Water Taffy, and Squeezed Lemonade to the Bubbles CMS449 stamp. Spray it with water before stamping it onto Distress Watercolor Cardstock. Trim it with a Deckle Trimmer and attach to a while card base. Be sure to sew around the edge if desired.

Stamp a sentiment on one of the scrap pieces  using the Noteworthy, CMS446 set. swe it along the bottom right edge.

There you go. It's a quick, simple card to make using the beautiful new stamps from Tim Holtz and Stampers Anonymous!

Thanks you so much for stopping by. I truly appreciate your support!

Have a crafty day!

Tami

I am an affiliate with Simon Says Stamp and Scrapbook.com so the links below send you to one of those stores depending on which logo you choose.  If you wish to purchase something from either store and use one of my links below, I get a small percentage of your order, at no additional cost to youThis helps me to defray the costs of this blog, the time, the ideas and tutorials I post here. 

Your help is greatly appreciated! Thank you!

Wednesday, May 11, 2022

Live Your Story - 2022 Idea-ology


Hello fellow makers! This post has links to the two process videos I made during and after this project for the Tim Holtz Idea-ology 2022 release. I used many new products from the release, such as the Vignette Card File, Word Plaques, Memoir Ephemera, Snapshots, Remnant Rubs and Backdrops 3. 

My affiliate links to many of the products I used are at the end of this post if you haven't purchased them yet and would like to try a similar project. I also reached back into my stash and used a few retired Adornments to make book ends. The dog is from the Treasures Adornments and the camera was part of the Souvenir Adornments.

I have close-ups of this project posted below the video tutorial links if you wanted a closer look at anything.

Here are the closeups of the project without any instructions. Those are all in my videos.


 If you have any questions or need clarification on something, please contact me through the link in the column at the right. I still cannot get Blogger to let me respond to your comments, although I read each one! So thank you to those who leave sweet words of encouragement! They mean so much!

I am always very grateful for your support. Thank you!

I hope you have a crafty day,

Tami

I am an affiliate with Simon Says Stamp and Scrapbook.com so the links below send you to one of those stores depending on which logo you choose.  If you wish to purchase something from either store and use one of my links below, I get a small percentage of your order, at no additional cost to youThis helps me to defray the costs of this blog, the time, the ideas and tutorials I post here. 

Your help is greatly appreciated! Thank you!
