Wednesday, February 13, 2019

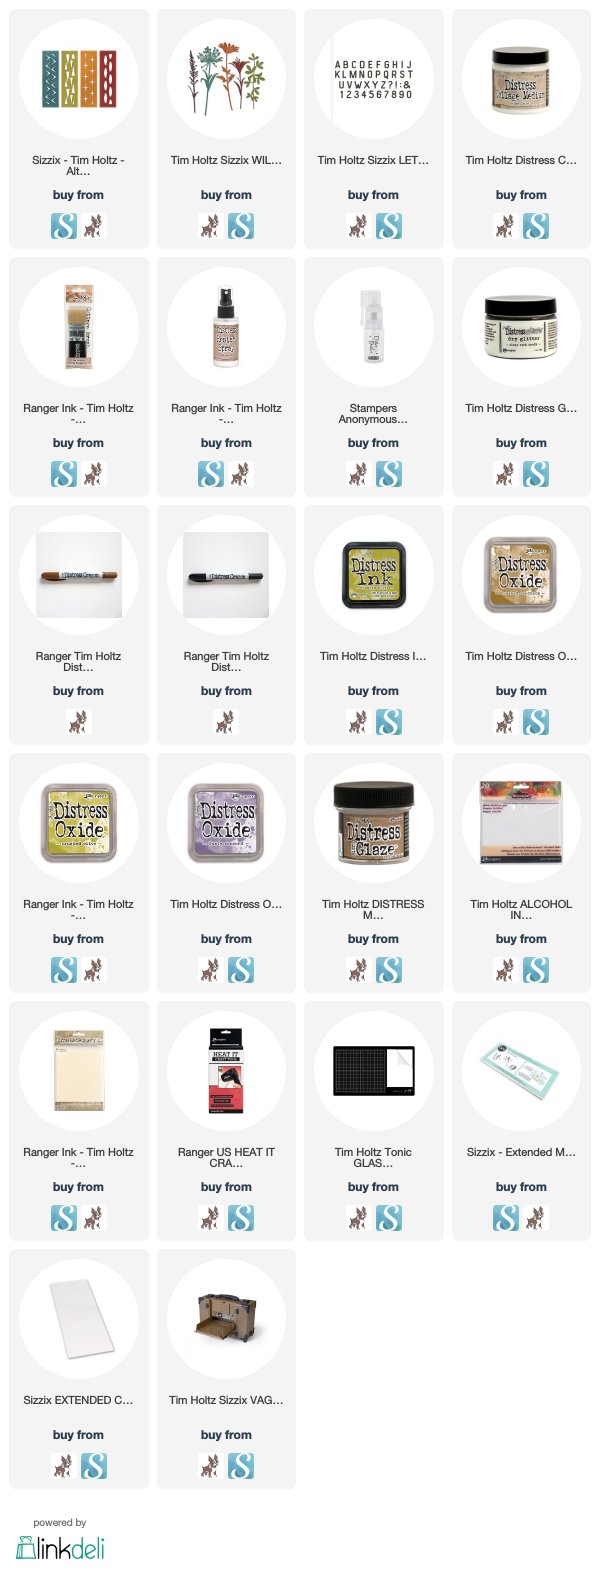
Retro Candy - Tim Holtz Sizzix Chapter 1 2019

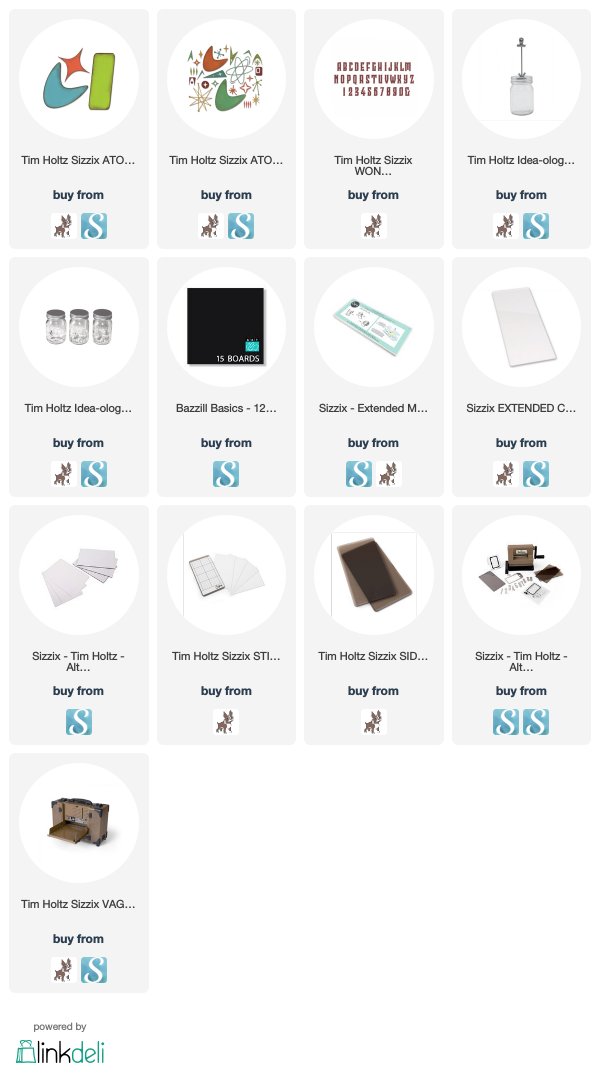
 When I wasw these fun mid century atomic design dies, I couldn't get Atomic Fireballs out of my mind. So I decided to make something fitting to put them in! This is a Mini Mason Jar that holds candy and has a colorful mid-century feel.
The top of the Mini Mason Jar was replaced with the Photo Clip Kit and then I made a fun candy sign for it. I cut three of the boomerang shape from the Atomic Bigz die. I cut it from black chippboard and also from three different colors of shiny adhesive vinyl. I adhered the vinyl to the chipboard and then layered them onto the metal rod from the Photo Clip Kit
I added some shapes from the Atomic Elements onto the shapes that are cut from thick cardstock and shiny Adhesive Vinyl. The word CANDY is cut from black Chipboard and yellow Vinyl from the Wonderland Bigz XL die.
 Not only did I used the atomic shapes for the top, but I cut several other pieces from shiny Adhesive Vinyl in various colors and attached them to the outside of the Mini Mason Jar.
This is a super easy, bright, fun project that can serve as a gift, a place setting or a even a center piece for a themed party if you decorate both sides.
I filled my jar with Atomic Fireballs that I found on the internet. Aren't these Atomic Elements shapes just fabulous?
 If you want to see more about these dies, check out this video from Tim Holtz:


Thanks for stopping by!
Tami

I am an affiliate with Simon Says Stamp and Scrapbook.com so the links below send you to one of those stores depending on which logo you choose.  If you wish to purchase something from either store and use one of my links below, I get a small percentage of your order, at no additional cost to you. This helps me to defray the costs of this blog and the ideas and tutorials I post here, and your help is greatly appreciated! Thank you!
Monday, February 11, 2019

Possibilities - Tim Holtz Sizzix Chapter 1 Timekeeper

With the coming of springtime there are always new possibilities ahead. On this card, Mr. Cottontail ponders what wonderful new things await him.
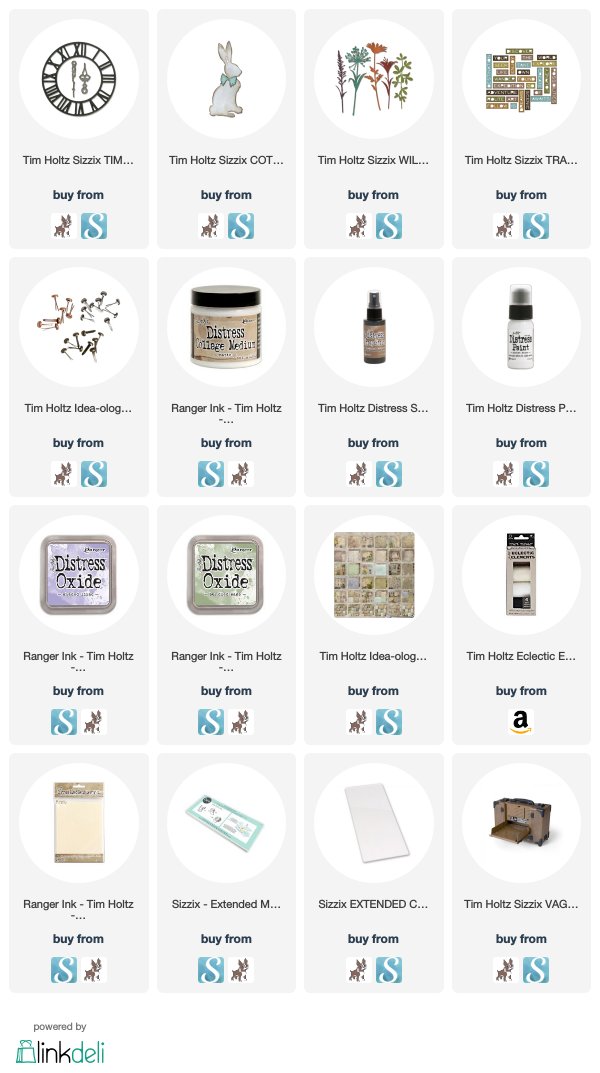
I used several new dies released from Tim Holtz Sizzix Chapter 1 for 2019 and some paper from the Ideaology Wallflower Stash.
 The Timekeeper clock was cut from chipboard and Distress Woodgrain cardstock.
To make the hands stand out, they were stained brown, then covered with Distress Collage Medium and then had Picket Fence Distress Paint rubbed into the depressed areas so that they would stand out from the clockface. They were attached to the card in the middle with a Long Fastener.
The lavender or salvia, which ever flower you choose it to be, is from the Wildflower Stems 2 die set. I cut several out of Distress Mixed Media Heavystock and then colored it with Distress Oxides in Bundled Sage and Shaded Lilac.
I bunched them together and then tied the stems together with a piece of Eclectic Elements Craft Thread.
Cottontail was cut from chipboard for a base and then from natural canvas that I adhered to the chipboard base. The canvas bow is colored with Distress Oxide in Shaded Lilac
Because both the Timekeeper and Cottontail dies are steel rule dies, they can cut a variety of things that the thinlits just can't. Everything from chipboard to fabrics, leather, thin wood veneer, thin sheet metal, it really is amazing. And the detail that Tim and Sizzix have managed to get with a steel-rule die is remarkable. Truly remarkable!
I finished the card off by cutting the word POSSIBILITIES from the Traveler Words die set. I cut it directly out of the background Wallflower paper and layed it over a dark brown mat.
This one was actually a really simple card. No techniques, just a lot of fun cutting these lovely dies and layering them on a card.

Thank you very much for stopping by my blog.
Tami

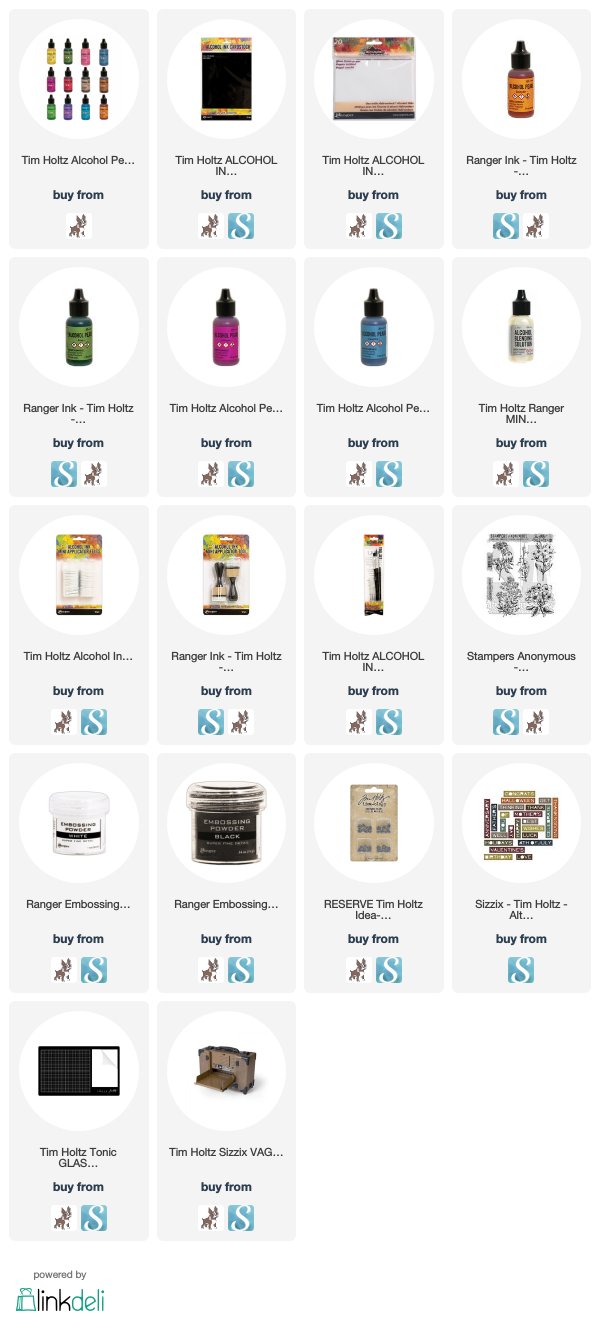
I am an affiliate with Simon Says Stamp and Scrapbook.com so the links below send you to one of those stores depending on which logo you choose.  If you wish to purchase something from either store and use one of my links below, I get a small percentage of your order, at no additional cost to you. This helps me to defray the costs of this blog and the ideas and tutorials I post here, and your help is greatly appreciated! Thank you!

Thursday, February 7, 2019

Alcohol Pearl Inks - A Contrast in Backgrounds

I got a few of the Tim Holtz Ranger Ink Alcohol Pearl colors to experiment with and create some samples for the Ranger booth at Creativation 2019. The four colors were Envy (green), Intrigue (pink), Spendor (orange), and Celestial (blue). Along with the Alcohol Pearls I got some of the new Alcohol Ink Surfaces. I found the Black Matte Cardstock to be really fascinating. 

Let me preface this post by saying I'm not an Alcohol Ink artist and am pretty mixed media challenged, so my applications are all really basic. But basic or not, it was a lot of fun to experiment!

I made two cards exactly the same except for the background paper so I could see how the Alcohol Pearls reacted on the different backgrounds.
For this get well card I used the Black Matte Cardstock for everything but the card base. For the large background, I put all four Pearl colors on a piece of felt on a blending tool and then I applied it to the black cardstock with the pouncing method. It's the basic alcohol ink application method most of us have used for years.
Here is a close up of what the background looked like on the black cardstock with all four colors. The pearl in the ink allows it to show up without needing to use any of the Snowcap Alcohol Ink. It's beautiful and shimmery.
For the focal piece, I cut a mat out of the black cardstock and then on a smaller piece of the black cardstock, I stamped one of the floral pieces from the Illustrated Garden CMS295 stamp set with Distress Embossing Ink and then embossed it with Black Superfine Embossing Powder.

I then colored the background in with just the Splendor and Celestial Alcohol Pearls.
Since I was experimenting, here is where I tell you that this didn't turn out the way I was expecting. LOL! I thought the embossed image would stay black, but the pearl covered it and it just looked like a raised image in the same color as the background.  Even when I ran over it with a felt piece with Alcohol Blending Solution, it didn't remove the pearl. So, I improvised.

I put a couple of drops of each of the Envy, Intrigue, and Splendor Alcohol Pearls on my Glass Media Mat and then used the thinnest brush to paint the leaves and flowers with the inks.  I know it wasn't what I planned but I did end up really liking it!

I finished the card off by cutting the sentiment from a piece of the black cardstock using the Sizzix Occasions Thin Word Die set and attaching four of the new Hardware Heads from Tim Holtz Ideaology. I love them!!
The second card was made exactly the same way, but on the white Alcohol Ink Cardstock. The background is colored with all four Alcohol Pearls that I pounced onto the cardstock using a felt covered blending tool.
Here you can see how differently the colors look on the lighter background. Although they still have the pearl sheen to them, the colors are more vibrant than on the dark cardstock.
The focal stamped panel was also made the same way with the same colors, except for the stamped embossing was done with White Superfine Embossing Powder. As with the dark embossing, the Pearl covered the white and didn't come off with Blending solution or Lift Ink. I expected it this time and did the same technique of painting the Alcohol Pearl onto the image with the fine Alcohol Paint Brush.
I finished the card with a sentiment cut from the Occasions Word Die Set and four Ideaology Hardware Heads.
These images allow you to see how the background paper really changes the look of the inks. 

The Black Matte Cardstock is REALLY cool! I love it! There are many more things you can do with it other than the Alcohol Pearls or Alcohol Inks with Snow Cap. I'm working on a posts to show some more uses. My favorite part of it is how cool it feels. Kind of like suede.
Thanks for stopping by to check out my experimental Alcohol Pearl Cards. I enjoyed just trying things out and hope you learned something from the things I discovered while making them.
Tami

I am an affiliate with Simon Says Stamp and Scrapbook.com so the links below send you to one of those stores depending on which logo you choose.  If you wish to purchase something from either store and use one of my links below, I get a small percentage of your order, at no additional cost to you. This helps me to defray the costs of this blog and the ideas and tutorials I post here, and your help is greatly appreciated! Thank you!

Tuesday, February 5, 2019

Tim Holtz Creativation 2019 Blog Hop - Dreamer Ideaology


Welcome to the Tim Holtz Creativation 2019 Blog Hop!
This is either your first stop on the hop or you are here from Stacy Hutchinson's Tattered Nest blog.  Isn't she amazing? I'm a huge fan of Stacy's designs and art!
For my sample, I decided to share a piece I made for the Ideaology booth at Creativation.

Tim Holtz released some wonderful new Ideaology products that fit beautifully with his existing line of Ideaology through Advantus. I have several of my favorite new and old items on this project from Creativation 2019.
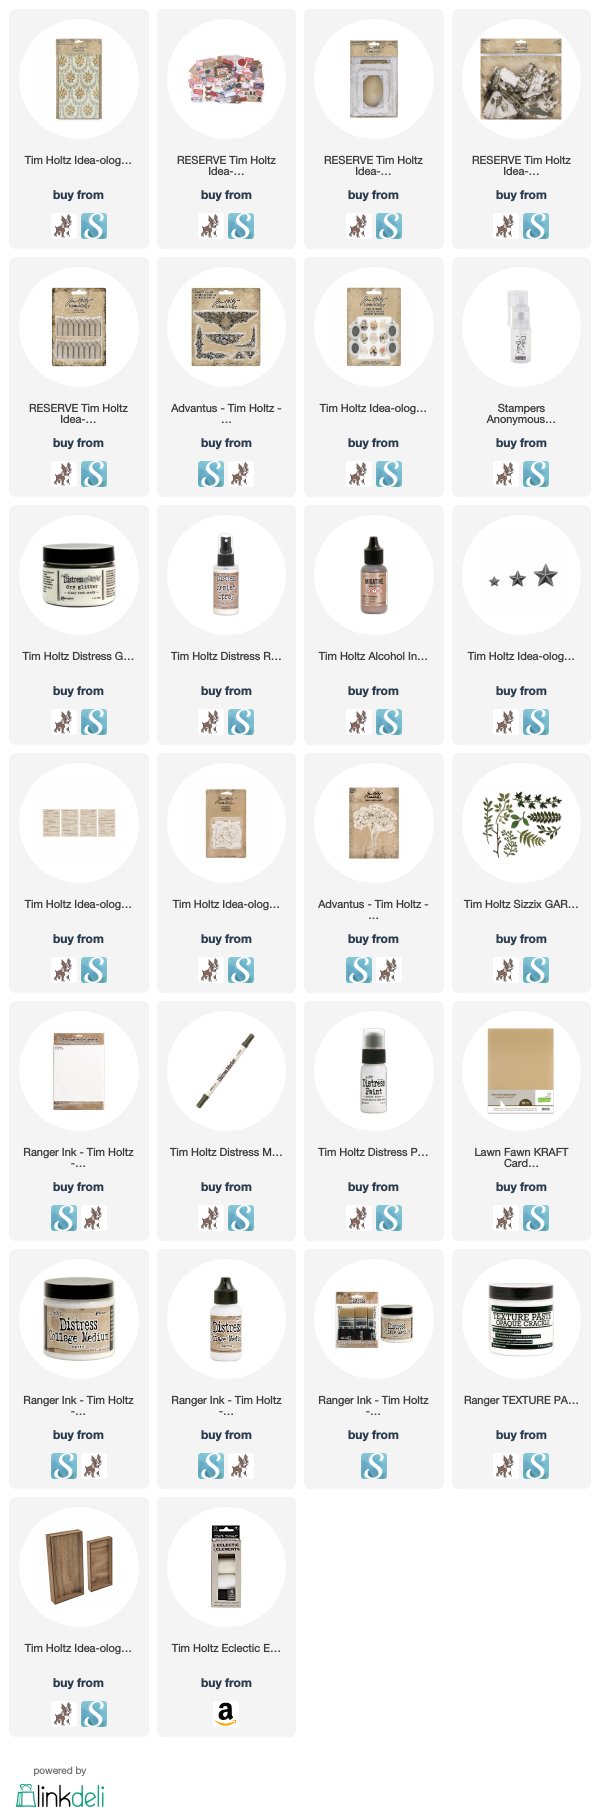
For this project I used both of the Vignette Trays that come in the package together. I painted both trays with Picket Fence Distress Paint and wiped off the excess so they looked worn and kind of "pickled."
For the larger tray, I spread a nice layer of Opaque Crackle Texture Paste from Ranger all over the top of the box, then let it crackle and dry. Some of it chipped off which I LOVE!! Look at that gorgeous crackly goodness.
For the second tray I tore a piece of Worn Wallpaper and applied it with Collage Medium Matte so that it lined up with the top and bottom of the smaller tray.
In the top 2/3 of the smaller tray I attached one of the GORGEOUS NEW Lace Baseboard Frames. On top of it I added a NEW Metal Gate across the bottom of the frame.  Then along the left side I attached one of the beautiful botanical pieces from the NEW Keepsakes Ephemera Pack.
I added a couple of leaves and branches from the Sizzix Mini Greens cut from Distress Water Color Cardstock and colored with the Walnut Stain Distress Marker. There are a few flowers from the Bouquet package colored with Victorian Velvet.
I topped it all off with this young lady who obviously has big dreams.  She is one of the NEW Baseboard Dolls. I chose a few Clippings Stickers to tell her story.
 Because her dreams are full of "stars that glitter" I took a Jeweled Charm and put an Adornment Star in the middle of it as well as two Adornment Stars at the bottom on both sides of the Typography word DREAMER.  I wanted the stars to glitter and also to fit with the color scheme, so I colored them all with Rose Gold Alcohol Ink, then spritzed them with Distress Resist Spray, and then quickly added a little Clear Rock Candy Glitter with the Glitter Duster. To finish off the Jeweled Charm, I tied a small piece of Eclectic Elements Craft Thread in a bow.
The final touches were to add the small and large Crocheted Lace (Tim Holtz Sizzix Chapter 2 release in April) die cuts around the edges of each tray. I cut the Crocheted Lace out of heavy Kraft Stock and then colored it with Picket Fence Distress Stain so it looked pickled like the Vignette Trays. Then I attached it with Distress Collage Medium Matte. 
Once that is done, adhere the smaller Vignette Tray to the top of the large tray right in the center with Distress Collage Medium.  Then add the Vignette Accent pieces to the top and the bottom corners of the larger tray.

Once it is dry, it is ready to display. You can lean it on a book shelf or mantle, or if you want to hang it you will need to add some eye hooks and a wire across the back of the large tray so you can hang it.
Thank you so much for visiting my little dreamer today. If you are following along with the Tim Holtz Creativation Blog Hop, you are in for such a treat! You will be going to Vicki Evans blog next so prepare to be wowed!

Remember, there are PRIZES….
Please leave a comment on as many participant blogs as possible before February 9th at midnight PST and 3 winners will be announced on February 10th from the different blogs.

CREATIVATION 2019 BLOG HOP PARTICIPANTS


I am an affiliate with Simon Says Stamp and Scrapbook.com so the links below send you to one of those stores depending on which logo you choose.  If you wish to purchase something from either store and use one of my links below, I get a small percentage of your order, at no additional cost to you. This helps me to defray the costs of this blog and the ideas and tutorials I post here, and your help is greatly appreciated! Thank you!

Saturday, February 2, 2019

#iloveyou - Tim Holtz Ranger Distress Archival

 I was so thrilled to be able to try out some of the new Tim Holtz Ranger products before Creativation 2019 so I could experiment with them and make some samples.  Along with some of the new Alcohol Ink surfaces, I got the Distress Archival Ink Warm set.  I really wanted to make one card that showcased this awesome set of Archival Distress colors, as well as some of the new surfaces, so this colorful, crazy card was the outcome.
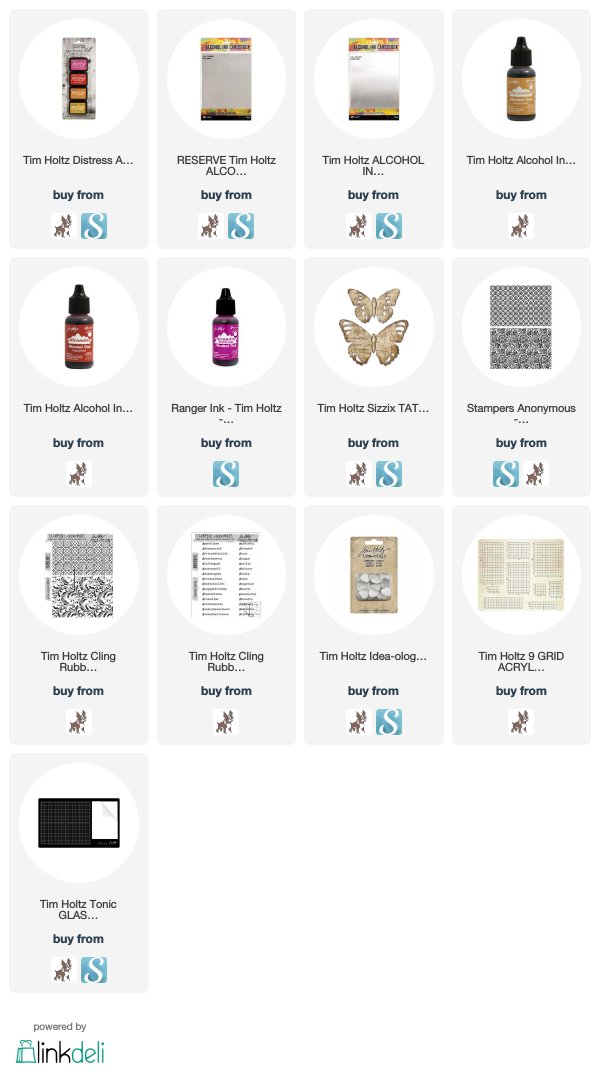
 The main background for the Tattered Butterfly is the new Brushed Silver Alcohol Ink Cardstock. It almost has a pearl sheen to it. I used Tim's Stampers Anonymous Rosette background stamp CMS279, and on the diagonal I applied all four Archival Ink colors starting with the Fossilized Amber, then Spiced Marmalade, Picked Raspberry and Barn Door.  Then I stamped it on the Brushed Silver Cardstock and dried it with a heat tool.
Setting that aside, I applied the ink the same way to the Tim Holtz Stampers Anonymous Lattice CMS257 background stamp and stamped it onto a piece of White Alcohol Ink Cardstock.  For the base I colored some Sparkle Alcohol Ink Cardstock with Wild Plum Alcohol Ink. Then I cut the pieces into three different mat sizes (4.25x5.5, 4x5.25, 3.75x5)
The focal piece is the new Tim Holtz Sizzix Chapter 1 - Tattered Butterfly die. I cut the large butterfly and body from the Sparkle Cardstock and the small butterfly from the Brushed Silver Cardstock.  The large sparkle butterfly is colored with Poppyfield Alcohol Ink and the smaller with a mix of Wild Plum, Poppyfield, and Honeycomb Alcohol Inks.
The sentiment is a strip of the Sparkle Cardstock and I stamped the sentiment on it in Barn Door Archival Ink and added a Gumdrop Heart colored with Wild Plum Alcohol Ink.

I really love the new Alcohol Ink surfaces and can't wait to get my hands on some more when they are released this month. I think there are just so many fun possibilities with these two surfaces as well as the really cool Black Matte Cardstock and plan to do a post discussing some techniques I played with when I got the samples in December. So stay tuned!

Thank you for stopping by!
Tami

I am an affiliate with Simon Says Stamp and Scrapbook.com so the links below send you to one of those stores depending on which logo you choose.  If you wish to purchase something from either store and use one of my links below, I get a small percentage of your order, at no additional cost to you. This helps me to defray the costs of this blog and the ideas and tutorials I post here, and your help is greatly appreciated! Thank you!


Monday, January 28, 2019

Hope - Tim Holtz Sizzix Chapter 1 2019 - Retro Repeat

It's never a bad thing to start the week off with a little HOPE. So in that light I present to you my HOPE card featuring dies and inks from Tim Holtz Sizzix Chapter 1 2019.
This card features one of the Retro Repeat dies. These dies are kind of along the lines of the Shifter Stencils from Stampers Anonymous but they are in Sizzix die form. You run the die through with one pass and then line it up and run it through again and again to make a pattern.
On this card I ran this pattern through once on the top for a border and then three times on the bottom for the repeat pattern.
On the cover art you can see the pattern on the die that you get if you cut it just once. I did that on several cards because I just wanted one little bit of the die, but on this card it was nice to repeat the pattern and break up the color on the top piece of the card.
For the focal point I added one of the Wildflower Stems 2 that I cut from Distress Mixed Media Heavystock, then watercolored. When it was dry I rubbed some of the Distress Resist Spray on the petals with my finger, and dusted them with Clear Distress Rock Candy Glitter from the Glitter Duster.

The sentiment was cut from Black Chipboard using the Bigz Letterboard alpha released in late 2018. I sprayed it with Distress Resist Spray and then dusted them with Distress Rock Candy Glitter as well.
The green/yellow background peeking through the Retro Repeat pattern is just Distress Mixed Media Heavystock colored with Crushed Olive Distress Ink and Distress Oxide.

The top layer was a piece of Alcohol Ink Cardstock, which is glossy, but very pourous. It was colored with Dusty Concord, Crushed Olive and a tiny bit of Brushed Corduroy Distress Oxides applied to the Alcohol Ink cardstock with the Wrinkle-Free Distress Method (apply the oxides to the non-stick mat, spritz with water, lay the cardstock in the Oxide, dry, tap it into the remaining beads of Oxides, dry, tap again, until you like the coverage. Then return the vibrant color of the Oxides with a layer of Microglaze and buff it with a dry cloth. Tim has done this method in several videos.)

Then I cut it with the Retro Repeat and attached it to the Crushed Olive background using Distress Collage Medium.  When it was dry I rubbed some Black Soot and Vintage Photo Distress Crayons into it and wiped away the excess with a damp cloth leaving bits in the recessed portions of the repeat pattern.
I know this wasn't a tutorial, but I hope by explanations were clear enough. Feel free to message me if you need something clarified. As always I hope you found something of interest or something that inspires you to experiment with your supplies.
Tami


I am an affiliate with Simon Says Stamp and Scrapbook.com so the links below send you to one of those stores depending on which logo you choose.  If you wish to purchase something from either store and use one of my links below, I get a small percentage of your order, at no additional cost to you. This helps me to defray the costs of this blog and the ideas and tutorials I post here, and your help is greatly appreciated! Thank you!