This card features one of the Retro Repeat dies. These dies are kind of along the lines of the Shifter Stencils from Stampers Anonymous but they are in Sizzix die form. You run the die through with one pass and then line it up and run it through again and again to make a pattern.
On this card I ran this pattern through once on the top for a border and then three times on the bottom for the repeat pattern.
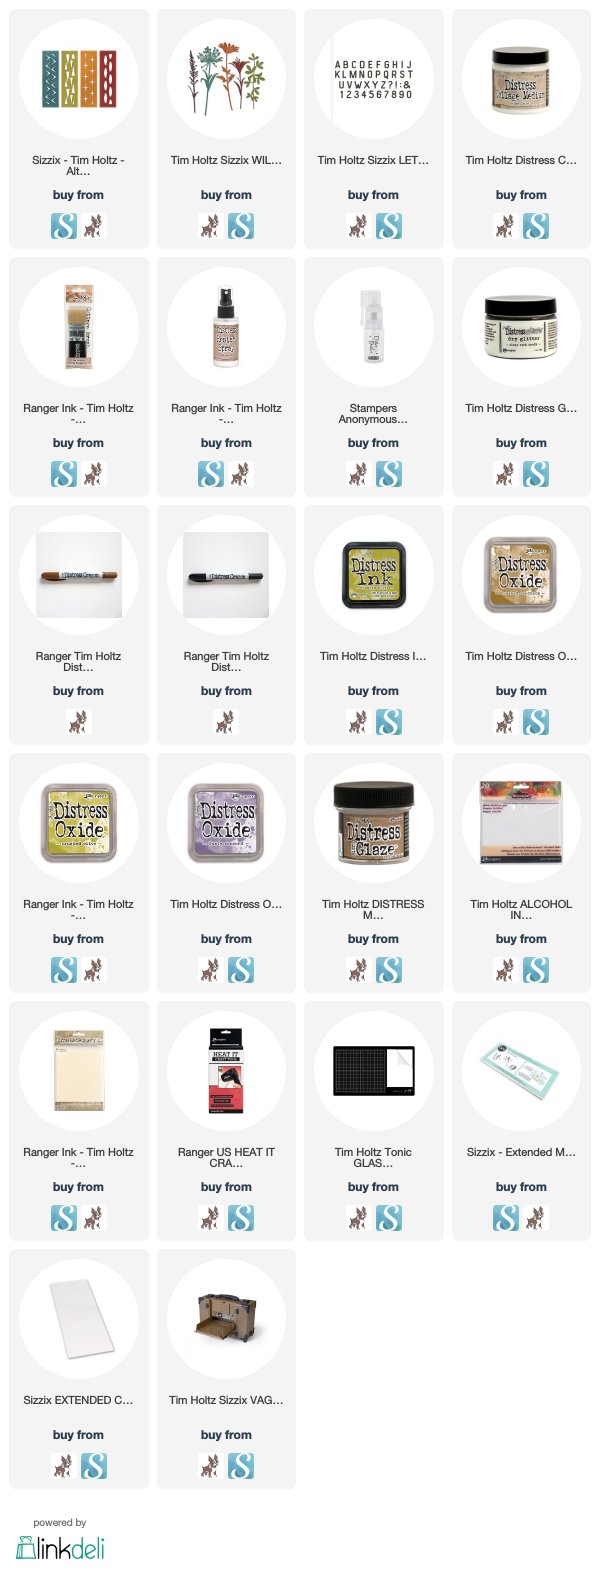
For the focal point I added one of the Wildflower Stems 2 that I cut from Distress Mixed Media Heavystock, then watercolored. When it was dry I rubbed some of the Distress Resist Spray on the petals with my finger, and dusted them with Clear Distress Rock Candy Glitter from the Glitter Duster.
The top layer was a piece of Alcohol Ink Cardstock, which is glossy, but very pourous. It was colored with Dusty Concord, Crushed Olive and a tiny bit of Brushed Corduroy Distress Oxides applied to the Alcohol Ink cardstock with the Wrinkle-Free Distress Method (apply the oxides to the non-stick mat, spritz with water, lay the cardstock in the Oxide, dry, tap it into the remaining beads of Oxides, dry, tap again, until you like the coverage. Then return the vibrant color of the Oxides with a layer of Microglaze and buff it with a dry cloth. Tim has done this method in several videos.)
Then I cut it with the Retro Repeat and attached it to the Crushed Olive background using Distress Collage Medium. When it was dry I rubbed some Black Soot and Vintage Photo Distress Crayons into it and wiped away the excess with a damp cloth leaving bits in the recessed portions of the repeat pattern.
Tami


2 comments:
It was a tutorial enough to do a make on it! I forget to put the Micro Glaze on the Distress Oxide when I am done...must remember to do that...love the colors!
This is gorgeous Tami! And yay for the affiliate links, always nice to have a bit of help to refill our supplies-especially when they are creating these beautiful cards! I have the stems already on order and am now thinking that I may be adding these retro dies to my collection. Thanks for the awesome inspiration once again! xxx
Post a Comment