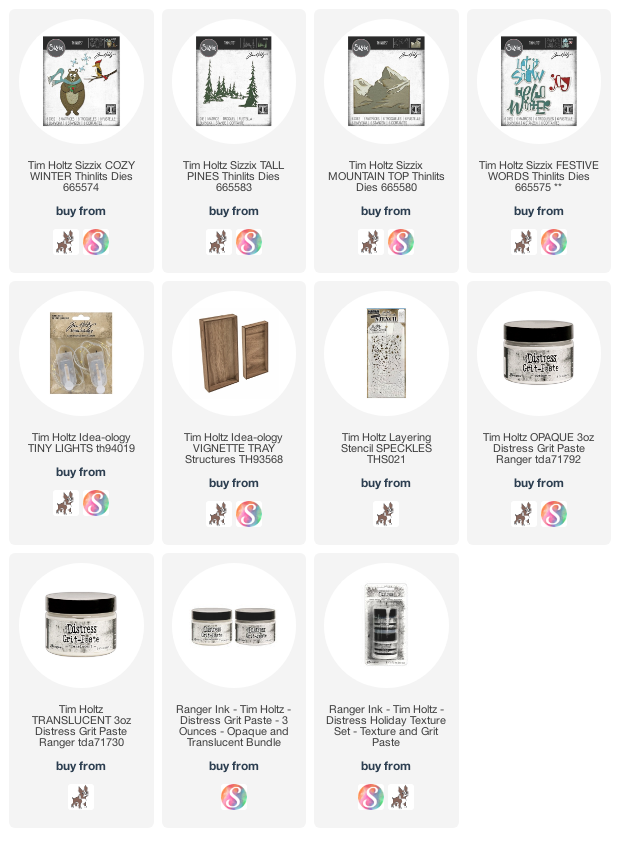
First up for my 2021 holiday makes for the Tim Holtz brands is this little vignette featuring the Sizzix dies Cozy Winter, Tall Pines, Mountain Top, and Festive Words. I'm calling this Fire and Ice, because my video tutorial focuses mostly on the snowy elements and how to make that campfire. You can see the video here:
If you want to see the detail photos up close, I have them posted below.


Cut the pieces for two Mountain Tops, then cut one in half. Adhere the whole one in the center back and the pieces on the sides.

To add some dimension, cut several Tall Pines from two different greens from the Idea-ology Cool Kraftstock pack. Cut them apart and attach some of the smaller trees on the Mountain Top dies. Hand cut some low hills or mounds of snow, and attach them to some dimensional foam tape before adhering them to the back of the tray.

Be sure to put some more Snowfall Holiday Grit Paste on your finger and then pounce it on the trees so they look snowy and frosty. Cover the hills with Opaque Grit Paste. Then add the medium sized trees to the hills.

Lastly, add the tallest of the Tall Pines in the front on both sides of the Vignette Tray.


Cut some of the branches from brown paper. If it is colored with Distress Inks or Stains, you need to seal it with Distress Medium to prevent it from turning the snow a yellowy orange. Cut the long branches into smaller ones and arrange them in a base shape for a campfire on the left side and a pile of sticks on the right side.


Cut two small pieces with the tiny trees from a piece of red/orange paper. To add a bit of interest you can spray a bit of Distress Mica Stain onto it to add more detail. Adhere the "flames" to yellow vellum and roughly cut out around each flame. Then cut a few out of the Pine Trees just from vellum.

Attach the flames to one another but only on the sides. When the sides are completely dry, then slide the fire over the ball of lights and adhere it along the bottom. This takes some crumpling it up and around the ball of lights so take your time and hold it until it dries some and is secure.


Put the Cozy Winter bear together as you wish and attach him front and center. You will need to support him with some substantial dimentional foam tape or something else so has is the prominant feature in the Christmas tow


I covered the entire Festive Words with Icicle Distress Crackle Holiday Texture Paste. When dry, highlight the tops of the letters with Snowfall Grit Paste.
Thank you so much for visiting my blog. I always mean it when I say I appreciate your interest and support of my hobby. It means so much to me!
Also, if you haven't already, please check out the Snow Techniques post here as there is a giveaway and entry information as well.
I am an affiliate with Simon Says Stamp and Scrapbook.com so the links below send you to one of those stores depending on which logo you choose. If you wish to purchase something from either store and use one of my links below, I get a small percentage of your order, at no additional cost to you. This helps me to defray the costs of this blog, the time, the ideas and tutorials I post here. Your help is greatly appreciated! Thank you