Sunday, August 25, 2019

Repose-itory Part 4 - Crackle Background Technique

 For the final technique of this piece, I was asked by several people if I would explain how I got the texture on the background on this piece.  So I added one last post.
The texture on all the parts of this project are thanks to Ranger Opaque Crackle Texture Paste. I think I slathered it on the entire project. LOL! And Distress Crayons -- MAGIC!
 I didn't take any step out photos while I was making this piece because I didn't want to interrupt my creative mojo. I just wanted to make. So to show the technique, I'm making a #8 Etcetera Tag in much the same way with some of the new Halloween Etcetera Trim.
You start by drawing the outline of the tag on the back of the paper you are going to use. I picked a piece of Ideaology paper from my scraps bin.
 Then adhere it to the Etcetera tag with Distress Collage Medium.
 Sand off any edges that extend past the tag edge,
 Now to start the magic part.
 Using a palette knife, spread the crackle texture paste on the corners of the tag, the reinforcer, and the bat and one of the straight pieces of Halloween Etcetera Trim.
 When it dries, it crackles like this. Awesome right?  I love it!
 There are usually some bits and pieces that hang over the edge, so I sand them off.
It needs sealed so this next step is important.
  Brush on a layer of Vintage Collage Medium over all the pieces that have the paper and crackle.
 Then rub it in with your fingers to smooth the surface.
 The next few steps will vary depending on how heavily you add layers of Distress Crayon.  Start by scribbling some Walnut Stain Distress Crayon over the edges of the tag and the trims.
 Use your fingers to spread it around and work it into the cracks.
 Add more color if desired.
 Then scribble some Black Soot Distress Crayon right along the edges.
 Smooth it in and all over the tag and trims.
Attach the reinforcer over the hole at the top and layer the trims with the crackled piece on top, then the plain piece then the bat piece on the bottom. It can be adhered to the tag as soon as you decided what you want to put on it so you know how high or how low you need to place it.
This crackle texture can be dark and grungy as it is here or it can be equally light and beautifully shabby. I have used it both ways and for many different looks that are in between.  Just practice with it and try different things. It's quite forgiving and once the crackle is sealed with the Collage Medium, if you get it a little too dark or heavy handed with the crayons, it's no problem, they lighten with the tiniest bit of water, or can be erased with a damp cloth or baby wipe so you can start all over.

I hope that answered the questions regarding the crackle texture. And with that I will be moving on to several other projects just waiting for their chance at the spotlight.
I'm always grateful for those of you who stop by and especially for those who take the time to leave a comment. I read every one even if I can't respond. And please don't forget that you are welcome to contact me through the form in the right column.
Tami

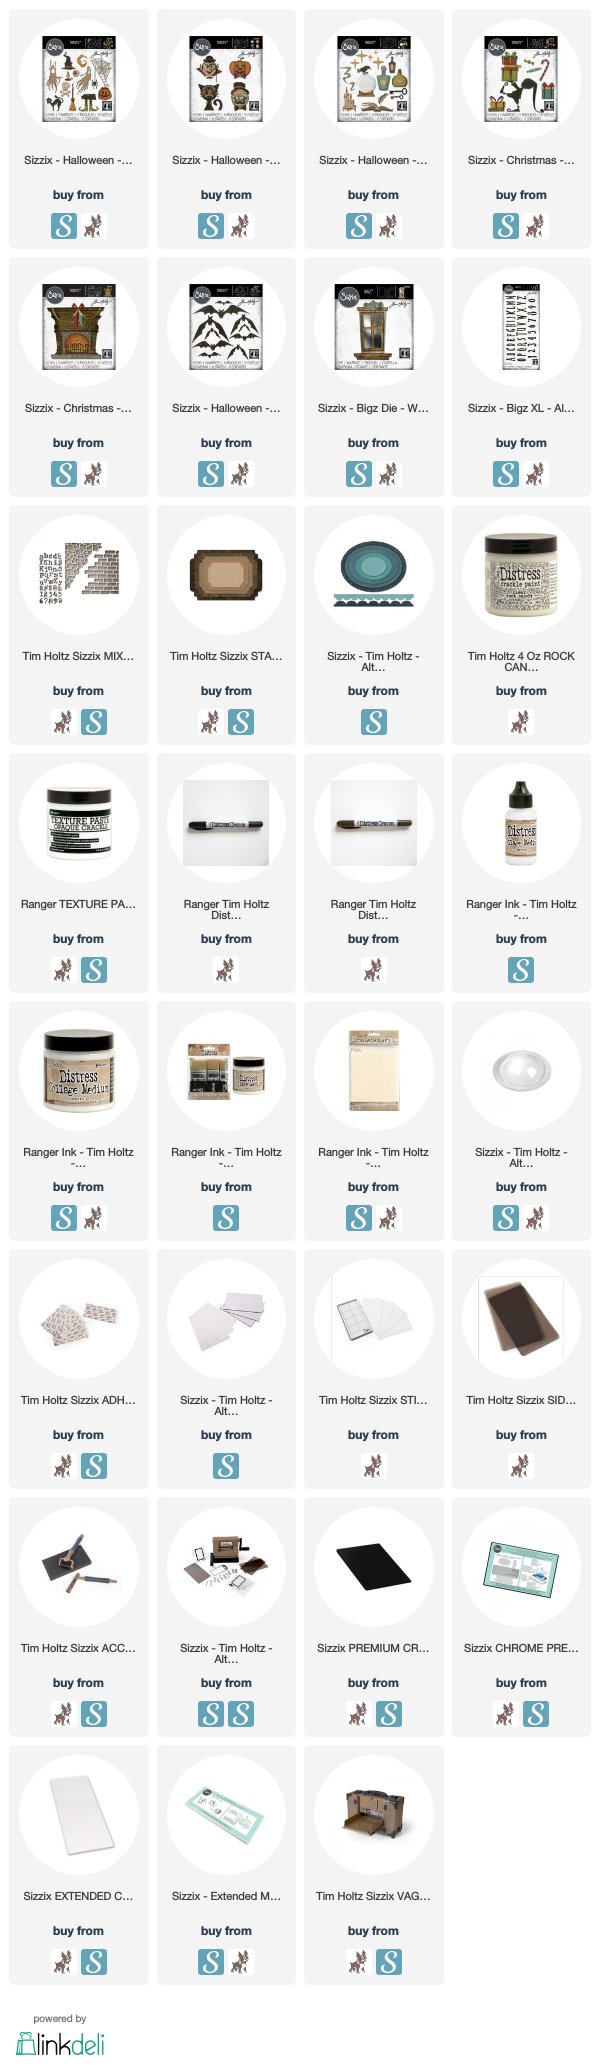
I am an affiliate with Simon Says Stamp and Scrapbook.com so the links below send you to one of those stores depending on which logo you choose.  If you wish to purchase something from either store and use one of my links below, I get a small percentage of your order, at no additional cost to you. This helps me to defray the costs of this blog, the time, the ideas and tutorials I post here. Your help is greatly appreciated! Thank you!
Saturday, August 24, 2019

Repose-itory Part 3 - Til Death Do Us Part

Today is part 3 of the Reposeitory project. I wanted to focus on how to make the wedding portrait and the crystal ball. Both are things found in Disney's Haunted Mansion and since I was inspired by the attic scene when making this piece, I had to add a wedding portrait.  In mine, the husband has his head, but in the portraits in the Haunted Mansion attic, the husband's heads all disappear. Also, the crystal ball with Madame Leota's head is big part of the mansion storyline, so I added one with a ghostly twist.
For the portrait frame, mantle and window frames I used Distress Woodgrain Cardstock and colored it with Pumice Stone and Hickory Smoke and added a few touches of Walnut Stain and Black Soot. I colored a large piece 8.5x11 or you could color several small pieces.
The frame was fairly simple to make but making the photo look old took a few steps.
With a small piece of the wood grain. You want the grain to run vertically for this. Use the second smallest Stacked Label die and the smalled Stitched Oval die.  Line them up like this, tape them down with removable tape, and cut.
This decorative piece goes at the top of the Window Frame, but I thought it would be good to tie the portrait frame in with the other pieces so I cut one decorative piece for the top of the portrait frame.
Again, make sure that the grain is vertical.
I cut the ghosts on this piece out of a mottled (I'm not sure how else to describe it) piece of vellum. I found that they cut through the vellum better if you cut them out on the chrome precision plate.
I also cut some accessories from the Hip Haunts die set.
You need to cut a background piece out of something dark. For the original I used a piece of dark brown stripe from the Dapper Paper Stash. This one is a dark pattern from one of the stashes, I'm not sure which. It was in my scraps. Cut the arms off the one ghost that has the arms in the air. Make sure that they fit properly within the oval on the frame. Also make sure the mustache and bow tie have more color to them. I used a little Distress Ink on a blending tool and it wasn't dark enough on this version.
Put a nice layer of Collage Medium on the paper and then adhere the ghosts into it.
Once that is dry, put a layer of Distress Crackle Paint over it and let it dry so it will crackle. If you used a heat tool it doesn't crackle as well. I got impatient on this sample and you can see it didn't crackle as well as the original.
Once the Crackle Paint has dried and crackled, scribble some dark brown Distress Crayon on it.
Rub the crayon in with a very slightly damp finger.
Then adhere the frame on top and add the little decor piece at the top.
Here you can see on the original that the crackle really showed. I also left more Distress Crayon around the edges where the oval was to go.
Now for the crystal ball. There are two options for making it so it fits within this design. First you can cut a small base and an outer ring as seen above and then a large base by cutting just the large circle again. I cut these from very thin vellum.
Here is the small base on the left, and the large base with the ring on the right.
Cut the arms off the ghost again.
Position the face of the ghost behind the vellum. Peel the adhesive ring off the Dimensional Dome and adhere it to the larger base.
I adhered the vellum ring around the outside edge of the dome with Distress Collage Medium and then trimmed around it so the excess clear part  of the dome didn't show. You can see where to trim.
This is how it looks with the ring around it and the base.
For the other type of dome, which is the one I used on this project, I put the base on the dome and I made a cut on each side of the base as see above.
Then trim the entire outside piece off the dome, leaving only the part that will be hidden underneath the base. Put the dome on the smaller back ground and then put the base over the dome.
As you can see, it fits right around the smaller piece and you don't see any of the outer lip.
I was planning on these two pieces being the last tutorials on this piece, but I've had several people contact me about the crackle background, so I'm doing one more short post after this on how to make that.
Thank you again for stopping by!
Tami

I am an affiliate with Simon Says Stamp and Scrapbook.com so the links below send you to one of those stores depending on which logo you choose.  If you wish to purchase something from either store and use one of my links below, I get a small percentage of your order, at no additional cost to you. This helps me to defray the costs of this blog, the time, the ideas and tutorials I post here. Your help is greatly appreciated! Thank you!

Friday, August 23, 2019

Repose-itory Part 2 - Hitting the Books

 So part two of this project is focusing on the books. This is a super easy little technique. The only thing you need besides the Santa's Helper dies is a little bit of patience.
 I named this project the Repose-itory because I was thinking it was a haunted place of REPOSE and then when I added all the books, voila! I had to change the word Repository, like a place with a collection of books, into a Repose-itory.  When you say it you have to hold the O like Paul Frees does when he narrates the script in Disney's Haunted Mansion. Repoooooose-itory.
 If you have ever ridden Disney's Haunted Mansion, (Did I mention that it turned 50 this month?) :-D you will probably remember the attic portion. It is packed full of junk and covered in dust and cobwebs.  I used that as inspiration for this piece.
From the old bricks that I discussed in my last post, to the piles of books, old windows, large fireplace, books, bottles, wedding photo, candles, the Ghost Host raven, and of course, some of the 999 Happy Haunts.
 So the books....they aren't really book dies.  They are the lids to the presents in the Santa's Helper die set.  But I just couldn't stop seeing books. Kind of like when I saw the cauldron die I couldn't stop seeing a Santa Sack.  You know it's one of those things that once you see it, you can't unsee it.  So I decided to just go with it. When you look at the dies sideways as you see them below, you can see how they look like books with lines on the spine.
To make the books this was my process. I backed some Distress Mixed Media Heavystock with Sizzix Permanent Adhesive Sheets.
Then you can do this two ways, you can cut all the gift box lids from plain Distress Mixed Media Heavystock and color them all individually with Distress Ink and a Waterbrush. If you do this, I recommend cutting and coloring them one lid at a time.
 Or you could color some small pieces of Heavystock with Distress Inks, back them with the adhesive sheets and then cut out the lids. You then mix and match the lines for the book bindings with different colors of book spines.  This is probably the fastest method.
I cut my colored paper into strips and then just cut the lids and the "ribbon" bits. If you use the colored paper method, you need to cut two of each lid with at least two different colors so you can mix and match parts.
Here you can see that I have cut each lid from two colors of paper and switched the "ribbon" bits. From this point I would ink the edges and adhere them together.
Once you have a nice pile of different sizes of books, then you can start arranging them on your piece. Pile them up, lean them against each other, put candles or bottles or skulls or other frightful items on them or next to them.  If you really wanted to go all Haunted Mansion attic, you could make a few old looking wedding gifts out of the Santa's Helper dies and pile those around too for Constance and her many husbands.
You can see from the photos I included that I used quite a few of the dies from the Regions Beyond and Frightful Things die sets to set the scene. I completed the piece with the name Reposeitory, cut out of the new Handmade steel rule alphabet and it is by far one of my favorites!

The next post will be my last on this piece. I will cover the Wedding Photo and Crystal Ball.

Just a reminder that if you have questions or want me to detail anything else, please contact me through the form at the right as I can't reply to comments. I do greatly appreciate them though and read every single one, so thank you to those who take time to leave a comment.

I hope you can find a good movie, settle down with a die cutter, the dies, and paper and have fun making some books!
Tami

I am an affiliate with Simon Says Stamp and Scrapbook.com so the links below send you to one of those stores depending on which logo you choose.  If you wish to purchase something from either store and use one of my links below, I get a small percentage of your order, at no additional cost to you. This helps me to defray the costs of this blog, the time, the ideas and tutorials I post here. Your help is greatly appreciated! Thank you!