Monday, October 20, 2025

In the Dead of Night

Tim Holtz and Sizzix released three Large Texture Fades in October, and two of them happen to be my favorite Texture Fades, so I am thrilled that we have them in three different sizes now for use in various projects.  

This tutorial focuses on how to use the Texture Fades to make an old brickwork cover for the Small Etcetera Tombstone using the Brickwork Large 3D Texture Fade. It is not focused on the part where I pulled some of my collection of Tim Holtz Halloween Dies to decorate it. Just a disclaimer that I don't show the final portion where I decorate this piece, but I do show it and talk about all the parts.

I used Spencer at the top of the tombstone because older tombstones, especially those in the Puritan graveyards of New England, have skulls to remind people of their mortality. 

For the Haunted House and the gates I colored some black cardstock with a little bit of Distress Oxide Pumice Stone to age the paper.
On the gates and fences I added some Distress Grit Paste Crypt and colored it with a bit of Distress Crayon and a waterbrush.
I added some grit paste to the urns also. All of the pieces are colored with Distress Stains and Inks in similar colors, Pumice Stone, Forest Moss, Peeled Paint, Black Soot, Scorched Timber, Frayed Burlap.
Before I attached the gates, I established where they would go, and then cut apart the little grave yard from Fright Night and attached the pieces on both sides of an imagined path, I added Grit Paste Crypt to try and make some mounds of soil. The larger tombstones in the front are and the fences are from the Vault Halloween 2021 dies. 
Here you can see the other urn and the other side with the tombstones behind the fence.
The bottom sentiment is from a set of Halloween Baseboards.

Thank you so much for watching and I hope this gives you a great idea for how to make a different type of brickwork. 

Have a creative day, 

Tami 

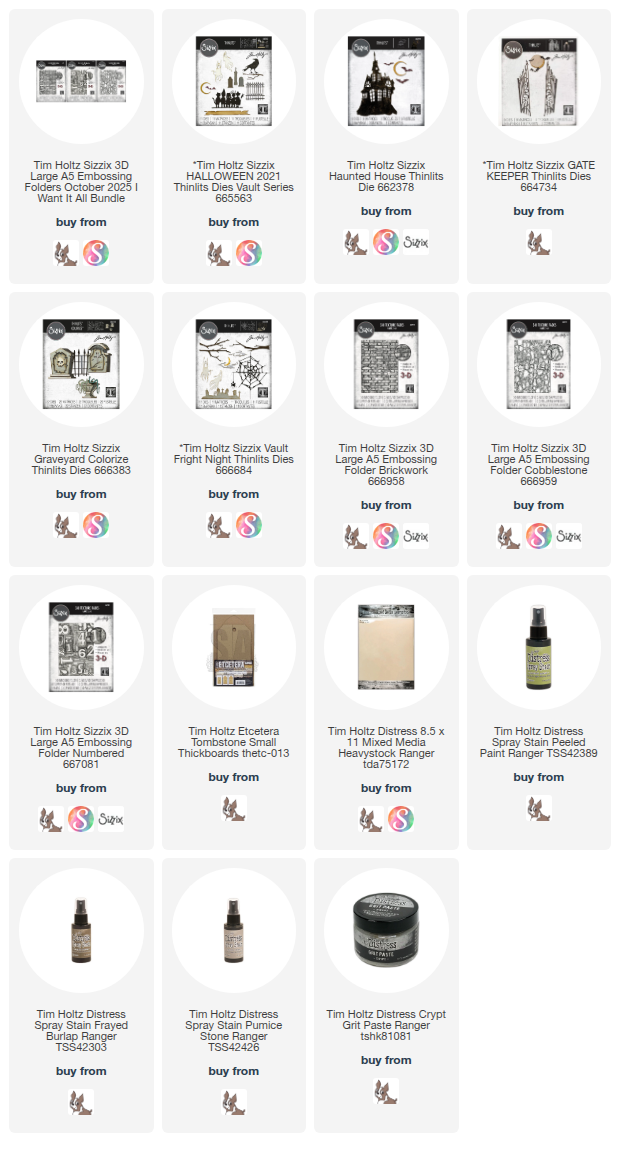
I am an affiliate with Simon Says Stamp, Ranger Ink and Scrapbook.com. The links below send you to one of those stores. If you wish to purchase something and use one of my links below, I get a small percentage of your order at no additional cost to you. This helps me to defray the costs of this channel, the time, the ideas and tutorials I post here. Your help is greatly appreciated! Thank you!  

Wednesday, October 15, 2025

Hurry Baaack!


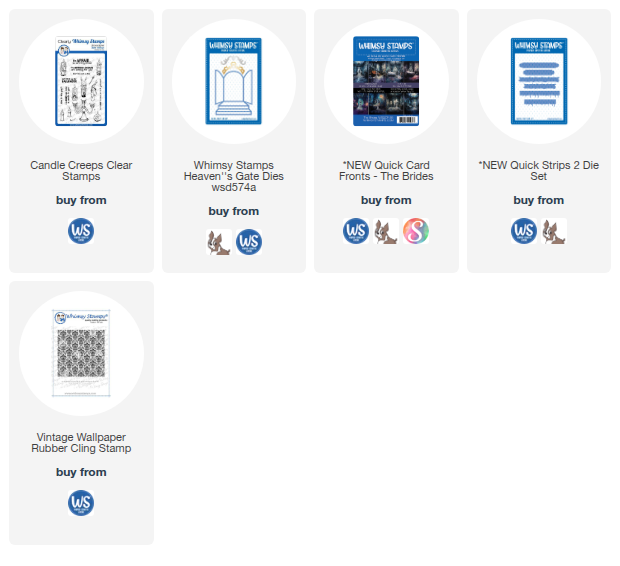
I've had this card in mind since early this spring, and couldn't wait to put my design idea to work with some of the new and existing Whimsy Stamp products.


 Here is a link to my video tutorial for this card.

Hhere are some close - ups so you can see the details of the faux shutters, the Picket Fence Distress Crayon "dust" the glossy candles and sparkly candleholder, and that fabulous background from The Brides.


That's all there is to this card. I hope you enjoyed the tutorial video. Thanks so much for taking time to check this out!

 Have a creative day,

Tami 
 
I am an affiliate with Whimsy Stamps, Simon Says Stamp, and Scrapbook.com. The links below send you to one of those stores. If you wish to purchase something and use one of my links below, I get a small percentage of your order at no additional cost to you. This helps me to defray the costs of this channel, the time, the ideas and tutorials I post here. Your help is greatly appreciated! Thank you! 

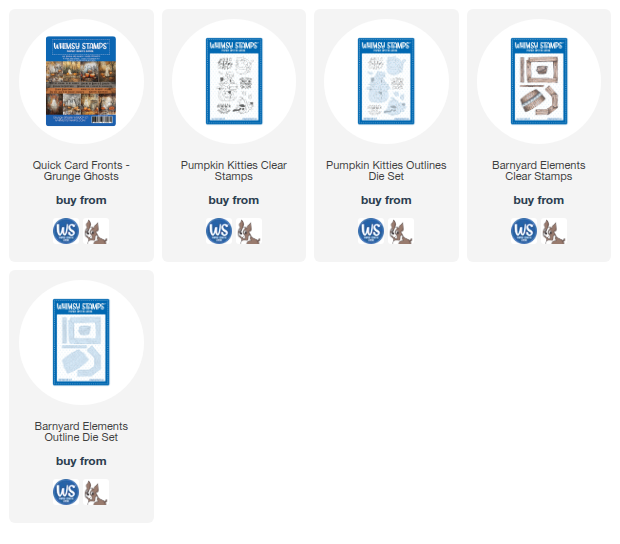
Grunge Ghosts and Pumpkin Kitties - Whimsy Stamps


Now let’s go have a creative day! 😃

Tami

I am an affiliate with Simon Says Stamp, Whimsy Stamps, and Scrapbook.com. The links below send you to one of those stores. If you wish to purchase something and use one of my links below, I get a small percentage of your order at no additional cost to you. This helps me to defray the costs of this channel, the time, the ideas and tutorials I post here. Your help is greatly appreciated! Thank you!
Sunday, October 12, 2025

Classic Monster - Stampers Anonymous

This summer I was watching a favorite YouTuber of ours on a trip to England and he was sharing about his tour of Bath and somethingas about Mary Shelley and Frankenstein. I learned some wierd things about Shelley that day and it tuck with me through the making season I guess. 
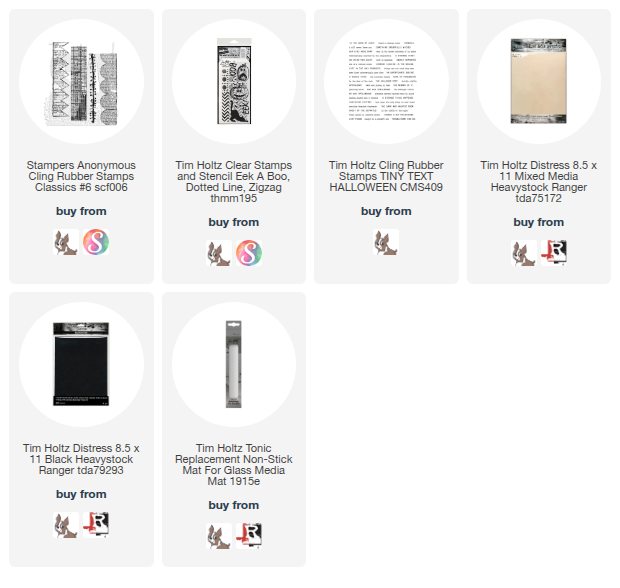
So when I saw this Stampers Anonymous Classic #6 stamp set was part of the Tim Holtz Stampers Anonymous Halloween Curation, I just had to make a Frankenstein monster out of it.  
 

Here is the video tutorial where I show how I made Frank out of the four borders on the Classic #6 set. 

 That pinked border is the one that inspired this make. I saw it and immediately thought ...Frankenstein's Monster hair! 

 The eyes took a bit more thinking, and as I often do, I stared at the set for awhile and then went to sleep on it. It's usually while I'm sleeping or showering that I get an idea to work with  that's when I realized the scallop border would be a great shape for the eyes.

Of course the scars or stitches stamp was obvious. but the nose, mouth and eyebrows again gave me some trouble.
That's when I realized I could just freehand a few shapes out of that long rectangle border and it would be simple. Last year I sewed a primitive Frank Halloween poke using Tim's Eclectic Elements fabric and I had done that with felt, so I figured why not with paper?
 I didn't want to make a card without a sentiment, so I pulled out my Halloween Tiny Text CMS409 for the "peculiar detached fragments" which I thought was perfect for this card!

That's all there is to this card. I hope you enjoyed the tutorial video. Thanks so much for taking time to check this out!

 Have a creative day,

Tami 
 
I am an affiliate with Simon Says Stamp, Ranger Ink  and Scrapbook.com. The links below send you to one of those stores. If you wish to purchase something and use one of my links below, I get a small percentage of your order at no additional cost to you. This helps me to defray the costs of this channel, the time, the ideas and tutorials I post here. Your help is greatly appreciated! Thank you! 

Saturday, October 11, 2025

Trick Bad - Whimsy Stamps

Today I'm share a very short tutorial for this humorous card using Whimsy Stamps and Cardstock Warehouse Products.  

Here is the link to the short tutorial

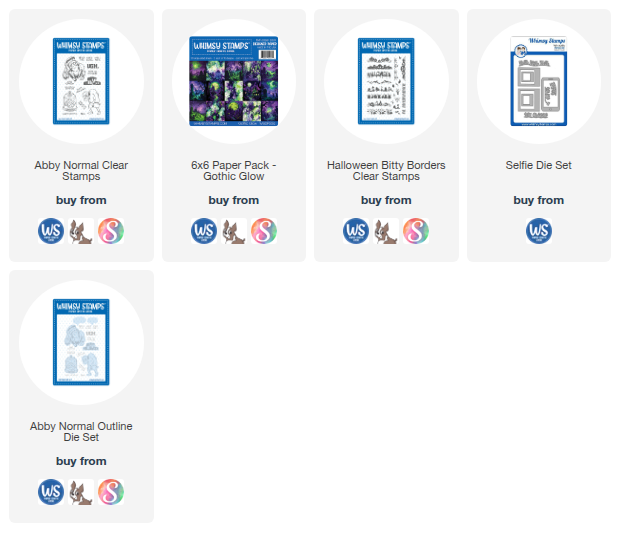
 The sentiment banner is stamped on Cardstock Warehouse Onyx shimmery cardstock in Ranger Ink Fine detail white embossing powder. Then I outlined it with a messy line in white gel pen. The messy stiching at the top adds to the Halloween feel of the card. The sentiment and the Frankenstein's monster are from the Abby Normal stamp set from Whimsy Stamps.


The little bats I stamped on the Gothic Glow background are from the Halloween Bitty Banners. I thought they added just the right touch.
 My thought for this card was to try and have Frank, taking a selfie in the graveyard with the castle in the background. The tutorial shows how I did it, but I stamped two Franks and cut his arm out to make it look like he is talking the selfie. I did have to color in his hand under the phone so it allowed me to move his arm out just a smidge. 
I put a piece of acetate behind the phone as the screen and then inked the edges with Distress Archival Black Soot. 
The phone is popped up on foam strips and could even be a shaket element if desired. 
The phone is also cut from Cardstock Warehouse Onyx shimmery cardstock. I did some messy outlining of the phone with white gel pen. The button and strip at the top are Cardstock Warehouse Quartz shimmery cardstock. I also put a panel of the quartz inside the card and stamped the Happy Halloween from the Abby Normal set. 

That's pretty much it for this very simple card. Thanks so much for stopping by!

Have a creative day,

Tami  

Remember if you order directly from the Whimsy Stamps website, use my code playswellwithpaper for 10% off. 

 I am an affiliate with Simon Says Stamp, Whimsy Stamps,  and Scrapbook.com. The links below send you to one of those stores. If you wish to purchase something and use one of my links below, I get a small percentage of your order at no additional cost to you. This helps me to defray the costs of this channel, the time, the ideas and tutorials I post here. Your help is greatly appreciated! Thank you!