Wednesday, August 27, 2025

Get Fired Up for Halloween - Whimsy Stamps

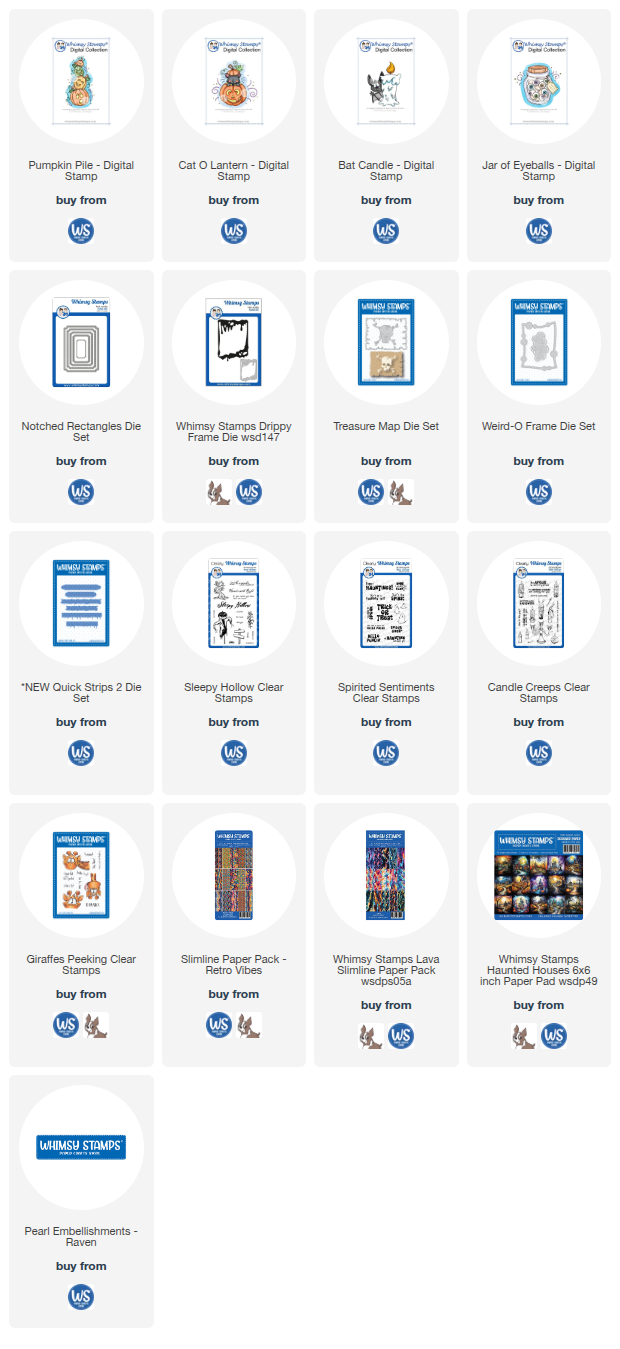
Get fired up for Halloween! This cute little Halloween card features one of the Whimsy Stamps digital stamp images. That's right. Alongside of their dies, stamps and papers, Whimsy also has a large library of digital stamps available to purchase and download. It's very simple to do. My first card using the digital stamps with Whimsy dies, and paper, also includes a few additional supplies including the card base from Cardstock Warehouse, and some twine from Trendy Twine. 

Here is the quick tutorial showing how I paired this digital image with other products. 

I used this Drippy Frame to kind of be like drippy wax around the drippy candle. You know I love drippy candles in any form!
The sentiment is from a stamp set I will be using again soon called Candle Creeps.
This little match in the bat's paw is also from the Candle Creeps stamp set.
I did make the match and the flame shimmer a little bit with a Wink of Stella pen.

I finished the card by popping up the framed piece on the Cardstock Warehouse purple card base, I also tied some purple Trendy Twine around the front panel.

I just love how easily the digital stamp paired with the other Whimsy Supplies. That was a lot of fun! I have three more digital cards to share this month. 

Now let’s go have a creative day! 😃

Tami

I am an affiliate with Simon Says Stamp, Whimsy Stamps, and Scrapbook.com. The links below send you to one of those stores. If you wish to purchase something and use one of my links below, I get a small percentage of your order at no additional cost to you. This helps me to defray the costs of this channel, the time, the ideas and tutorials I post here. Your help is greatly appreciated! Thank you!
Wednesday, August 20, 2025

Beware! - Sketch Manor Coordinating Dies

Welcome to the Simon Says Stamp Halloween Blog Hop! You are in store for a bunch of amazing inspiration today. Thank you for spending a little time with me today and when you are done here, Sandi MacIver is your next stop. 
Just in case you get lost along the way, here is the list in order. Have fun and enjoy all of the spooky inspiration!

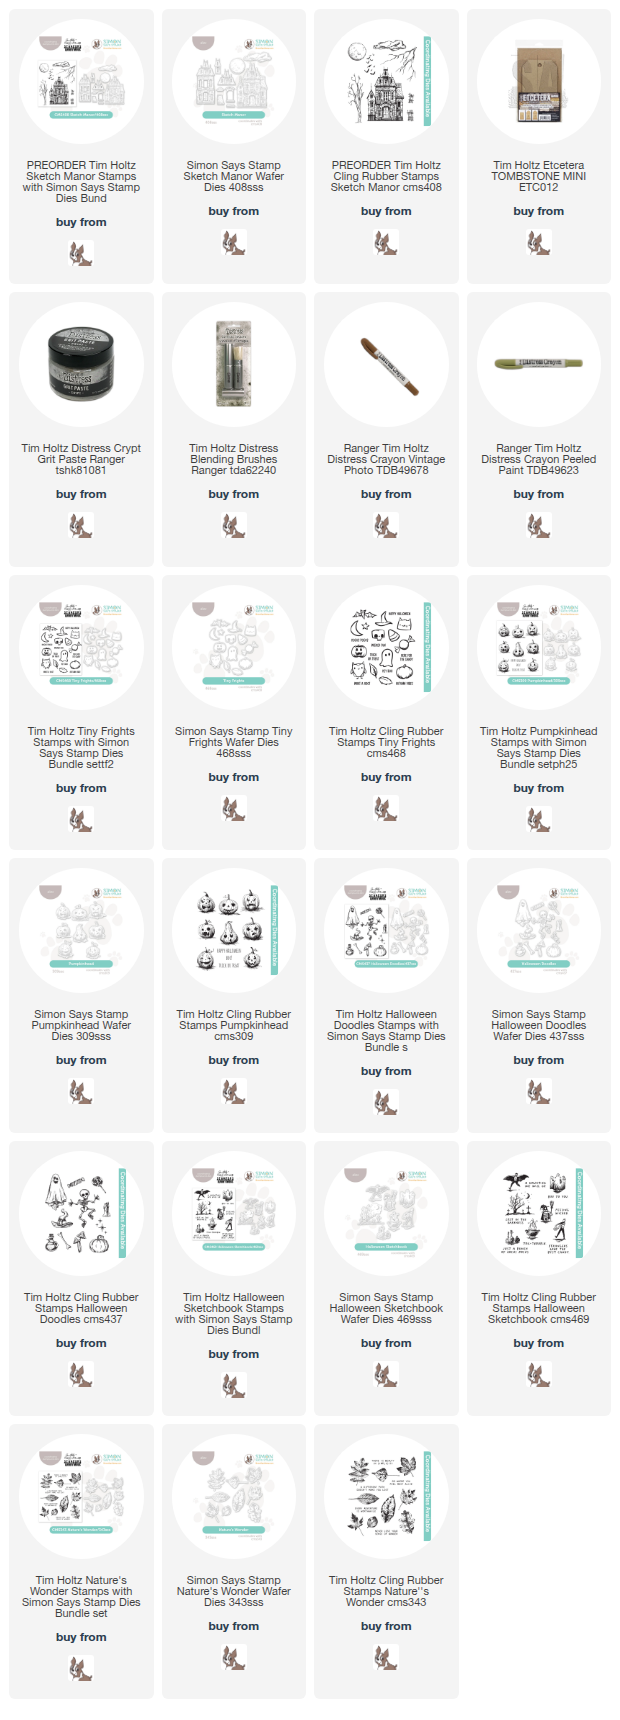
My project for today is an Etcetera Mini Tombstone with the Sketch Manor Stamps from Tim Holtz and Stampers Anonymous, and Coordinating Dies from Simon Says Stamp. I wanted to try and light up the manor, so I made a video tutorial showing how I made this project. 

Here is the video link. I hope you enjoy it, but be sure to come back here to get to the next stop on the blog hop.  

I stamped the images on Mixed Media Heavystock and attached that to the top and main portion of the Mini Etcetera Tombstone. 
I love having part of the imagery in the top section as it makes it seem like the scene extends up tot the top of the tomb. 
If you look closely you can see the Crypt Grit Paste adds such a cool corroded stone texture as well as bits of moss if you add some Peeled Paint Distress Crayon. 
Simon Says Stamp has a fabulous Assembly Guide on their website to help with not only how to cut the parts out, but also how to assemble it. You can download it here. 
You have two options with the die layers for the Manor. You can do like I did, and attach them directly on top of the layer below. This still adds agreat dimension! Or you can put foam squares and strips between some or all of the layers to add even more dimension. Either way, you can't go wrong with this die set!
To light up the the windows, you simply need to cut the darkened panes out of the center window frames and the doors from the first layer, and back with vellum. Then add the rest of the layers as shown in the assembly guide or in my video tutorial. 
The Beware! sentiment is from another Stampers Anonymous set called Mr Bones CMS345
Thank you so much for sticking through to the very end of the tutorial! I hope you found something inspiring in this make. 
If you would like any of the products from this make, they are listed below. 
Have a creative day!
Tami
 
I am an affiliate with Simon Says Stamp. If you purchase something from one of my links below, I get a small percentage of your order at no additional cost to you. This helps me to defray the costs of this channel, the time, the ideas and tutorials I post here. Your help is greatly appreciated! Thank you!


Saturday, August 16, 2025

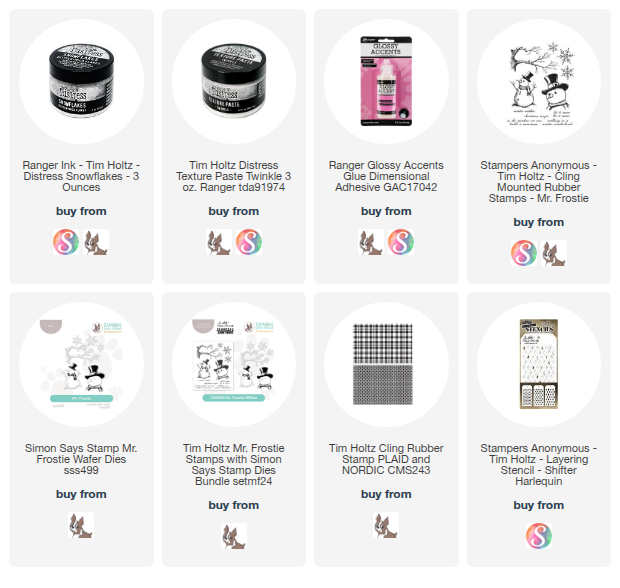
NEW Snowflakes and Twinkle from Tim Holtz and Ranger Ink

Welcome to the Distress Family to Snowflakes and Twinkle! New from Tim Holtz and Ranger Ink for this season are Snowflakes Glitter Mica Flakes, and Twinkle Texture Paste which is a clear texture paste with translucent glitter, different from last year's Sparkle Texture Paste which has a tiny silver glitter in it. 
 
I had some fun making with these new sparkly wintery products, so lets get making with them.  
 
I gathered the new products as well as Mr Frostie CMS499 as well as the coordinating dies from Simon Says Stamp (all products are linked below) and I added the Plaid and Nordic CMS243 background stamps and the Small Harlequin Shifter Stencil. You will also want some Distress Inks and Stains, Watercolor Paper, White Heavystock and Glossy Accents or Collage Medium.
I began by spraying an A2 piece of Distress Watercolor Cardstock with Speckled Egg Distress Stain.
Just lightly spray it and move it around with water. You don't want this layer to be too dark.
Now stamp the plaid background stamp in Speckeld Egg Distress Ink. Again this won't be terribly dark, we want to keep all the layers on the background light, 
Using Tumbled Glass and Broken China, color the Harlequin Shifter Stencil in two corners of the card.
Once the harlequins are stenciled, realign the stencil over the Tumbled Glass harlequins and spread some Twinkle Texture Paste over it and even over the plaid parts that weren't stenciled.
While the Twinkle Texture Paste is drying, stamp Mr Frostie, the branch, the snowflake and the hat and scarf.
Once the images are colored, we want to try and seal them with a little bit of MicroGlaze. This is not making things waterproof, it just makes the colors a bit water resistant to try and keep the colors from bleeding into the glitter or texture paste.
To do this, get a tiny bit of the glaze on your finger and rub it over the image then let dry.
With a clean cloth, wipe over the Glaze to buff off any excess.
Using the dies from Simon Says stamp, cut out the images, and cut two extra Frosties and one extra branch from White Heavystock. You also want to get a white cardbase out as well.
Now that it is dry, here is the Twinkle Texture Paste.
I also put a little Twinkle Texture Paste on my finger and rubbed some on the snow part of the snowman.
Once the branches were layered and attached to the card front, I trimmed off the side of the trunk and then applied Glossy Accents to the top of the branches where snow would gather.
Then dump the Snowflakes onto the top of the branch and let is stick naturally, don't press! Dump the excess back into the jar and let dry.
Here is what it will look like as it dries.
Stamp your sentiment in Archival ink and cover with a bit of Twinkle and let dry.
Stamp the small snowflake in Speckled Egg Archival Ink, then cut out with the die. In order to line up the die properly, cut the shape out of a piece of scrap cardstock and rotate until it fits. 
Then rotate the dies until it fits down into the template. Tape to keep it secure and cut. If it doesn't cut all the way through, remove the template and fit the die back into the groove and cut again.
Apply some Twinkle Texture Paste over the Snowflake and let dry.
Here are some close ups of the Twinkle Paste and the Snowflakes.
Doesn't it look great on those branches?
Attach the layers of Mr Frostie, add the die cut hat and scarf. Then attach the nowflake to his hand.
To finish off the card, apply Glossy Accents or Collage Medium along the bottom of Mr. Frostie and the bottom of the card. Cover with Snowflakes Glitter Mica and put excess back in the jar.. 
I matted the sentiment on just a piece of white heavystock. 
Look at all that luscious sparkle!
Mr Fostie Looks like he is in a snow drift.
There you have a super easy wintery card or decor piece. for your home or a loved one. 

Thanks for checking out my blog tutorial.
 
I'm wishing you a very creative day! 
Tami

I am an affiliate with Simon Says Stamp, Whimsy Stamps, and Scrapbook.com. The links below send you to one of those stores. If you wish to purchase something and use one of my links below, I get a small percentage of your order at no additional cost to you. This helps me to defray the costs of this channel, the time, the ideas and tutorials I post here. Your help is greatly appreciated! Thank you!


Sunday, August 3, 2025

Beware! - Whimsy Stamps

Get ready for some spooky fun! We are kicking off the HALLOWEEN  season today over at Whimsy Stamps, and we are inviting you to join us. 

Not only will we be sharing loads of HALLOWEEN inspiration the next three months, but we have some fun games and prizes as well. 

All of the Halloweeners are sharing a HALLOWEEN project and are including a word that is part of a fun HALLOWEEN phrase game. Details are in the photo above, but you are definitely going to want to join our Whimsy Stamps and Inspiration Facebook Page. There is so much wonderful inspiration and support there, and it’s so easy to join. Once you are in, look for the post with the picture above and follow the links to all the Halloweeners blogs or Instagrams to learn the words, then put them together to get a phrase. 

 Here is my video ttutorial for today's card.

 Here is a little peek at the top of the wallpaper boarder.

 You can really see how that tiny stitching die really made such a differen e separating the boarder from the rest of the "wallpaper".

  Here is a good look at the main focal point. 

 
The pearl embellishments were perfect for this card!
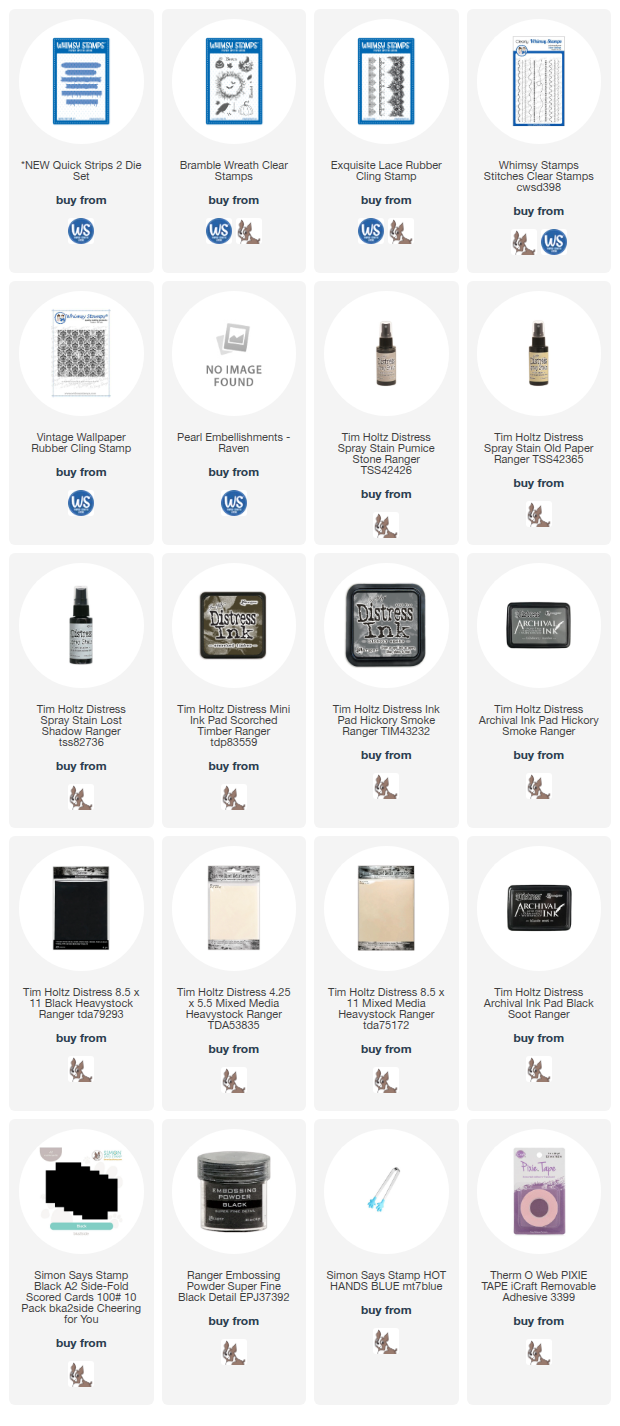
This sentiment strip die is newlu released and is part of the Quick Strips 2 die set, which comes with three styles in two different sizes each.
Machjine stithing is something I love to do on all my cards. I added a few messy spot along the edges and then a pile of messy thread under the raven. You can glue these on, or just hold them in places and stitch back and forth over them which is what I did.

Remember to visit all the Halloweeners to get all the word clues for the HALLOWEEN word game. Have you guessed what my word is yet? 😉 

 If you guesses HALLOWEEN, you would be correct. Good luck and I hope you find the rest of the words to guess the phrase. 

Have a creative day,

Tami 

I am an affiliate with Whimsy Stamps, Simon Says Stamp and Scrapbook.com. The links below send you to one of those stores. If you wish to purchase something and use one of my links below, I get a small percentage of your order at no additional cost to you. This helps me to defray the costs of this channel, the time, the ideas and tutorials I post here. Your help is greatly appreciated! Thank you! 
 
If you order from the Whimsy Stamps website using any of the links below, use my code PLAYSWELLWITHPAPER for 10% off at check out.