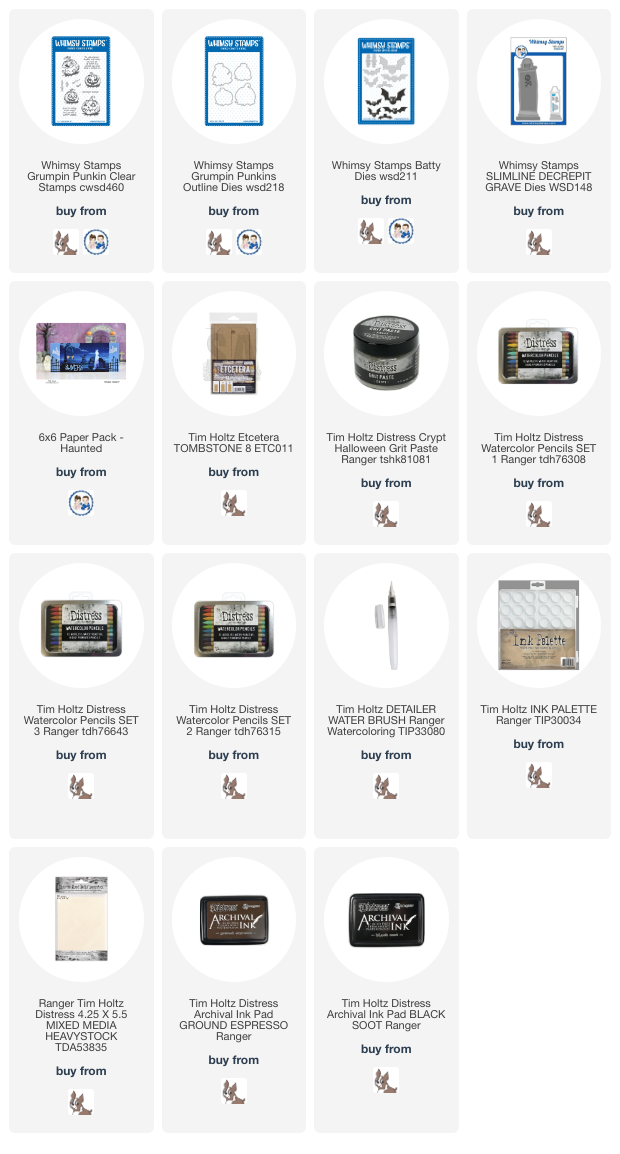
Today is the third Whimsy Stamps Halloween release for 2023 and I made a couple of quick projects with them. Originally I was only going to make one quick card, but then ended up adding a small decor piece, so today's post is a twofer. I used the new Grumpin Punkins Clear Stamps and the coordinating Outline Dies.
The tutorial ended up being a bit longer than I intended, but it is for two projects so it's got that going for it.
I'm just going to post some closeups of each card here because I know it is difficult to see details in the video.
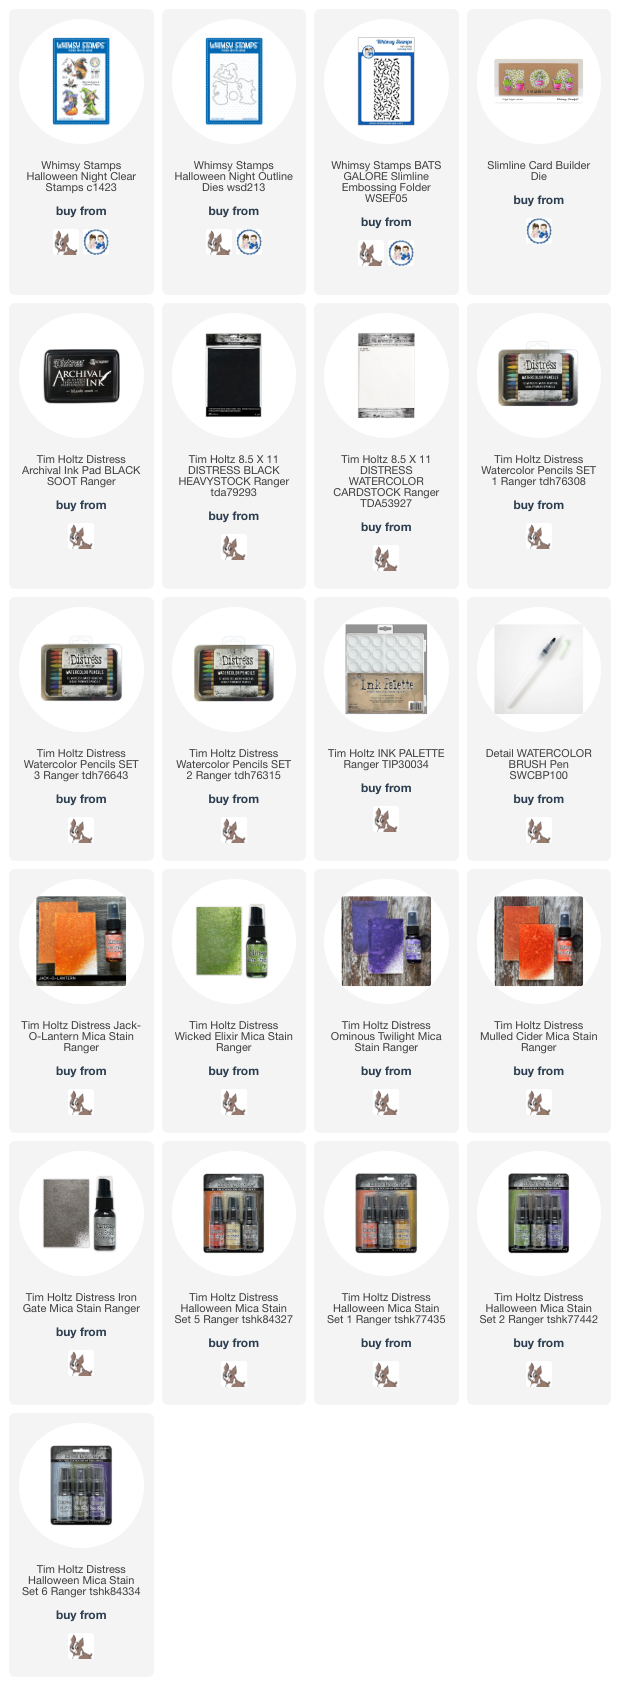
Below are the links to all the things I used to create these projects.
Thanks so much for checking them out and I hope you have a very creative day!
Tami
I am an affiliate with Whimsy Stamps so the product links below send you
the Whimsy Stamps store. If you wish to purchase something and use one
of my affiliate links below, I get a small percentage of your order, at
no additional cost to you. This helps me to defray the costs, the time,
the ideas and tutorials I post here.
Your help is greatly appreciated! Thank you!
Breaking into the Halloween makes and tutorials, I wanted to post this tutorial today because it goes so well with the Halloween version I posted before this. Although this card is made the same way as the Pumpkin Postage card in the previous post, I actually made this one first. I just couldn't share it until
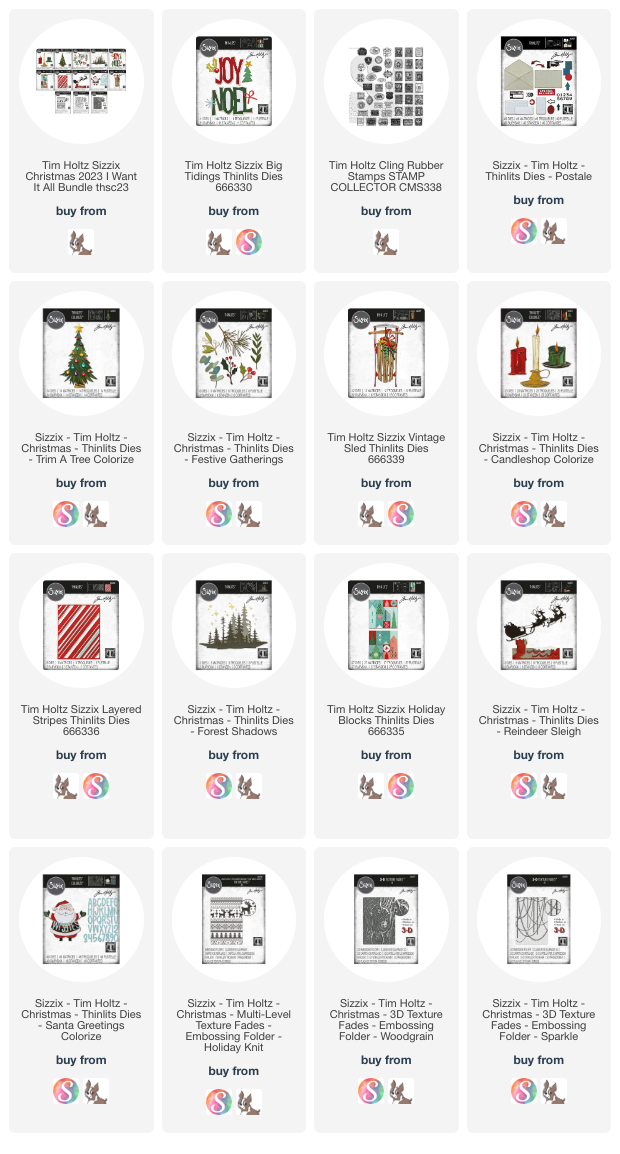
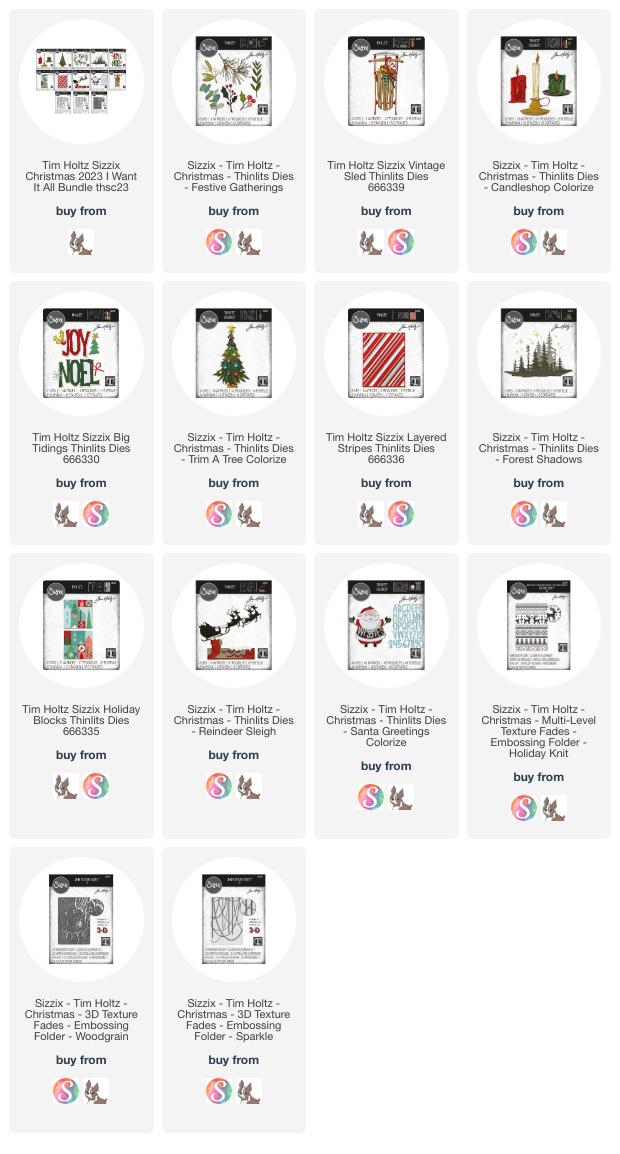
today. This card uses Trim a Tree 666332 and Big Tidings 666330 from the new Tim Holtz Sizzix Christmas Release.
Note: as with the Pumpkin Postage, I did use actual vintage stamps from all over the world, but we had them appraised and even double checked the appraisal on our own before we came to the conclusion that the collection indeed contained no collectible stamps that were worth any monetary value. They are worth more used in my artwork than they are as stamps. So don't worry, I am not destroying anything collectible. Their worth was in the joy they brought our friend who collected them and how she appreciated their beauty and artistry.
This is one of those walk through tutorials as opposed to
watching me do every step tutorials, so you have had fair warning. But
hopefully with the last tutorial and this one, you will be good to go!
If you don't have vintage postage stamps to use, you can make your own with the Tim
Holtz CMS338 Stamp Collector stamp set (linked below) and cut them out with the Postale 665972 dies to make them any
color you want!
I made the outer mat with stamps I cut in half (but keep the four corner stamps whole) Then I added an extra stamp (from Norway) in the top corner just as an additional little embellishment. Isn't is fabulous? I just love the artistry of these old stamps.
I adhered green and red stamps onto Mixed Media Heavy stock with Collage Medium and then cut the holly, berries and Big Tidings Joy out of them.
The cream Heavystock background was stamped with the CMS338 Stamp Collector stamp set in Antique Linen..
I cut two additional joys out in black Heavystock and offset them so there was a shadow, but so it left the center of the O and between the Y open so you could see all the green stamps and tree shape.
Look at that December 65 post mark detail on the stamp right above the O. It's little details like that I love about the vintage stamps! so good!
I love the flair at the bottom on the Trim a Tree die shape. It is so dramatic and fantastic!
Thanks for checking in on this quick holiday card make. I'll be back to posting Halloween for awhile, but wanted this posted with the Halloween version so I have a little holidays collide moment on my blog. That's just the way it is this time of year though isn't it?
Have a creative day!
Tami
I am an affiliate with Simon Says Stamp, Scrapbook.com. The links below
send you to one of those stores. If you wish to purchase something and
use one of my links below, I get a small percentage of your order at no
additional cost to you. This helps me to defray the costs of this
channel, the time, the ideas and tutorials I post here. Your help is
greatly appreciated! Thank you!
I made a quick card with some Tim Holtz Sizzix dies and some inherited postage stamps. If you don't have stamps to use, you can make your own with the Tim Holtz CMS338 Stamp Collector stamp set (linked below) and make them any color you want!
Note: I
did use actual vintage stamps from all over the world, but we had them
appraised and even double checked the appraisal on our own before we
came to the conclusion that the collection indeed contained no
collectible stamps that were worth any monetary value. They are worth
more used in my artwork than they are as stamps. So don't worry, I am
not destroying anything collectible. Their worth was in the joy they brought our friend who collected them and how she appreciated their beauty and artistry.
Here is a short video tutorial of how to make this card and I included the part where I designed it and then changed my mind and went a different direction, so you kind of see two versions of it.
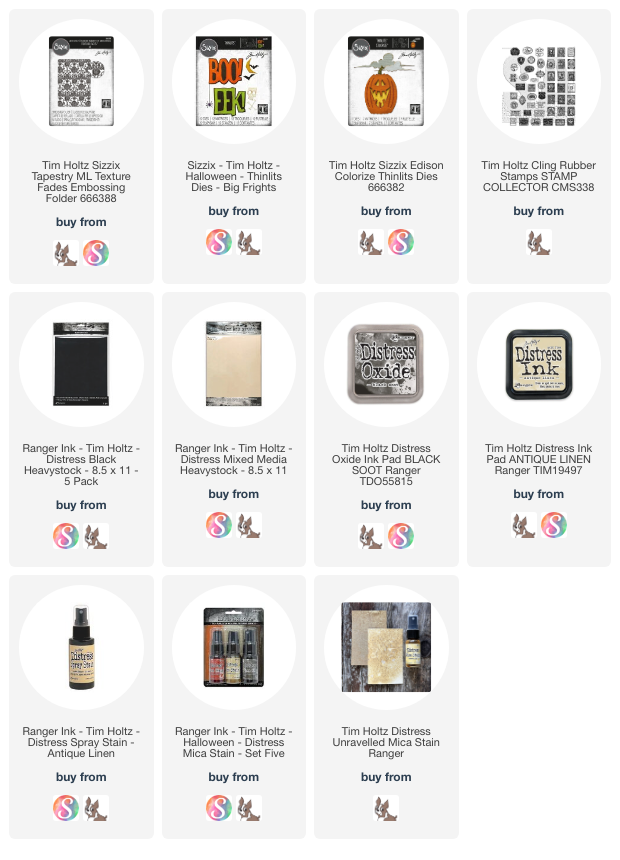
Here you can see the Tapestry Texture Fade made a slight pattern on the Distress Black Heavystock?
I did my messy Halloween stitching on the Bold Frights BOO. I will admit, even though it is messy stitching it was hard to stay on the letters. LOL
The bats were all cut from the Bold Frights dies.
I don't attach the wings just the bodies, so I can pop the wings up for dimension if I want.
I went over it with Black Soot Distress Oxide, pad to raised areas of the Tapestry just to slightly highlight the pattern.
Lots of texture from the sewing.
I hope you liked my change mid way through. If you liked the first version, I'm glad I left it in so you could see some options. Do whatever version makes you happy!
Thanks for reading the blog and for watching the tutotrial. I'm grateful for your support.
Have a creative day,
Tami
I am an affiliate with Simon Says Stamp, Scrapbook.com. The links below
send you to one of those stores. If you wish to purchase something and
use one of my links below, I get a small percentage of your order at no
additional cost to you. This helps me to defray the costs of this
channel, the time, the ideas and tutorials I post here. Your help is
greatly appreciated! Thank you!
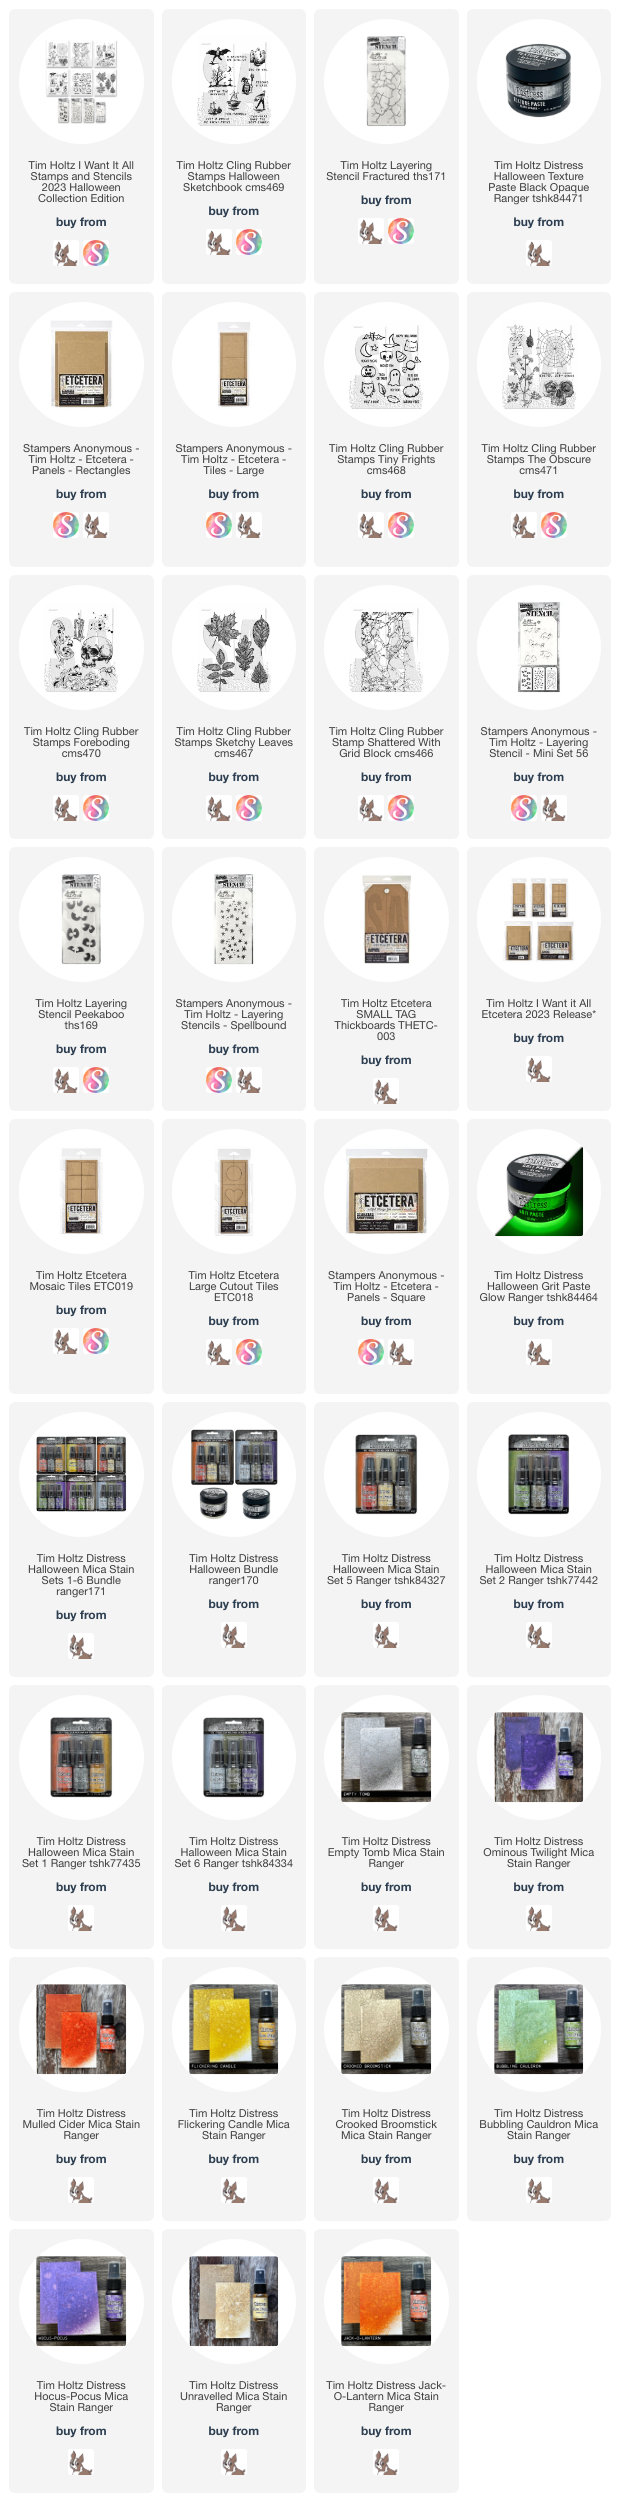
This is another decor piece I made with the new Halloween stamps from
Tim Holtz and Stampers Anonymous, as well as the new Etcetera panels and
Tiles, and I throw in some Distress Mica Stains and Opaque Black
Texture Paste for good measure. This is another simple project that
anyone can do, so please come join me as we make a Stamped Halloween
Panel.
Here is a quick video tutorial showing all the steps to make this Stamped Halloween Panel.
The background Etcetera Panel was covered with a piece of Distress Watercolor paper that was colored with Pumice Stone, Hickory Smoke and Lost Shadow Distress Spray Stains. Then once dry I applied Distress Opaque Black Texture Paste through the Fractured Stencil around the edges of the panel. Once that was dry I sprayed Iron Gate Mica Stain on it and added some Specimen Mica Stain as well to make it shimmery and a little darker.
The tiles are all Distress Watercolor Cardstock. Three are stamped with Black Soot Archival Ink, watercolored with Distress Watercolor Pencils, and then colored with a light coating of Distress Mica Stains to add shimmer.These were attached to two Large Etcetera Tiles for dimension. The other three were sprayed with Distress Mica Stains then stamped with Black Soot and embossed with Superfine Black Embossing Powder. These were then attached to one Large Etcetera Tile.
Have a creative day,
Tami
I am an affiliate with Simon Says Stamp, Scrapbook.com. The links below
send you to one of those stores. If you wish to purchase something and
use one of my links below, I get a small percentage of your order at no
additional cost to you. This helps me to defray the costs of this
channel, the time, the ideas and tutorials I post here. Your help is
greatly appreciated! Thank you!
There are some exciting things coming from Tim Holtz and Sizzix!
The All New Tim Holtz Sizzix Christmas dies are on sale and shipping world wide as of today!
Enjoy looking at all the new designs!
Tami
I am an affiliate with Simon Says Stamp, Scrapbook.com. The links below
send you to one of those stores. If you wish to purchase something and
use one of my links below, I get a small percentage of your order at no
additional cost to you. This helps me to defray the costs of this
channel, the time, the ideas and tutorials I post here. Your help is
greatly appreciated! Thank you!
For this card I paired the Halloween Night stamps and dies with the Bat's Galore embossing folder, all from Whimsy Stamps, and threw in some Halloween Distress Mica Stains from Tim Holtz and Ranger Ink. I thought the little bats in this set of stamps were just darling and wanted to showcase them.
Here is the video tutorial for this card. Enjoy!
It's difficult to photograph the shimmer on this card from the Mica Stains but it is in every layer!
I colored the bats with Distress Watercolor Pencils.
Here you can see some of the Mica Stain shimmer from Ominous Twilight in the purple layer, Iron Gate in the black card base, and the specks of orange from Jack-o-Lantern.
Although this sweet little bat was stamped and cut out as part of an image with one of the witches in the set, I don't use witches or witch imagery in any of my makes, so it was easy enough to just hand cut the connecting section so he could shine all on his own.
You can see that on the orange background that I did flick some Black Soot Oxide onto the orange before I stamped the sentiment on.
Here you can see the contrast of the shimmery purple and the matte black bats from the Distress Black Soot Oxide. I love the contrast.
A different view of the matte and shimmer on this card.
I added a second sentiment on this card because I felt like it needed it. It brings your eye all the way down the card.
The Halloween Wishes is from a longer sentiment in the set that says Hugs and Kisses & Halloween Wishes, but since my space was limited, I cut the top half off and just stamped the bottom line. I can still easily stamp them together in the future if I want, or separately again.
I hope you enjoyed this fairly simple Halloween Night card an that it inspires you to give something a try that you have been meaning to get to or that you want to learn.
Thank you for coming to my blog. I'm grateful for your support and encouragement!
Have a creative day,
Tami
I am an affiliate with Whimsy Stamps sand Simon Says Stamp, so the product links below send you
the Whimsy Stamps or Simon Says Stamp store. If you wish to purchase something and use one
of my affiliate links below, I get a small percentage of your order, at
no additional cost to you. This helps me to defray the costs, the time,
the ideas and tutorials I post here.
Your help is greatly appreciated! Thank you!