Friday, August 9, 2019

Halloween Ideaology 2019 - Etcetera Tags and Trims

 
There is just so much great product in the 2019 Halloween Ideaology release from Tim Holtz and Advantus! With each release I find that I want to use so much of the product ,but end up only using a small portion.  So this year I vowed to use up as much as I can so I can enjoy it all and not just squirrel it away in my stash.
These #8 Etcetera Tags and Etcetera Trims are part of what inspired this project.The Etcetera Tags from Stampers Anonymous come in 5 sizes: Large, Medium, Small, Mini and #8 (or I call them "Tiny.") You get five #8 Etcetera Tags in a package for $5.99
The Etcetera Trims come in three styles: Bracket, Pinking, and Scallop. There are five sets of thin and thick trims in three widths each. So you get five of each size and width in each pack for $5.99. Such a great deal!
To make this project I used one package of #8 Tags and used trims from the pinking and bracket trim styles.
I gathered a bunch of things from my Halloween 2019 Ideaology stash and got to work. Some of the things you will definitely want to consider using are: the beautiful Abandoned paper stash for your base, then the new Halloween Quote Chips, Hardware Heads, Ephemera Pack, Tokens, Curiosities Sticker Book, and Paper Dolls.  Optional things would be Design Tape, Mummy Cloth to tie through the top of the tag, and other odds and ends left over from your Halloween makes.
As you can see from the photo above I explained how I put all the tags together. Each tag was assembled in the same basic design format.
1. Cover the tag and the trim by tracing around them on the back of the paper you want to use.
2. Cut the paper along the traced lines. This is a little bit of a pain on the pinking trim seen above, but worth it and the sanding covers and mistakes.
3. Attach the paper to the tag and the trim with Distress Collage medium.
4. Cut the trim to fit the width of the tag. I used my Tonic Scissors to do this and then lightly sanded the end of the trim.
5. Next I sanded around all the edges of the tag and trim, allowing the white core of the paper to show, but didn't ink it because I thought the white kind of tied all the bits together.
6. Attach the trim to the bottom of the tag by putting a little bit of Collage Medium on the top of the trim and the bottom of the tag and then holding them together tightly until the Collage Medium takes hold and they stick together. You will need to be careful with the tag for a few hours until it really dries, so keep it flat as you work on the others.
  1. On each tag, add some Ephemera collage it onto the tag. 
  2. A Quote Chip attached to the bottom of each tag where the trim and tag meet. 
  3. Hardware Heads on each end of the quote chip.  
  4. Pop up the Paper Doll with Chipboard or dimensional adhesive, or I cut up some of the quote chips I knew I would never use so they were the same height as the Quote Chip. When you attach them, I attached their feet to the top of the quote chip for stability.
  5. Add a Token to the Paper Doll 
  6. Choose some Clippings Stickers to tell a story about the Paper Doll. (This is my favorite part! I love looking through the Clipping stickers to make up stories about the Paper Dolls. LOL!)
These twins had a treacherous imagination that haunted them. One other thing to point out here is that I colored the 31 with Distress Ink so it tied the green paper on the trim with the top of the tag.
This blueish purple paper in the Abandoned stash is beautiful!  I really love it. I thought it went perfectly with this Clown Paper Doll. Since I used the Masquerade Quote chip, I put a mask on Dorothy from the Sizziz Masks Die Set Tim just released. They fit the Paper Dolls!
On this one I used a Quote Token from the Adornment Charms. I thought the quote went well with the fact that Dorothy liked spooky things.
Another Quote chip on this one. I went with the double trouble theme on this one with the twins. Again, I added green to the 31 to tie in the trim.
I forgot to mention that I sprayed all of the Paper Dolls that I was using in this project with a layer of Distress Resist Spray. I let it dry and then sprayed them again and dried. This gave them a mottle, shiny clear covering and it also added to their stability.
I used a lot of the stickers from the Sticker Book on this one. The bugs in the sticker book are smaller than the ones in the Ephemera so they fit better. These two just look like they are planning mischief don't they?
You have been warned!
This is Rosalie. Sadly she is surrounded by toxic things and will eventually lose her mind. I don't know exactly what happened, but I think it had something to do with poison and her fascination with it eventually drove her crazy.
Well, at this point I hope you don't think I have lost my mind! Although I wouldn't blame you if you did.
This was a fun, simple way to use my Halloween stash and to make things that could be decor pieces, place settings, made into a banner, gifts for friends, party favors...sky is the limit.
Have fun!
Tami

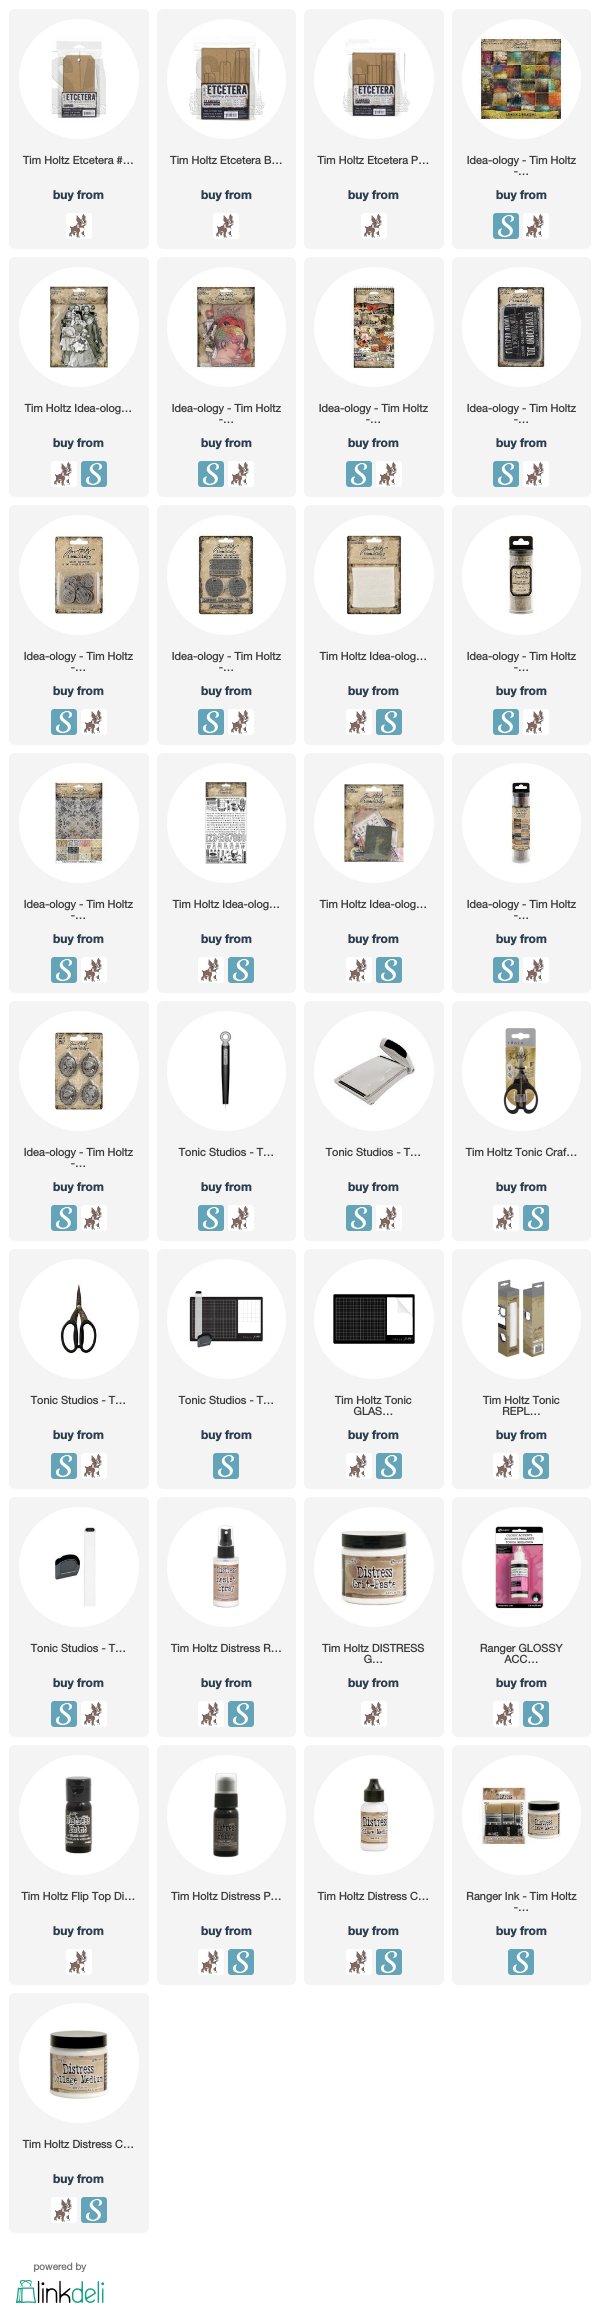
I am an affiliate with Simon Says Stamp and Scrapbook.com so the links below send you to one of those stores depending on which logo you choose. If you wish to purchase something from either store and use one of my links below, I get a small percentage of your order, at no additional cost to you. This helps me to defray the costs of this blog and the ideas and tutorials I post here, and your help is greatly appreciated! Thank you! 

Wednesday, August 7, 2019

Cemetery Friends - Halloween Ideaology 2019

 This week marks the 50th anniversary of when the 999 Happy Haunts materialized at Disneyland's Haunted Mansion. It was a project that had been in the works for years. The amazing mansion was moved into the park but just sat empty, leaving guests to imagine what it would be and when it would open. To celebrate this auspicious anniversary I will be posting several projects this month that are inspired by things here and there from Disneyland's Haunted Mansion. This piece, using Tim Holtz existing and new Halloween Ideaology is the first.
 I started with a base of a small Vignette Tray, painted the inside and outside with Black Soot Distress Paint and then covered the back panel with a piece of the black chippy paper from the new Halloween Paper Pack. I covered the edge of the tray with some of the new Halloween Design Tape. Two corners are covered with these amazing metal decorative corners in the Halloween Adornments pack.

I needed it to have a feeling of the Graveyard Scene from the ride, so I cut one of the branches from the Sizzix Branches die out of chipboard and Woodgrain Cardstock. Then glued some pieces of Spanish Moss onto the branch before attaching it.
 I love these Ring Fasteners for Halloween. They are fabulous. I wanted them to look like they are part of a mausoleum, so I fastened them through a brick wall made of Distress Grit Paste. Then tied some dyed Mummy Cloth through the rings to represent Victorian custom of draping things with black cloth when mourning.
 The outside of the mausoleum is one of the new Halloween Layers Baseboard Frames.  These frames are really so cool and will be fabulous for using throughout the year, so you aren't limited to using them only at Halloween at all.

This lady is my favorite new paper doll!  I love her. She totally reminds me of the lady in the Haunted Mansion Graveyard scene who is sitting in a swing.  That is the scene from which I drew my inspiration. When I'm creating with Ideaology, it's different for me than with stamps or die cuts. I need to have a story or I get stuck. It can be a simple story, but it must be a story in my mind or I just sit and stare. Sometimes the story I begin with takes shape and changes as I create and that is a bit of what happened here.

When I started looking for the Clippings Stickers, trying to find some that would tell her story, I was surprised at how her story developed. It turned into her being a young woman who goes to the cemetery and finds solace sitting among the tombstones. She kind of loathes herself for it and for the fact that sadly, she finds friendship only among the dead.
 I already detailed how I made the dead funeral arrangement. As you can see I filled in the bottom with moss. It comes in two greens and a white color at my Hobby Lobby. I color it with my Distress Stains. This moss was the white moss and I sprayed it with some Pumice Stone Distress Spray stain.
 The tutorials for making this Urn and the dead Floral Arrangement are on the two posts prior to this one. If look carefully you can see part of one of the metal gates behind the urn.
 This little corner was easy enough. I put some of the Remnant Rubs on the Tombstone and then aged with with some watered down Black Soot and Ground Espresso Paint, just like I did on the urn.
The Fence got a layer of Distress Grit Paste tapped on it, then painted black and sealed with Distress Collage Medium. I added a little rust and moss by putting a tiny bit of Peeled Paint and Rusty Hinge Distress Crayon in a couple of areas.  I broke a small piece off to go in this corner and used the rest on the other side back behind the urn. Just in case someone looked back there.
Although it ended up taking a bit of a different direction than I had originally planned, I really love how the piece came together once it was finished. I had an absolute blast working on this and I hope you find something in this piece that inspires you to have a blast creating your own Vignette.
Tami

I am an affiliate with Simon Says Stamp and Scrapbook.com so the links below send you to one of those stores depending on which logo you choose. If you wish to purchase something from either store and use one of my links below, I get a small percentage of your order, at no additional cost to you. This helps me to defray the costs of this blog and the ideas and tutorials I post here, and your help is greatly appreciated! Thank you!
Tuesday, August 6, 2019

Halloween Ideaology 2019 - Broomstick Plant

 In my last post I detailed how I made the urn shown above, and in this post I want to show how I made the dead funeral arrangement in it. It's really very easy and doesn't take long either, so let's get started.
 Gather the items you need: a broomstick, some Bouquet flower stems, Collage Medium, Distress Spray Stain in Ground Espresso and Antique Linen, Distress Sprayer with water and the thimble urn from the last post.
 If you missed it, I detailed how to make an urn like this one in the previous post here.
 Begin by pulling the handle out of the broomstick. You can discard it, but I recommend saving it and setting it aside for another Ideaology idea I'll post later involving the Owl from the Adornments pack.
 Spray the broom with water and make sure it gets wet through to the center. This will soften the bristles.
 I picked it up and swept it through the water, pressing the bristles down into the water and splaying them out.
 It made the bristles stick out like this. Now we are starting to get somewhere.
 Then I crinkled it up and rolled it in my hands like a meatball, crinkling and bending the bristles as much as I could.
 This is what it looked like when I was finished.
 I slowly started separating and pulling the bristles out and down.
At this point, stick it in the urn to see how it fit. Some brooms fit fine, like this one did, and some the top of the broom is too tall and it needs to have a little trimmed off where the broomstick was attached. I kept scrunching it -- you know what I'm talking about my big-haired 80's sisters! For the rest of you, you just carefully squeeze, shape, and fluff the bristles until they stand out on their own like awesome 80's hair.
 See what I'm talking about? I was a scrunch queen in the 80's and I had great hair just like this dead funeral arrangement.
 It great as it is, but I wanted it to be a little more dead looking. It looked kind of like my big 80's hair when I used too much Sun In.
That's me in the front on the left...hair all scrunched and Sun In-ed
I felt like this would be great for a tumbleweed in a western vignette, but not for my cemetery.
 So I sprayed it with Ground Espresso Distress Spray Stain.
 You need to move it so you get all the sides covered.
 While that is drying, spray the Bouquet flowers with Antique Linen Distress Spray Stain.
 You want them to look like they were once white flowers that have faded and yellowed as they dried.
 Then spray some of the Ground Espresso Distress Spray Stain and then dilute it a little with water.
 Take the still damp flowers (you don't want them to dry in between spraying them with Antique Linen and this step)
 Tap the edges of the flower petals into the diluted Ground Espresso Stain. It will slowly wick its way into the flower and really add to the dead and dried up look.
 Here they are with the edges colored. Let them do the wicking on their own.
 The centers needed colored too, so I just used a Ground Espresso Distress Marker and colored them by hand.
 Now to put it all together once the stained flowers and broomstick plant are dry.  You can put some Distress Collage Medium in to the bottom of the urn.
 You want a nice amount. But it will take awhile to dry so if you are in a bit of a hurry or feeling impatient, then do the same thing but with hot glue and it will go faster.
 Push the bottom of the plant into the Collage Medium or hot glue from a Glue Gun.You only have to wait a moment for the hot glue, but the collage medium needs time to dry -- several hours or overnight is preferred.
 I trimmed the flowers off the bouquet stems and didn't want their white stems to stand out, so I colored over each one with a Ground Espresso Distress Marker.
 Then apply a little bit of Collage Medium,
 and insert the stem in between the plant bristles.
 Add as few or as many flowers as you want to the arrangement
 The extra flowers can be used in other places on the project.
In the next installment, and the last one for this piece, I will point out the product used and any details that might need to be clarified.
If you have a question about anything on this piece, please contact me through the contact form at the right. My ability to reply to comments on this blog tends to come and go, and currently it is gone. I would love to be able to answer your questions, so please ask through the form and I'll address those things in the next blog post.
As always, thank you again for stopping by and for your support and comments on my posts. I may not be able to comment back, but I am grateful for each of you who take the time to read my posts and comment.
Tami

I am an affiliate with Simon Says Stamp and Scrapbook.com so the links below send you to one of those stores depending on which logo you choose. If you wish to purchase something from either store and use one of my links below, I get a small percentage of your order, at no additional cost to you. This helps me to defray the costs of this blog and the ideas and tutorials I post here, and your help is greatly appreciated! Thank you!
