If you haven't already seen the Halloween Ideaology release from Tim Holtz, you should stop right now and go directly to
Tim's blog and watch it. Such a fun release and seriously, I was so wowed by the awesome creativity by the designer samples that I know you will be too. Then come back here to see how I made the urn from the Cemetery Friends sample below.
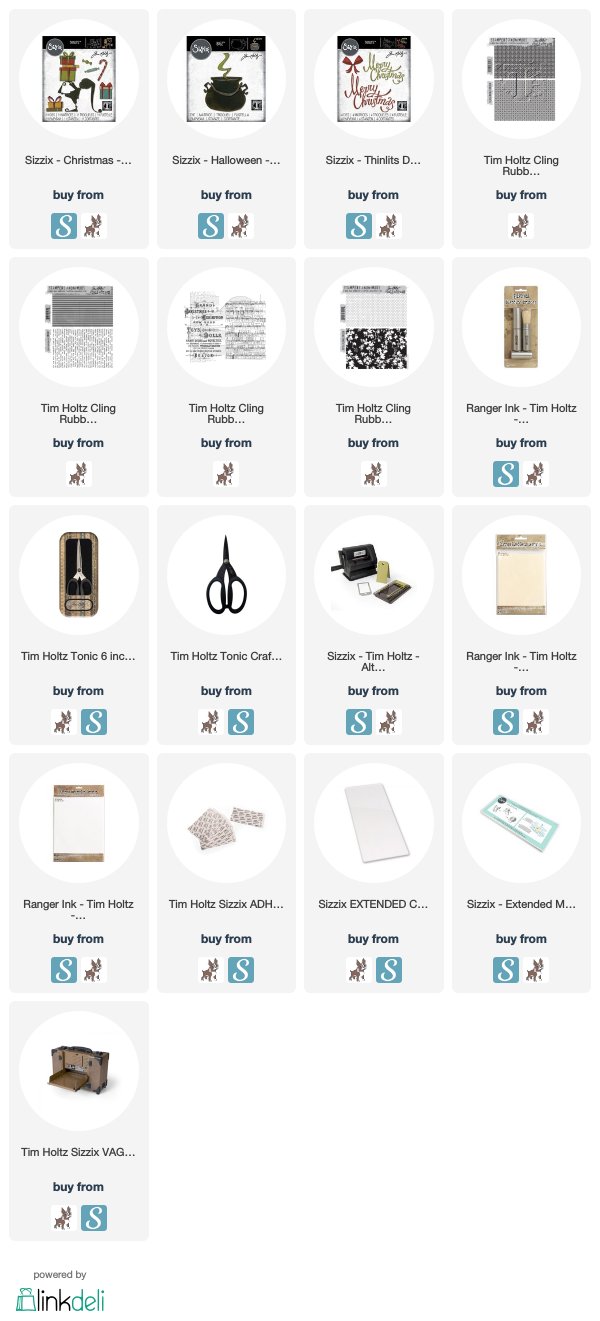
In keeping with my new blog format, in this post, I am just focusing on how I made the urn for the funeral arrangement. There are step by step photos below with basic instructions. Then at the end of my post I have links to all of the Halloween product as well as everything I used to make the urn.
Begin with a sprocket gear, a handcut piece of cardstock just a tiny bit bigger than the inside of the gear, and one of the Mini Hardware knobs.
There are three types of knobs in the Mini Hardware set. One is a circle pull and then these two. For an urn base, I feel that the knob on the left has a better shape for viewing from the side. Save the other type for an actual knob on a project.
Remove the screw from the bottom of the knob.
This picture shows how the cardstock will attach to the gear, but it needs to go on the bottom of the gear. If it doesn't, the knob won't fit in the center. In the photo it is sitting on the top so you can see how it should be positioned. You can tell it is the top of the gear because the edges are a little beveled and the finish is smoother than the underside.
Add some collage medium to the cardstock circle. then put the gear on top, making sure that none of the cardstock shows, except in the very center.
Add more collage medium to the center of the gear.
Press the base of the knob into the center of the gear. Some of the collage medium will squeeze out.
Wipe away some of the excess collage medium.
It will look something like this when you are done. Set it aside to dry.
Meanwhile you can choose the thimble for your urn. The thimbles come in a pack of 5 and are different sizes and styles.
They look different on the urn base because of this. I prefer the 3rd and 4th ones from the left in this picture. I think the others are too big or too small for the base. But go with what feels right to you and what you like.
Now we are going to attach the urn to the base with Collage Medium.
Squeeze a good amount onto the center top of the knob.
Gently place the urn into the collage medium.
I mean gently too! As opposed to the base, you don't want the collage medium to squeeze out and around the thimble.
You want it to be enough to hold it in place when it dries and to cushion it so that it sits evenly on the top of the knob. At this point you should set it aside for a few hours or go to bed and finish tomorrow. It needs to be really dry before the next step.
I made two of these for my projects, One of them I painted a very dark metallic gold and left it just as it was for a steam punk urn. So if that is the style you want, an old metallic urn, then stop here and paint it or alcohol ink it or whatever you want for your project.
But I wanted this to look like old, aged, pitted, bumpy cement kind of urn you would find in an old cemetery. So I added some Distress Grit Paste.
I just put a little bit on my finger and tapped it on here and there.
The more grit paste you apply, it will cover the details on the knob and thimble, so keep that in mind. You might just want to lightly tap it here and there as opposed to a heavier covering. On the one in my graveyard piece I kept it fairly light, but I went heavier on the one for this blog.
You can see the grit in the grit paste is rough and kind of sticks out all over the piece.
Once it is completely dry you want to seal it.
I brush a layer of collage medium all over it. Again, if you do this generously it will lose more definition. If you do this sparingly it will seal it but leave details visible.
You can see how the layer of collage medium really tamed some of the grittiness. Let this dry. I am impatient so I use a heat tool. This tends to do two things. It dries the collage medium and it kind of puffs the grit paste. I love the added texture, but you may not so if not, set it aside to dry on its own.
Once dry you are going to be adding the colors to make it look like aged concrete.
I painted it with a layer of Distress Hickory Smoke paint. No need for perfection. We are adding layers.
Once dry now we need to make it look like it has been in the elements and seasons for many years. that's where our browns and black come in.
Put a few drops of Walnut Stain or Ground Espresso paint on your Media Mat, then spray water on it. We want the paint very runny. We don't want full opaque color. Watery!
Then brush it all over the urn. You can see how really runny the paint is.
But I didn't stop there. I simulated a rain storm and sprayed it from above so it would run down the sides and aged the urn like it would if it was outside in the dirt.
See, even more water.
Take the corner of a paper towel and gently let it soak up the water. Don't wipe, just gently touching here and there to clean up.
Let it dry or use a heat tool if you don't mind the added texture of puffiness.
Do the same step with a drop of very watered down Black Soot paint.
Brush it on.
Let it rain.
Soak it up
Let it dry.
You can see on my sample urn that it is much less chunky and than the sample for this post. But I love them both!
Thank you for sticking with me for all the steps. Tomorrow I will explain how I made the dead floral arrangement in the urn.
Tami
I am an affiliate with Simon Says
Stamp and Scrapbook.com so the links below send you to one of those
stores depending on which logo you choose. If you wish to purchase
something from either store and use one of my links below, I get a small
percentage of your order, at no additional cost to you. This helps me
to defray the costs of this blog and the ideas and tutorials I post
here, and your help is greatly appreciated! Thank you!