
Hello Makers and welcome to the Simon Says Stamp blog hop for the release of the Holiday 2025 release of coordinating dies to match Tim Holtz stamps.
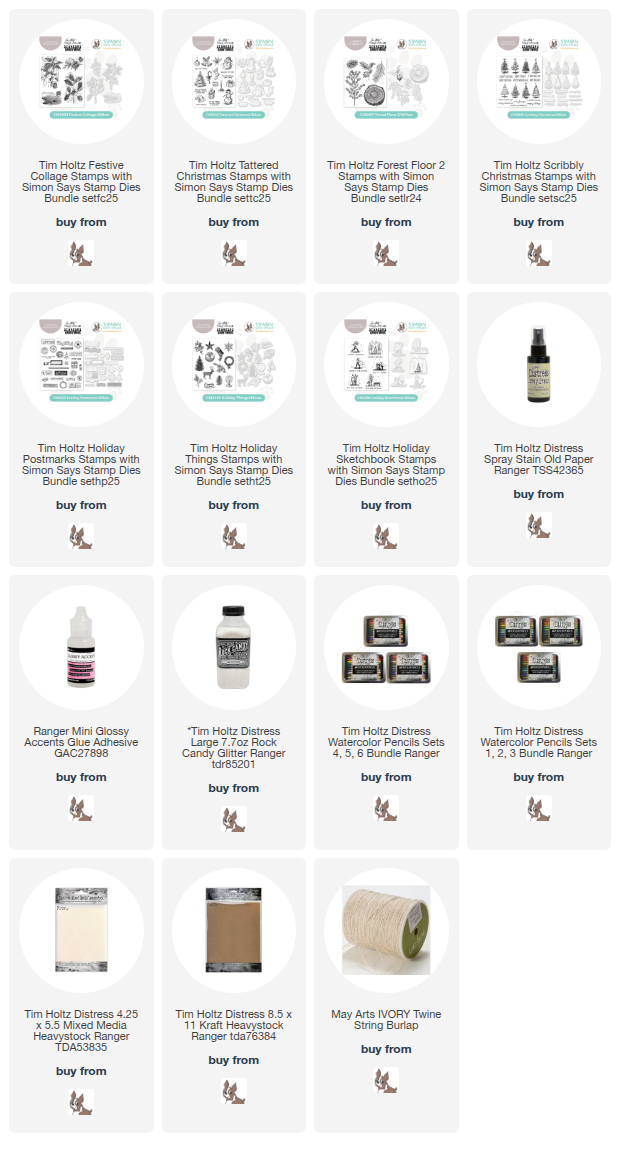
Today several of us have inspiration to share with you. At the end of the post will be the full list of participants. I also have a list of links to the products I used and to all of the newly released dies and stamps. Have fun and enjoy the inspiration!
I made some Woodslice Gift Tags or Name Placeholders using Festive Collage and Forest Floor 2 from the 2024 die release.Gather your supplies - Forest Floor 2, Festive Collage, Mixed Media Heavystock, Kraft Heavystock, Watercolor pencils, Rock Candy Glitter, Glossy Accents, Water Sprayer, Ground Espresso Archival Ink.
Stamp two of the wood slices from Forest Floor 2 onto two pieces of Kraft Heavystock in Distress Archival Ink Ground Espresso. Cut out four wood slices with the Exclusive Simon Says Stamp coordinating dies --
 t
t
Two stamped wood slices for the fronts, and two plain wood slices for the backs.
Use various brown inks to color the fronts and edges of the wood slices.
Color two pieces of Distress Mixed Media Heavystock with Water and Old Paper Distress Stain. Dry.
We will be using the two smallest stamps from the Festive Collage Stamp Set. Put one piece of the paper and the stamps in the stamping tool of your choice.
Using Distress Water Color Pencils, wet the pencils in a bit of water, then color the stamps with various colors. Once the stamp is colored, spray once with water from the Distress Sprayer and stamp onto the paper. You can usually get several stamps from one coloring so if you want to stain multiple pieces of paper before you start, to be able to stamp multiple generations, that would be a great idea!
Align the coordinating Simon Says Stamp dies over the juniper and pine portions of the stamps and die cut them out.
Once they are cut, add a little Glossy Accents and Distress Rock Candy Glitter over the images to add a bit of festive sparkle.
Depending on your purpose for these, you have a choice here. If it is a gift tag, you can just find a sentiment you like. I chose Have Yourself a Merry Little Christmas from the Tattered Christmas stamps, stamped them in Ground Espresso Distress Archival on some of the Old Paper scraps from the Festive Collage pieces, and then cut them out with the coordinating Simon Says Stamp dies.
Match up one stamped slice and one plain slice. Choose a side for the bottom that you feel is the most "flat" in case you want to stand them up later on as placecards. At the top of the slice, add some glue along the top 1/4" and glue them together.
Leave the rest of the slice open so you can write a To: From: message to the recipient, or you can stand it up as a placecard.
Poke two holes at the top where you glued the slices together.
Tie some twine through the holes in a bow. Attach the juniper and pine sprigs to the wood slice. Attach the sentiment with dimensional adhesive like foam squares.
And there you have some fairly quick and woodsy gift tags or place settings if you put guests' names in place of the sentiment and stand them up on the bottom.
HOP ORDER:
I hope you have a very creative day! 😃
Tami
I am an affiliate with Simon Says Stamp. If you wish to purchase something
and use one of my links below, I get a small percentage of your order at no
additional cost to you. This helps me to defray the costs of this channel, the
time, the ideas and tutorials I post here. Your help is greatly appreciated!
Thank you!


 t
t


