It's finally here fellow makers! Thank you so very much for your patience! I just shipped off my last seasonal make to Tim on Wednesday and have been working on editing tutorials ever since. So this is the first one for Halloween.
Warning, this project took me at least a week to make, so this tutorial is a long one. It's like taking a class and making it with me. Even with all of the editing I did it is still an hour and 47 minutes long. To help with that, for makers who just want to know how to make one thing, I have indexed the video tutorial and you can press that portion in the video description to skip to that part. It's also helpful for those who have watched the whole video and just need to see one part of it. I hope to find time to do this for my other long tutorials.
I hope you enjoy this very long class-like tutorial on Avast Me Hearties.
I included a lot of fun details in the Tavern scene!
I started with naming the tavern and that was based on what things I had available to make a sign. I got the poison and raven from the Sticker Book so my tavern is The Poison Raven.
It really was fun trying to figure out how to hang the sign. It is hanging from half a bracket Etcetera Trim. I screwed two eye hooks in it from a really old Idea-ology item of Vignette Hardware. You can get them from a hardware section I'm sure. Then I used Jump Rings to hang it.
The casks were made by adhering two barrels together. I added the Crossbones Adornments to the front and then covered some Etcetera Trims (you could use chipboard) with woodgrain paper for a bar top.
Behind the bar in the bottom left corner in front of the Baseboard door is an Apothecary Vial, some mummy cloth and an Adornment Spider.
On
the bar are two Tiny Vials and a ripped piece of one of the Layers with
script on it. I thought it was like something a pirate might be reading about treasure.
On the other end is a Skull and Drippy Candle. You adhere the candle to
the skull with hot glue, then add more drips with hot glue. Then you
need to paint the hot glue to match the candle and age it with Distress
Crayon. Fun Fact: this was what I first made the drippy candles for, to put on a skull.
The shelves in the back are Etcetera Trim Pinked, the thin ones. The labels are from the Ephemera Pack. I talk about selecting them in the video.
On the top shelf I have the poison Baseboard and another raven, for the tavern name, Then a bottle, spider and more mummy cloth.
Behind the bar in the bottom right corner are two Apothecary Vials and some Mummy cloth.
Here is a side view with the brick paper. I discuss how to cover this side in the video.
The jail cell might have been one of my favorite parts!
It begins with the cannon on top. The cannon build has its own section in the video. There was a lot involved, but the base was a large Corked Vial with a Curio Knob and a Hitch Fastener on the end.
The cannon cart was made with Mosaic Etcetera Tiles.
The ships wheel (helm) was made with a large Gadget Gear, Hitch Fasteners, a Crossbones and then some Grit Paste and paint.
Bubbles covered in a layer of Grit Paste, painted with Black Soot Distress Paint and then adding a bit of Distress Crayon in Antique Linen and Ground Espresso. make great cannon balls!
This was an example of how to cover up a mistake...details in the video.
The wheels on the cart are the circle Etcetera Shape Tiles. I covered it with Backdrops Wood paper and then added the Fasteners
I didn't realize until I started editing that I didn't put the sconce making into this tutorial. You can find it in my Ode to Poe tutorial here.
In that Poe tutorial you can see how long it took to make a similar scene without the fantastic brick paper. That paper was a huge time saver this year!
The age on the lock and the Gothic Gates was done in layers of Grit Paste and then Black Soot Distress Paint and finally Rusty Hinge and Ground Espresso Distress Crayons.
It was very difficult to get a photo of the Ring Fasteners and the chains from the Hook Clasps inside the cell. But I do show it in the tutorial. I attached Ring Fasteners fairly high on the wall and added the chains from Hook Clasps to the rings. In the bottom Jump Rings on the chains I attached the rings around the bones to make it look like the prisoner had been chained to the wall.
There are so many parts to this side of the vignette, but I will try to address as many as I can. The feet on the Vignette Panel are called Vignette Foundations. Then there is a Keyhole in the center, and on all four sides there are two strips of Cracked Leather Cardstock. I colored the cardstock dark brown, sprayed it with Distress Resist Spray and then cut it into strips. I adhered strips to each side and then drilled holes in them and attached Large Fasteners to each one to mimic the straps on a sea chest.
The top window is the smallest Vignette box. I covered it with a small Baseboard Window and a Shattered Window.
Inside you will see a sticker from the Sticker Book surrounded by a Deco Frame. I added two bats from the sticker book on the outside of the window.
The mast was made with one barrel and some dowels glued together and tied with some jute. I then draped some Mummy Cloth over the dowels to mimic sails.
I broke the dowel and attached it on the corner of the panel. I piled up a bunch of grit paste around the base to cover the Collage Medium and the small Etcetera #8 Tag Reinforcer. Then I added some bits of the broom from Graveyard to make it look like weeds were growing up around it.
Inside the bottom box is the Captain's Quarters. I used the frame from Manor around another portrait in the Sticker Book.
In the background is a map from the Palette Ephemera in a Lace Baseboard Frame that had been painted with Tarnished Brass Distress Paint and then Distress Crayon in Ground Espresso. I added a Tiny Vial also painted with Tarnished Brass, and Tiny Book (book cover from the Ephemera Pack) and a Drippy Candle on a Candlestick from Manor.
The treasure room can be as over the top as you want. I tried to stick with things within the Idea-ology line that were available.
The Curio Frame has some Foundry Wax on it to add a bit of shine.
All the things that are gold were painted with Tarnished Brass Distress
Paint and then I added touches of Foundry Wax here and there.
The image is from the Layers. I colored it with Distress Watercolor Pencils. I colored straight on the picture and then went over it lightly with the watercolor brush.
I added some Antiqued Gems that are retired but are still available. Some were used as stoppers for the Tiny Vials and others were just tucked in here and there in empty spots.
Lastly the crate. The front is the bottom part of a large Baseboard Window Frame.
I added a Keyhole on the front.
There is a lantern in the corner that lights up. and the Window Frame is held on with Tack Nails.
I
truly enjoy making tutorials to share, despite the considerable amount
of time it takes. Your likes and comments on my YouTube tutorials are so
encouraging to me, and when you tag me in your projects that were inspired by something I made it makes my day! Thank you so much!
After all this info, please let me know if you have any questions and thanks for using my affiliate links if you need anything! It helps so much!
Have a creative day,
Tami
I am an affiliate with Simon Says Stamp. The links
below send you to their store. If you wish to purchase something
and use one of my links below, I get a small percentage of your order
at no additional cost to you. This helps me to defray the costs of this
channel, the time, the ideas and tutorials I post here. Your help is
greatly appreciated! Thank you!
I used ONE of everything listed below except for:
Barrels - you will need 3 packages (I used 5 barrels)
Skull Shape Seals - I used 5 or 6 of the seals so if you can find the packet of just seals get 2
Deco
Frames - I used two of the scallopy round ones to make big gold
medallions so you will need two packs if you don’t have that frame in
your stash.
Cross Bones - if you get the pack of 6, one will be fine but if you get the pack with less you need probably two packs.
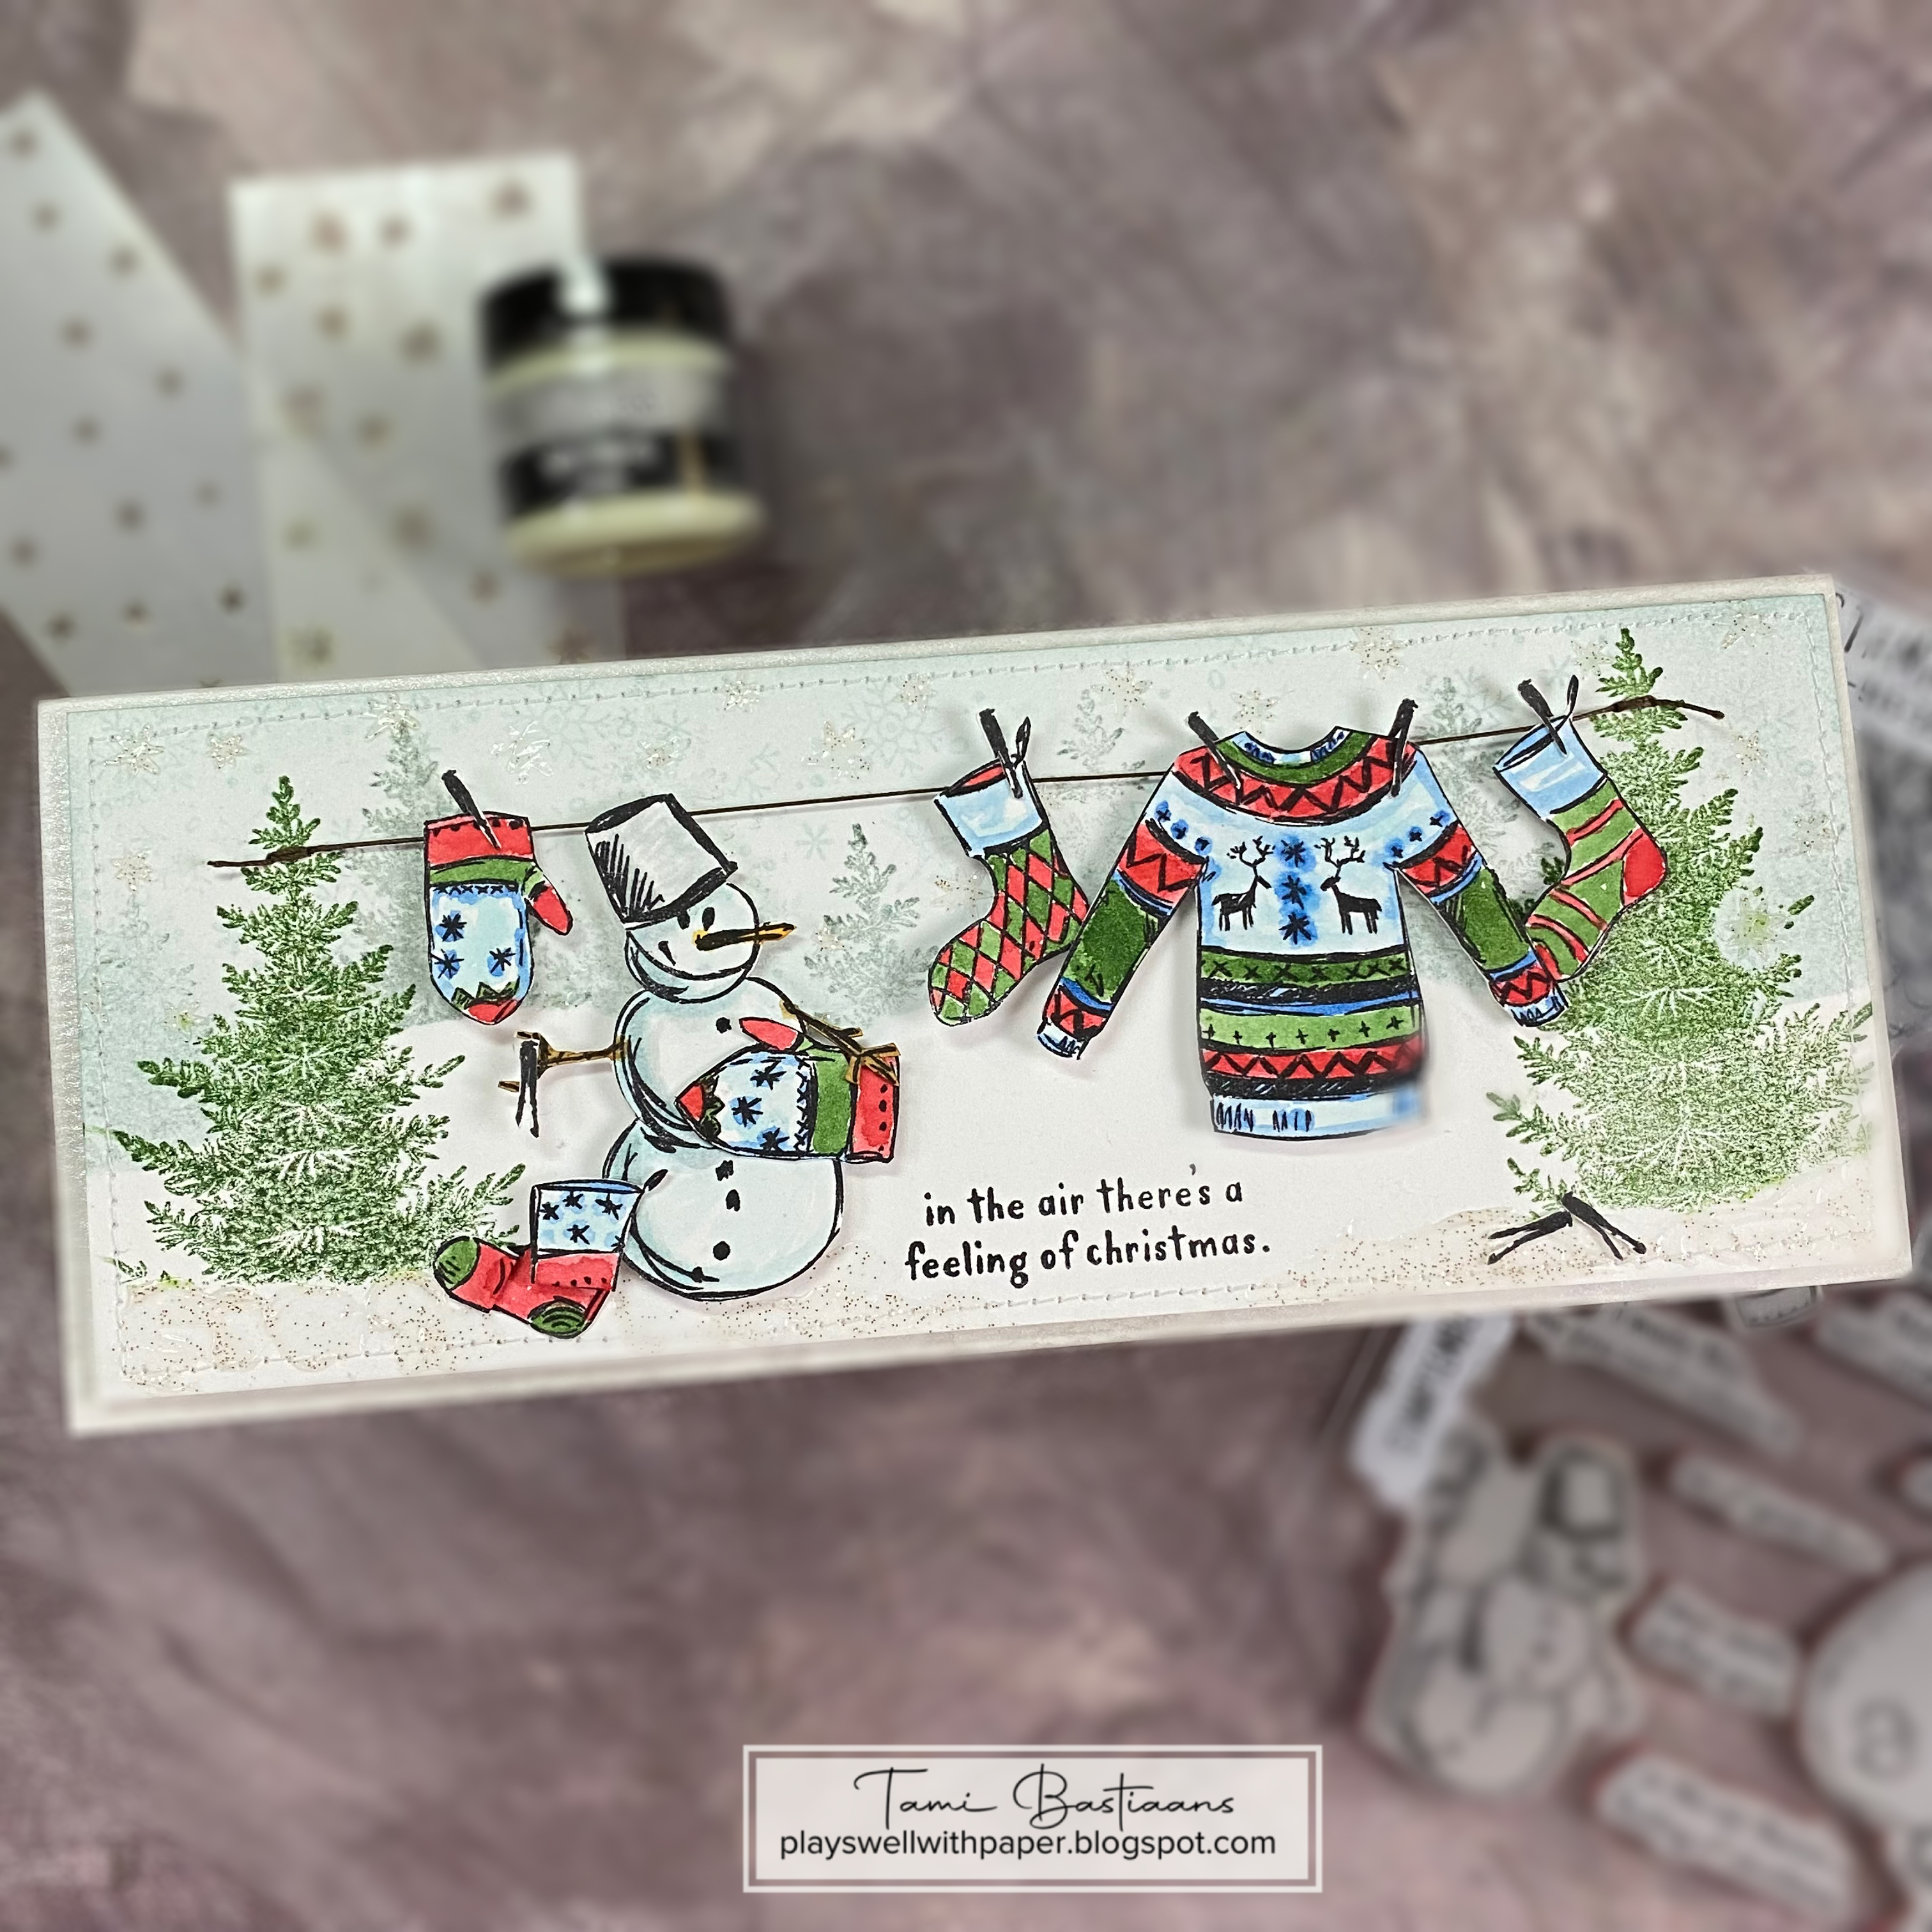
It's finally here! Tim Holtz Stamptember 2023 collaboration with Simon
Says Stamp! Remember, this is an exclusive stamp set and can only be
purchased from Simon Says Stamp. Stamptember is SSS's celebration and
support of stamping and stamping companies. They put an immense amount
of work, planning and energy into this month and it is something we
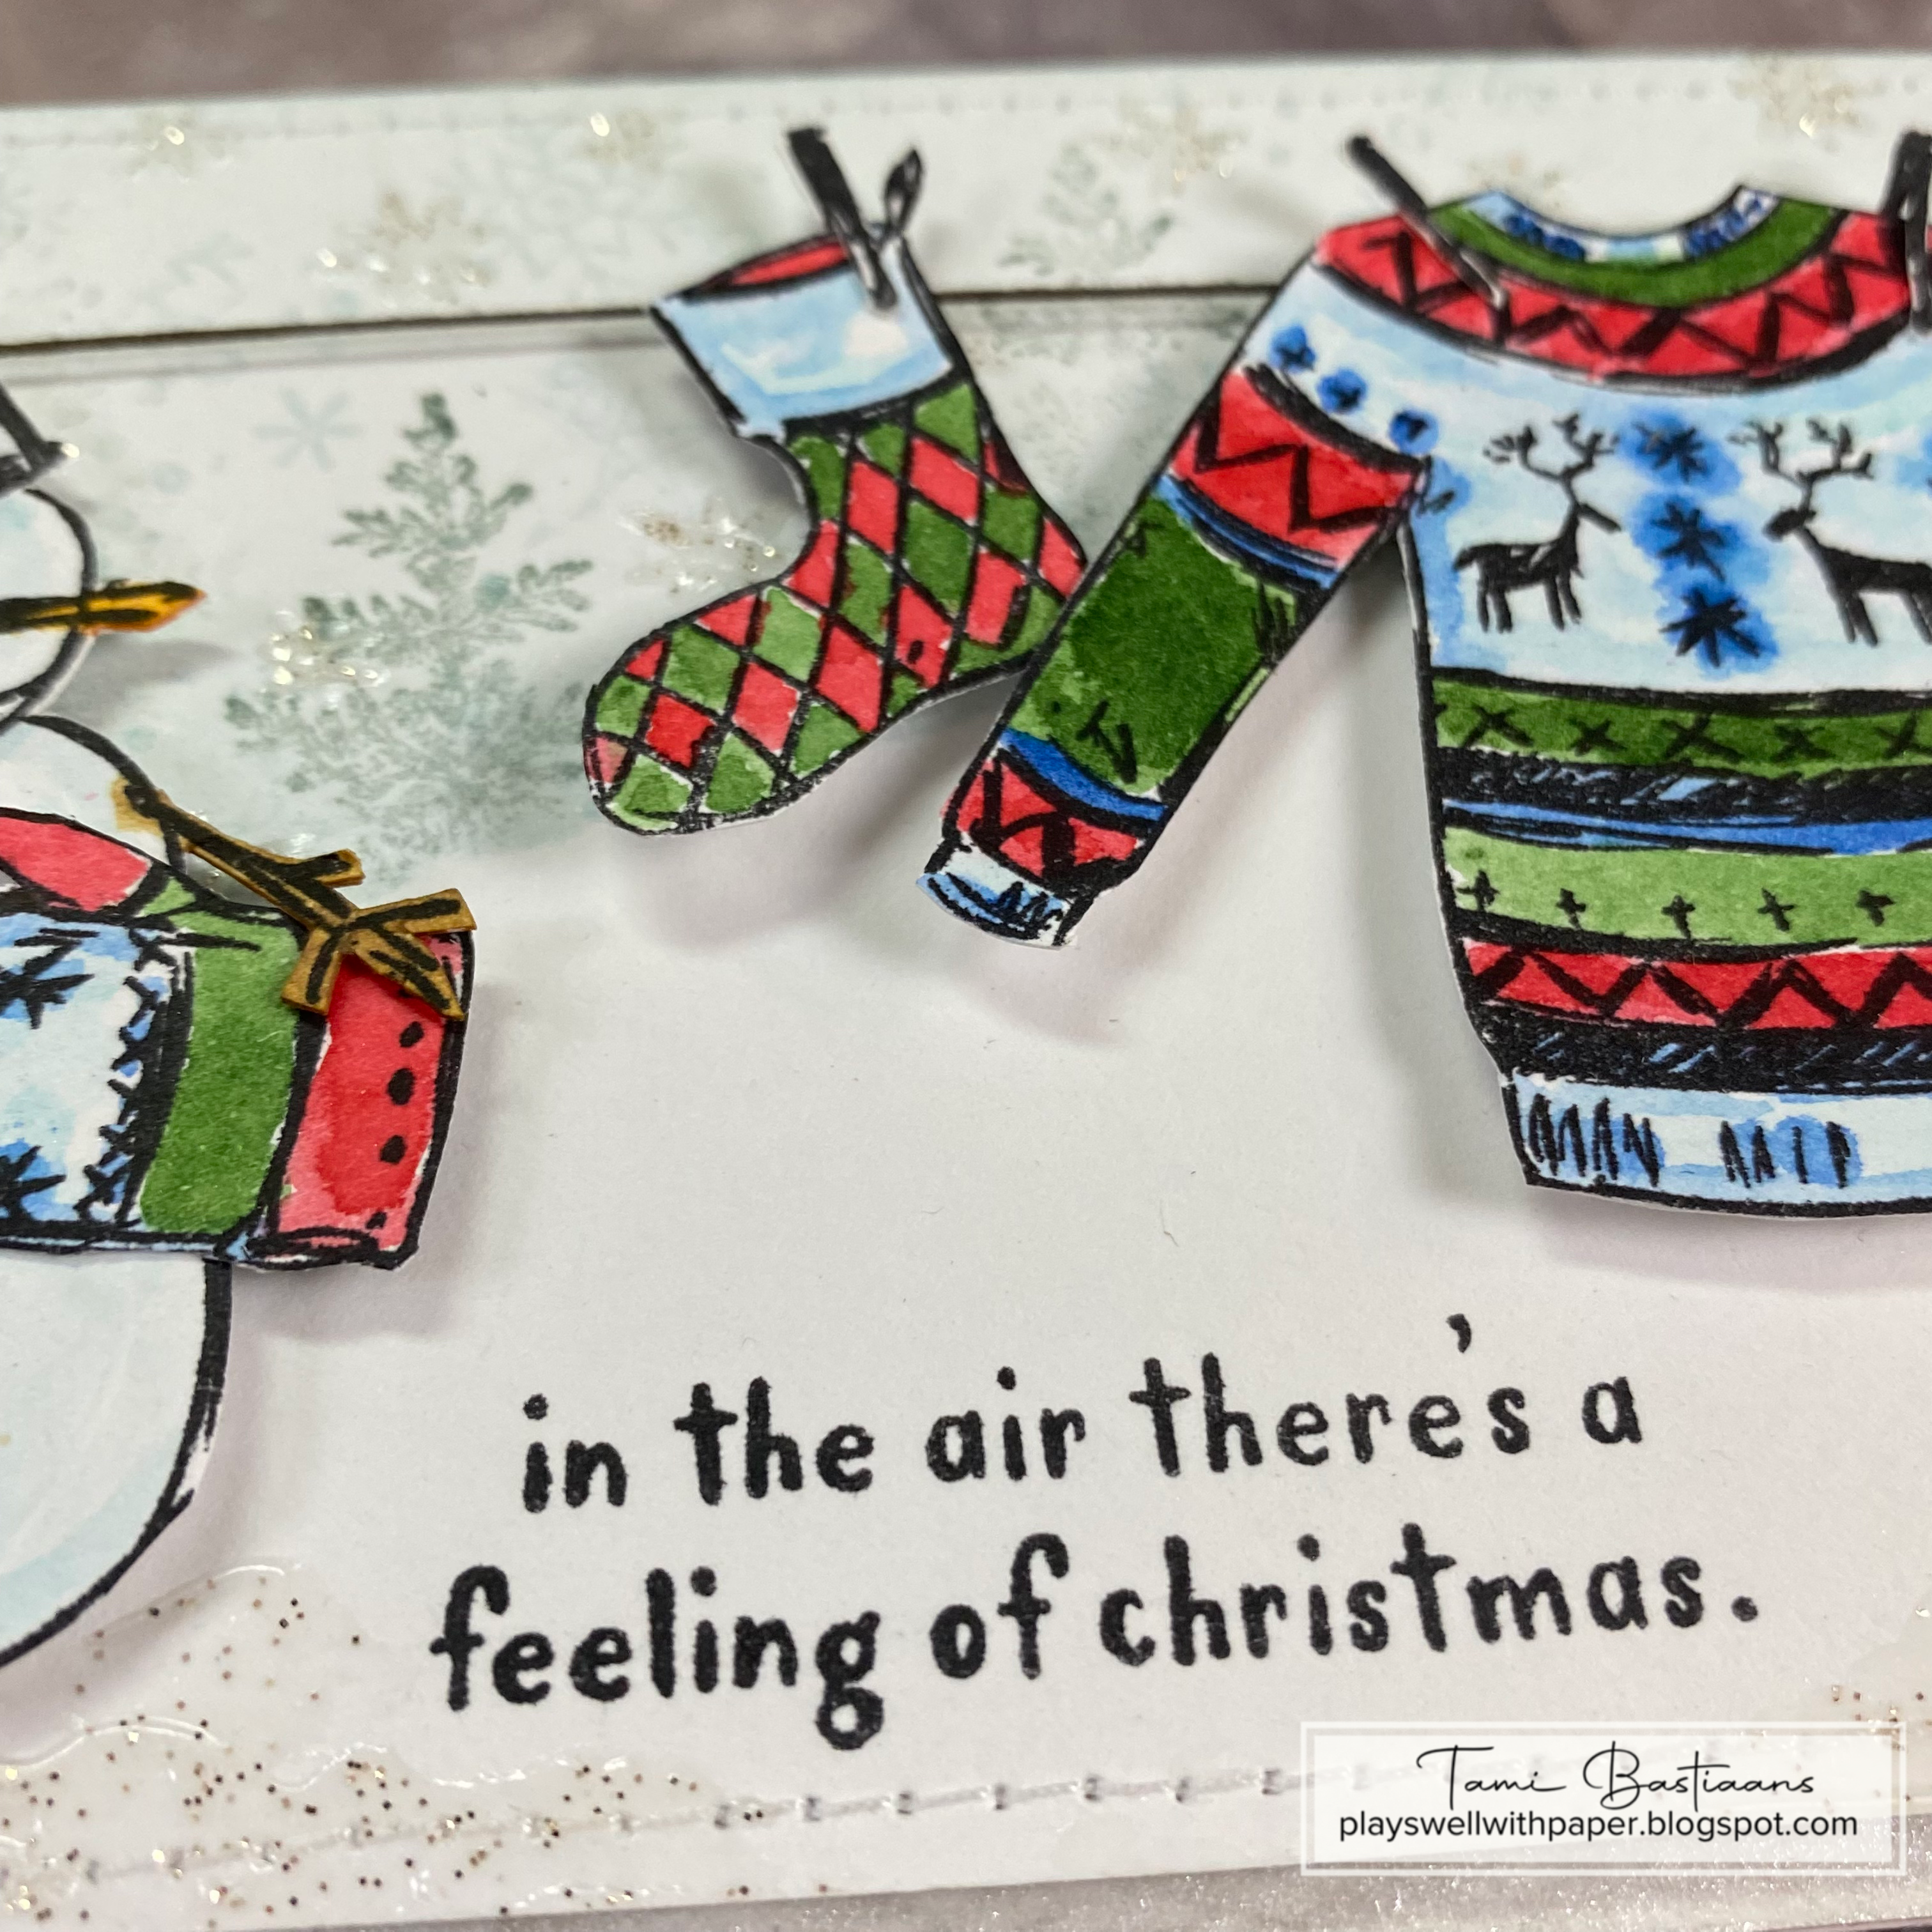
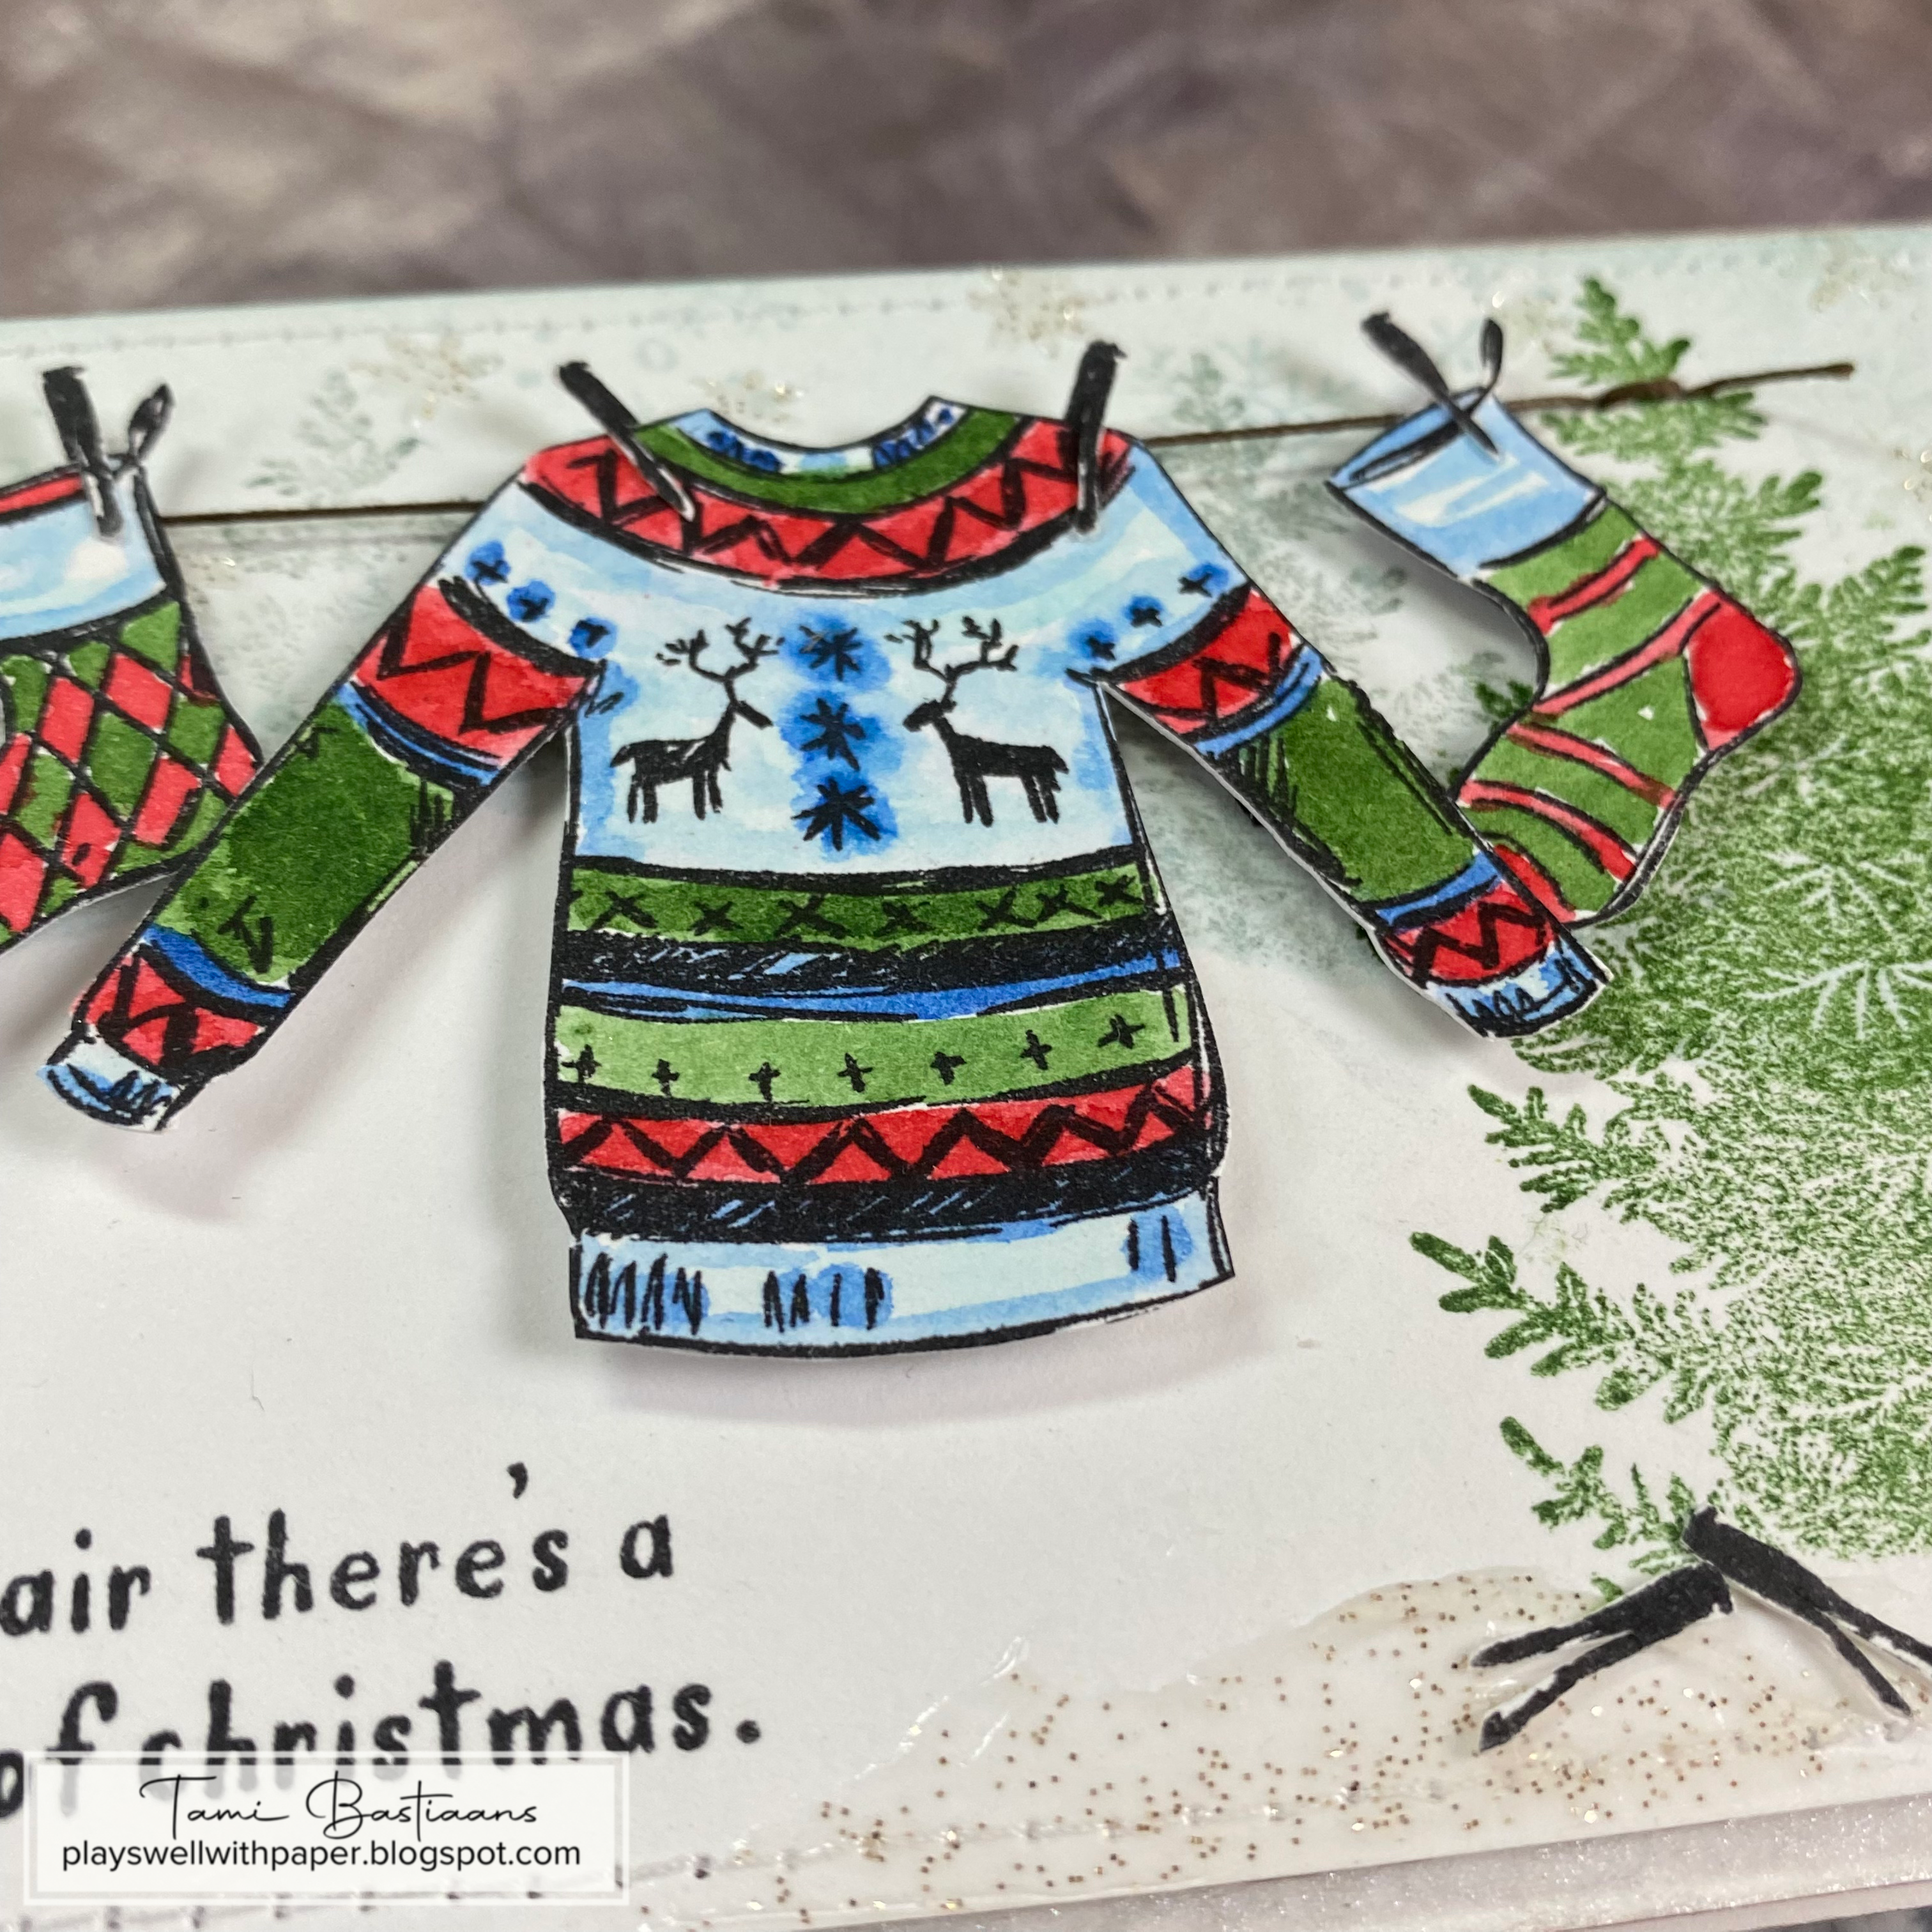
should all celebrate. So I did! Here is my sample card made with the Tim
Holtz Stamptember Set.
Fair warning, not only are these stamp sets exclusive, but they are
limited and sell out within hours to days, so if you want it, I wouldn't
wait. When it is gone it is gone and it will not be restocked. Have fun
and check out any of the remaining Stamptember sets while you are
there. Might as well take advantage of the free shipping if you can, and
support more stamp companies as well. Win/Win!
Have a creative day,
Tami
I am an affiliate with Simon Says Stamp. The links
below send you to their store. If you wish to purchase something
and use one of my links below, I get a small percentage of your order
at no additional cost to you. This helps me to defray the costs of this
channel, the time, the ideas and tutorials I post here. Your help is
greatly appreciated! Thank you!
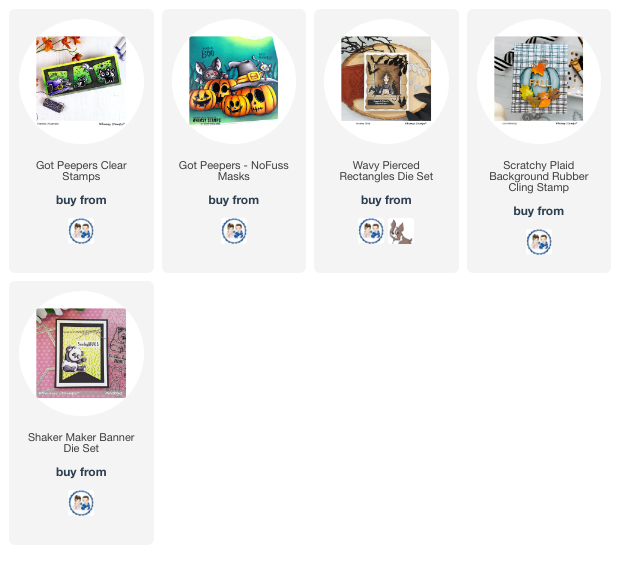
Whimsy Stamps sent me a pack of their NEW product No-Fuss Masks. These
are pre-cut masks that match several of their stamp sets so that you can
stamp and mask quickly without having to do any fussy cutting, thus the
name, No-fuss.Whimsy Stamps sent me the Got Peepers Masks that go with the Got Peepers Stamp Set.
Here is a video tutorial of me trying them out for the first time.
I stamped the sentiment on the smallest Shaker Maker Banner Die Set
The moon and clouds have masks.
The masks allowed me to stamp all these images quickly withouy having to fussy-cut them all out. Super fast!
I have to say, that these really did make masking so, so much easier! I also really
liked the fact that the adhesive was strong enough to withstand the
blending foam and repelled ink, even multiple stamps with dark ink. I
love them!
Creative convenience at it's best!
Have a creative day,
Tami
I am an affiliate with Whimsy Stamps and Simon Says Stamp so the product
links below send you to one of their stores. If you wish to purchase
something and use one of my affiliate links below, I get a small
percentage of your order, at no additional cost to you. This helps me to
defray the costs, the time, the ideas and tutorials I post here. Your
help is greatly appreciated! Thank you!
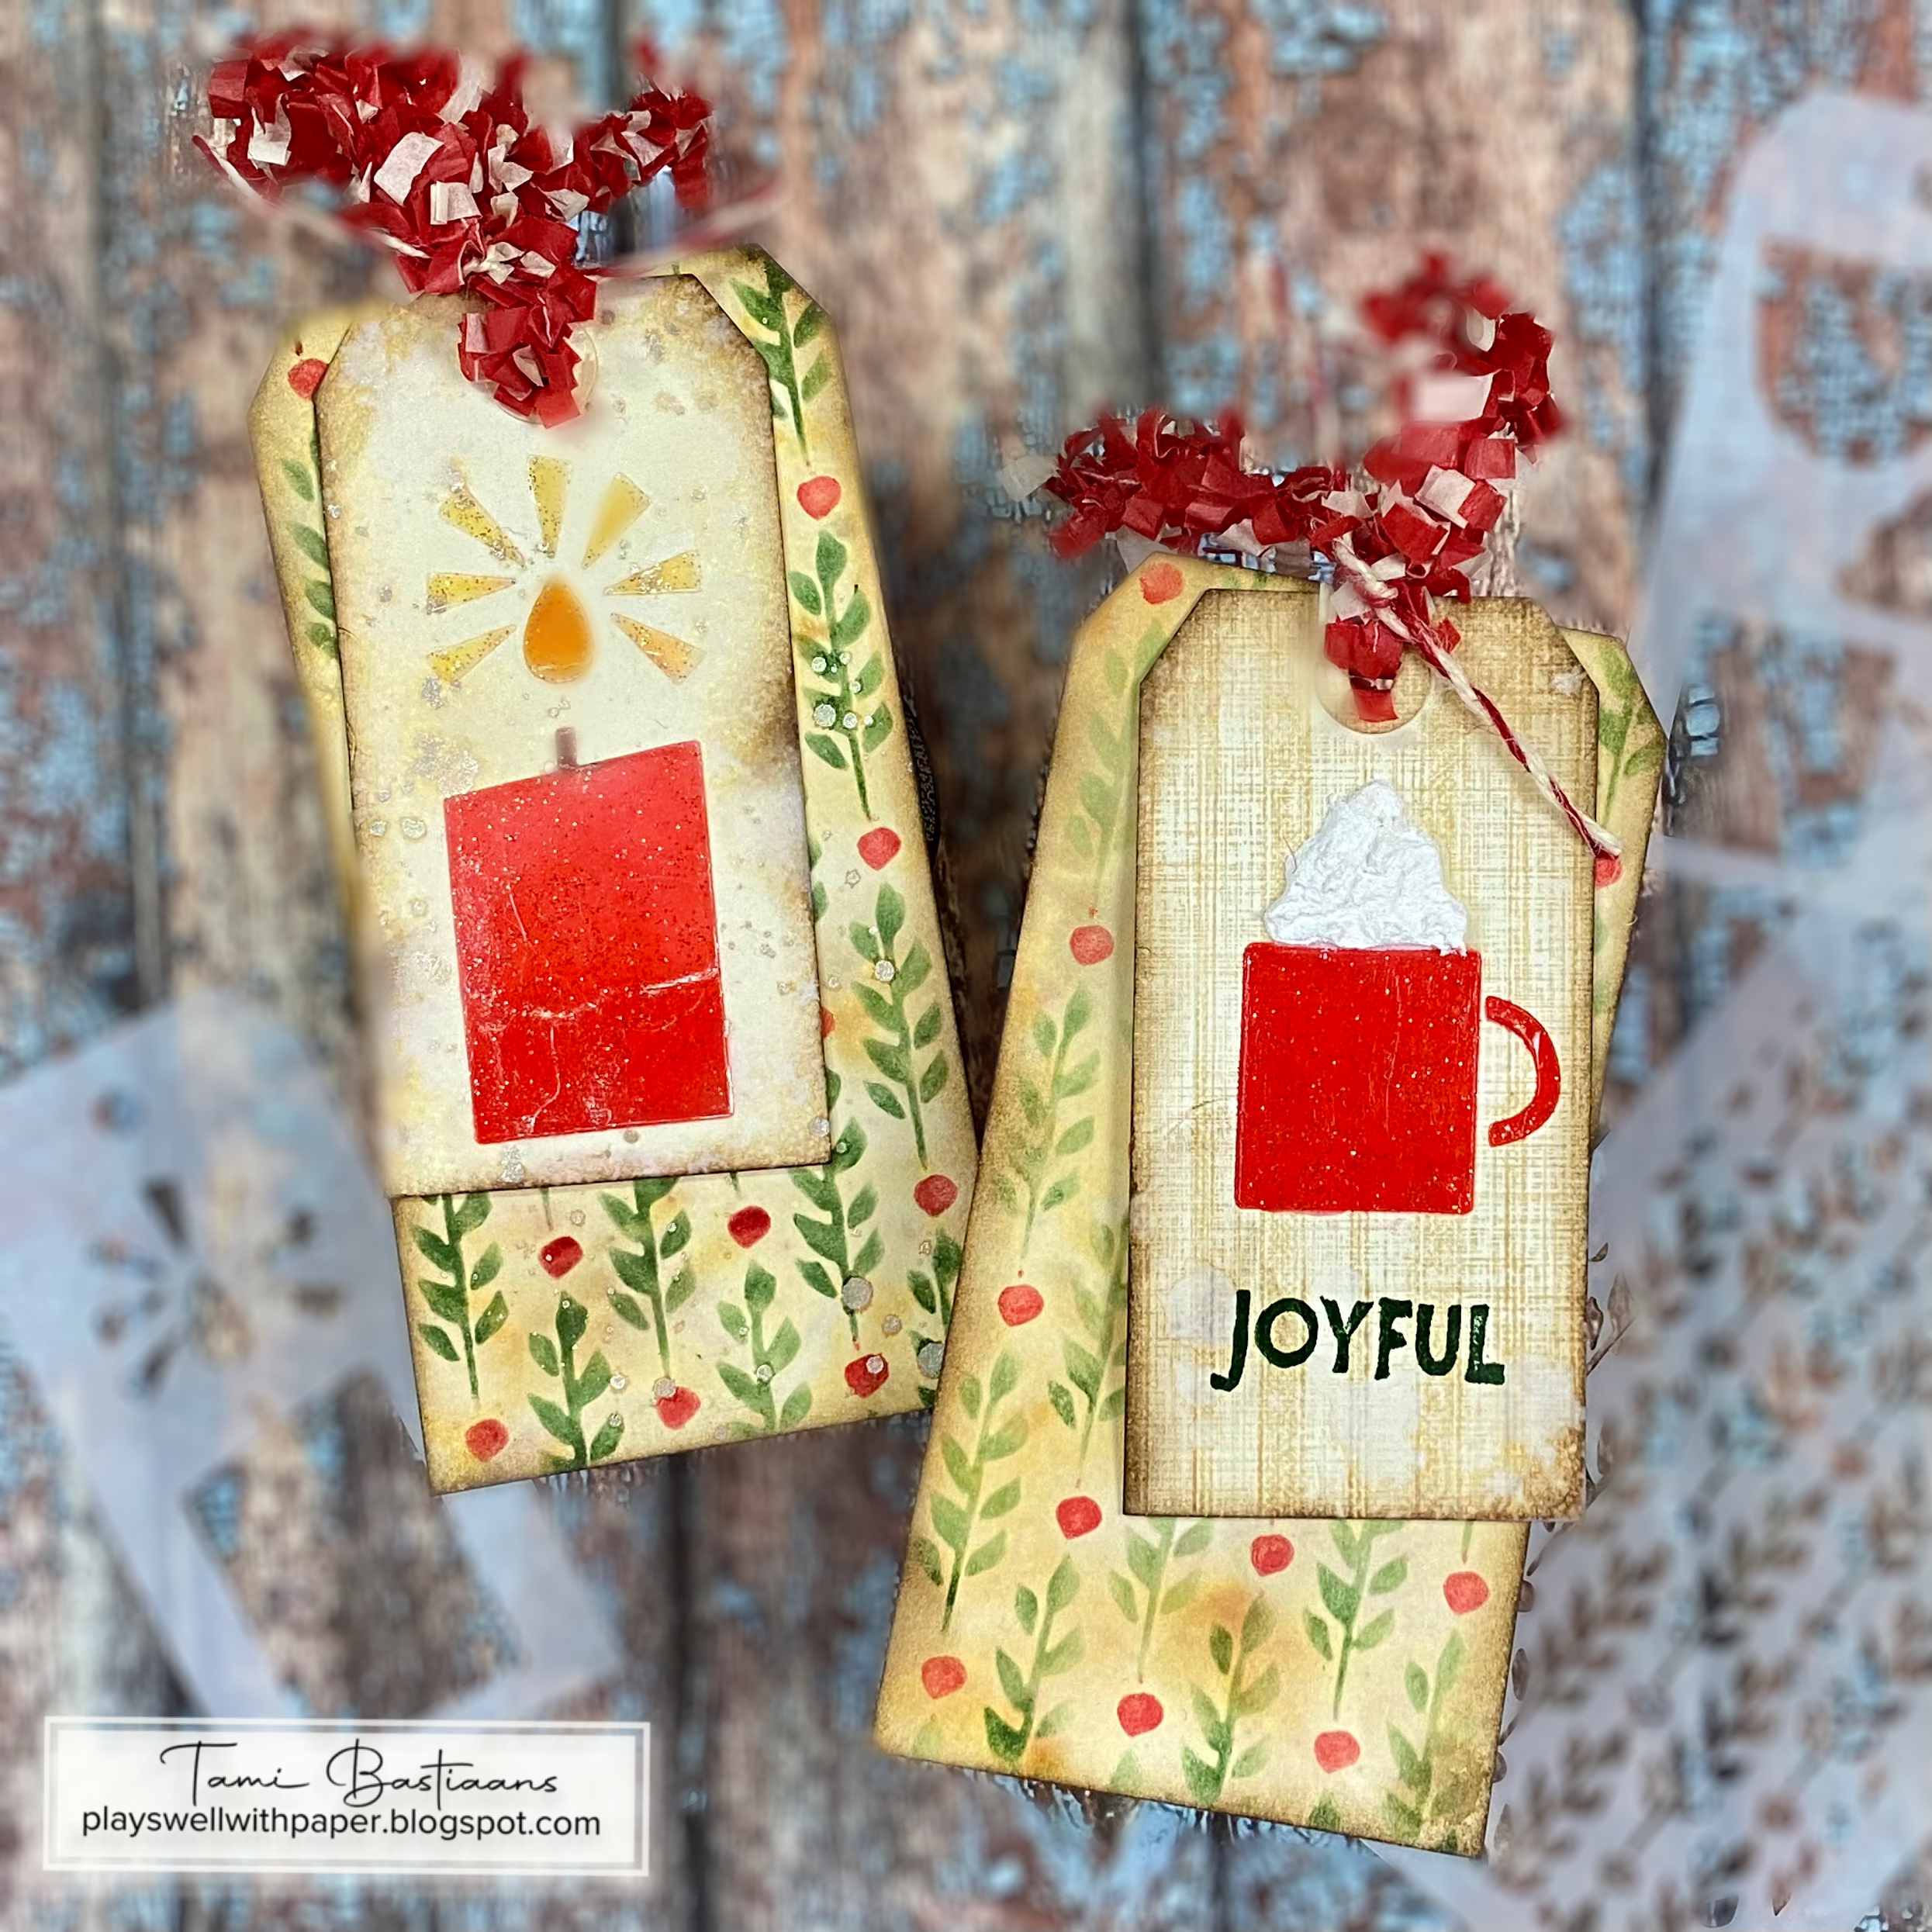
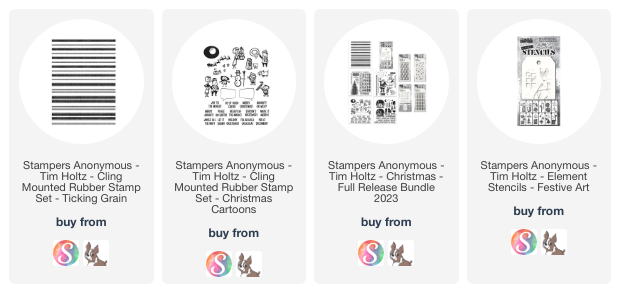
The New Tim Holtz Christmas stamps and stencils are out! I made these quick gift cards with some of the new Festive Art Elements stencils and the new Berry Leaves layering stencils.
These cute mugs are part of the stencil set, I put Opaque Texture Paste through the whip cream part of the stencil.
The background of this tag was stamped with the older Linen background stamp and the new Grain and Ticking Background stamp. The stencil is Berry Leaves.
On both the candle and the mug I stenciled them in Candied Apple and then went over them with Sparkle Texture paste.
This tag has Unraveled Mica Stain splattered on it.
Fabulous products make it quick and easy to make lovely layered gift tags.
I hope you enjoyed this brief tutorial!
Here are my other cards from this release:
Thank you for stopping by.
Have a creative day,
Tami
I am an affiliate with Simon Says Stamp, Scrapbook.com. The links below
send you to one of those stores. If you wish to purchase something and
use one of my links below, I get a small percentage of your order at no
additional cost to you. This helps me to defray the costs of this
channel, the time, the ideas and tutorials I post here. Your help is
greatly appreciated! Thank you!
Woo hoo! Christmas Idea-ology is out and ready to go! I have affiliate links to this year's Christmas and what's left of last year's if you want to stock up.
You can catch Tim's Live here:
Enjoy! It's worth watching a few times!
This was my Grinchmas inspired make.
And the back side of my Wintry Woodland make.
And this is the front side of my Wintry Woodland Make.
I will be doing tutorials on both of these projects that will be posted in November after all the Halloweening is over. That will still give you plenty of time for Christmas Holiday making.
Thank yous so much for stopping by and thank you very very much for using my affiliate links. I greatly appreciate your support!
Tami
I am an affiliate with Simon Says Stamp, Scrapbook.com. The links below
send you to one of those stores. If you wish to purchase something and
use one of my links below, I get a small percentage of your order at no
additional cost to you. This helps me to defray the costs of this
channel, the time, the ideas and tutorials I post here. Your help is
greatly appreciated! Thank you!
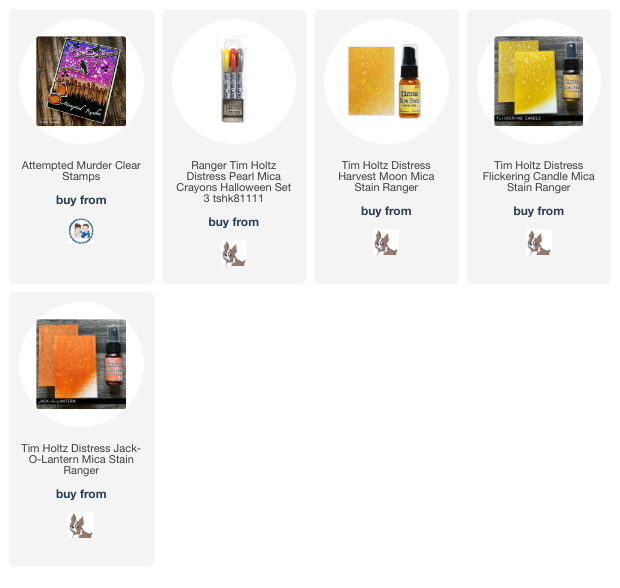
I made this card using the Attempted Murder Clear Stamps from Whimsy
Stamps. I made the shiny flames with Distress Mica Crayons and Distress
Mica Stains. The colors are linked below.
This was a quick card I made to celebrate Whimsy Stamps Creative
Director Deb Davis's birthday. Since she loves Halloween and designed
not only this tamps set but many others in the Whimsy product line, I
made a Halloween Birthday card. Happy Birthday Deb!
Thank you for stopping by and I hope you enjoyed the video tutorial!
Have a creative day,
Tami
I am an affiliate with Whimsy Stamps and Simon Says Stamp so the product
links below send you to one of their stores. If you wish to purchase
something and use one of my affiliate links below, I get a small
percentage of your order, at no additional cost to you. This helps me to
defray the costs, the time, the ideas and tutorials I post here. Your
help is greatly appreciated! Thank you!











 t
t