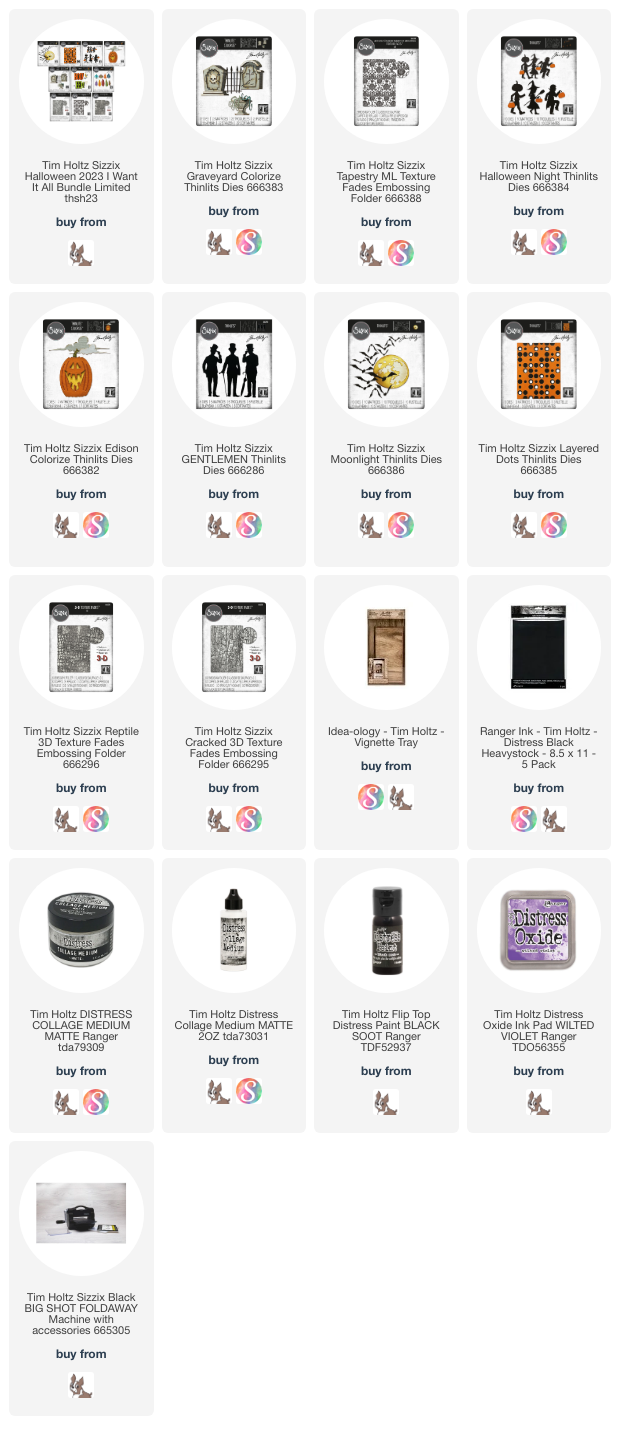
I feel like I have been waiting ages to get to share this with you. Although I was really sick when I was making this, I still had a really good time thinking it up and putting my plans into action. The Tim Holtz Sizzix Halloween release from 2023 has so many fun characters and images to work with it was difficult to choose, but the Graveyard set was of course going to be at the top of my must use list!
Here is a rather long tutorial for making this piece. I have included some stand alone sections that you could fast forward through if you wanted, such as making the "wallpaper" for the back and sides, or the section showing how to put the tombstones and urn together. I do hope you find it helpful and informative.
Another die set I included was the Gentlemen set from the everyday release earlier this year. I also incorporated the umbrella and walking stick into the scene.
The Etcetera Facades even made an appearance as a large Brickwork covered crypt.
And all three of the large trick or treaters from Halloween Night made an appearance although they were all just a little bit different than on the package art.
This is the little witch trick or treater from Halloween Night and I trimmed her hat to kind of look like a tall hat with a scarf coming out of it. Then I sat her on a tomb with a wand or scepter. She is supposed to represent "The Duchess" who is a character is the Haunted Mansion graveyard scene who is sitting in a swing with a tall hat like that and drinking tea. I didn't have a tiny tea cups so I just gave her a duchess scepter.
I put one gentleman in the back as if he is pooping up like a lot of the ghosts do in the graveyard scene, and then another behind the tomb and greeting a friend with the tip of his hat. All the the ghosts are made with Distress White Cardstock, smooth side, with a little Tumbled Glass and Lost Shadow Distress Stain.
This is the little pumpkin head trick or treater. Most of him is hidden and I put the walking stick in his hand instead of a trowel. In the graveyard scene this ghost is bricking himself into his tomb, but I didn't have a trowel. I did however have a walking stick, so I used that. This is of course all very loosely based on the real deal.
I thought it would be fun to put the umbrella on a tombstone as if one of the gentlemen set it down to tip his hat to a friend.
The little dracula trick or treater stayed pretty much the same, I just trimmed off his pointy collar so he wasn't so obviously dracula and more like a kid running around a graveyard.
I love urns. Did I manage to say that at all in the tutorial? LOL!
The moss in this piece is really there to cover up and raw edges, mistakes or unsightly bits. Yay for moss!
Also, Crypt Grit Paste is my fave!!
I popped a little rusty fencing here and there to cover errors too.
The purple lights are from the Halloween Idea-ology release.
The back and sides were covered with Black Heavystock embossed with the Tapestry Texture Fade and colored by swiping a Wilted Violet Distress Oxide Pad
Then went over the outside edges with a Black Soot Distress Oxide pad
There you have it! I hope the lengthy tutorial and close up here help or even inspire you. If I missed something in the tutorial or you have a question, please contact me in the contact section in the top right.
Thank you so much for stopping by!
Have a creative day!
Tami
I am an affiliate with Simon Says Stamp, Scrapbook.com. The links below
send you to one of those stores. If you wish to purchase something and
use one of my links below, I get a small percentage of your order at no
additional cost to you. This helps me to defray the costs of this
channel, the time, the ideas and tutorials I post here. Your help is
greatly appreciated! Thank you!
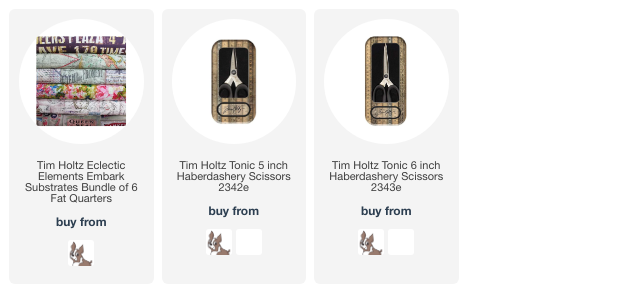
Today I'm sharing a little restyling technique I do often. I have been collecting Minnie Ears from Disneyland (and in recent years Walt Disney World as well.) In the beginning, Disney had a very limited selection of ears, so if you wanted special ones for a holiday or something, there really weren't many choices. Now, you can find ears for almost any occasion, and Disney keeps coming out with more every week it seems like! But even with all the choices, sometimes you just want to add your own spin to fit a certain event or style, and that's what I did here with Tim Holtz Bouquet Embark Canvas Fabric.
Here is a video explaining how I restyled my first ever Disney Ears and made a shirt to match.
Back in the early days of Disneyland, you bought ticket books with letters on them and you handed over tickets to each ride operator. Rides ranged from A ticket rides to E tickets which were the longest and most thrilling. Alice in Wonderland was a D ticket and you handed over at this darling giant mushroom. It is one of several old ticket booths that still exist in Disneyland (as something different of of course!)
After taking these pictures I loved seeing how beautifully the colors from the Bouquet fabric fits perfectly with the Alice theme and colors in that area. Don't you love the caterpillar vehicles?
Thanks so much for checking out this shor tblog and tutorial.
Have a creative day!
Tami
I am an affiliate with Simon Says Stamp, Scrapbook.com. The links below
send you to one of those stores. If you wish to purchase something and
use one of my links below, I get a small percentage of your order at no
additional cost to you. This helps me to defray the costs of this
channel, the time, the ideas and tutorials I post here. Your help is
greatly appreciated! Thank you!
Hello!
This is the second of the cards I have made for the Whimsy Stamps
Halloweeners Design Team. I had this card planned to make for last year
but just never got around to it so I saved the sketch and made it this
year.
This is the video tutorial I made for this card. It is a little longer than I planned because I had a "scary" experience in the middle of filming and so I told all about it. Hahahaha. So if you aren't one for story telling during a tutorial, just ff through that part or mute me and watch the video in ff. LOL
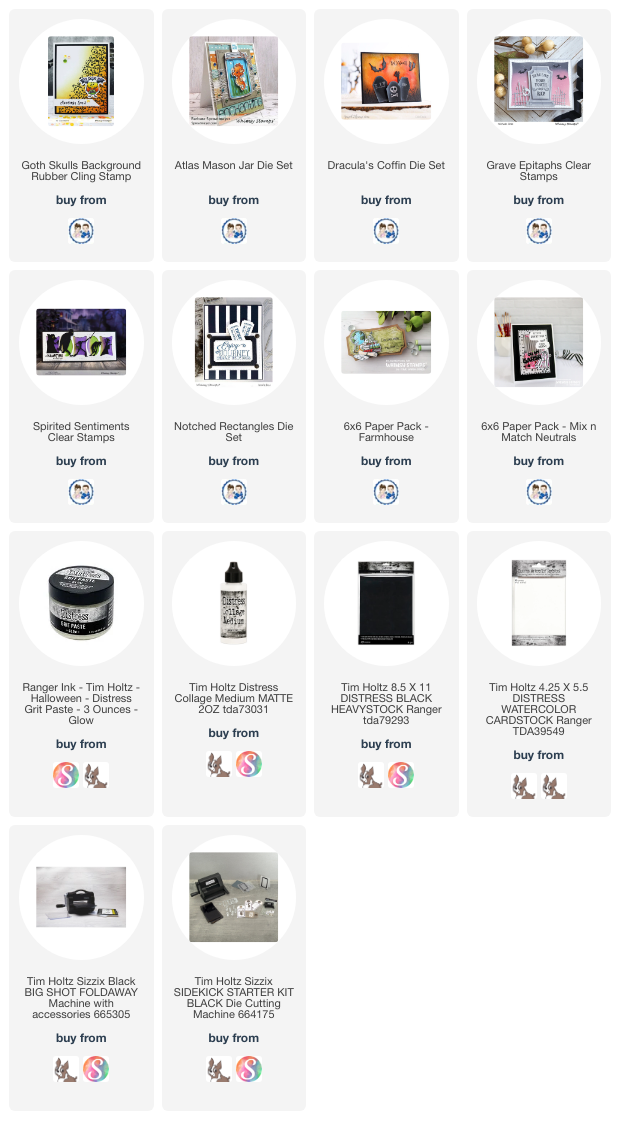
I used the Notched Rectangle Die to cut the woodgrain paper from the Farmhouse Paper Pack. Then added a Large Fastener from Tim Holtz Ideaology. I put just a tiny bit of Distress Crypt Grit Paste on each brad or Long Fastener and it made them look old and rusty.
This is the Mason Jar Die from Whimsy Stamps. I stamped the Goth Skulls Rubber Stamp onto paper and inked it before I die cut the jar to make it look like it was full of skulls.
The lid was colored with Brushed Corduroy Distress Stain and then I put some Distress Crypt Grit Paste on it to mimic crusty rust.
The label was made from the large tombstone die in the Dracula's Coffin Die Set as was the skull. The sentiment was from Spirited Sentiments Clear Stamps and the two leafy images were from the Grave Epitaphs Clear Stamp Set.
The cracks in the background paper were from the Grave Epitaphs Clear Stamps. I color some Distress Watercolor Cardstock with some Pumice Stone Distress Stain with a couple of drops of Brushed Corduroy Distress Stain, then stamped the cracks from Grave Epitaphs in Black Soot Archival Ink.
That's basically all there was to this card. I included some additional details in the video tutorial.
Thank you so much for stopping by and reading through this post! I'm thankful you appreciated the time it took to make this post enough to read through to the end.
Have a creative day!
Tami
I am an affiliate with Whimsy Stamps, Simon Says Stamp and Scrapbook.com, so the product links below send you one of those stores. If you wish to purchase something and use one
of my affiliate links below, I get a small percentage of your order, at
no additional cost to you. This helps me to defray the costs, the time,
the ideas and tutorials I post here.
Your help is greatly appreciated! Thank you!
Welcome to the first of many cards and projects I will be making this
year as part of the Whimsy Stamps Halloweeners Design Team from August 1,
2023 to October 31, 2023. The DT decided we wanted to kick the
Halloween making season with an Instagram Hop and this is the card I
featured in the hop.
This is a walk through type tutorial more than a watch me do every step
type of tutorial, but I hope you find it helpful none the less.
Here are some pictures of the details.
I love messy stitching on Halloween projects!
Thank you so very much for visiting! I truly appreciate it!
Have a creative day,
Tami
I am an affiliate with Whimsy Stamps so the product links below send you
the Whimsy Stamps store. If you wish to purchase something and use one
of my affiliate links below, I get a small percentage of your order, at
no additional cost to you. This helps me to defray the costs, the time,
the ideas and tutorials I post here.
Your help is greatly appreciated! Thank you!
Here is the second project I made using the new Mosaic Etcetera Tiles
from Tim Holtz and Stampers Anonymous. The entire Etcetera line is
really affordable, convenient and makes creating adorable projects a
breeze. I had a great time making with them.
This project uses another Etcetera product, the Small Tombstone Overlay,
as well as product from the 2022 Halloween Idea-ology release. In the video tutorial, I do
share some ideas for using some of this year's Halloween Idea-ology,
which wasn't released when I made the sample in my video, so I added a
segment after the release. If you have any questions after watching the tutorial I happy to try and answer any questions to try and help. the best way to contact me is through the contact section in the right hand column.
I thought this dapper gentleman looked like an older version of the man in the frame at the top of the tombstone. I felt this section could tell his story from that young, esteemed man to the older gentleman who eventually met his demise.
I went around each tile with some Distress Crayon in Walnut Stain or Ground Espresso on my waterbrush to accentuate the cracks inbetween the tiles and also to color the grit paste in the corners and along the edges so the tombstone looked old and weathered.
I covered the tiles with Distress Wallpaper Scraps from the Halloween 2022 release. I think they are such beautiful papers and I love the floral pieces and strips included!
I only used the small part of the bottom of the Tombstone Overlay since the tiles were a bit larger than the tag base so the larger part at the bottom looked funny. This little bottom piece was perfect and I added a metal feather signifying him being a pharmacist/chemist who wrote prescriptions and things a lot.
This story using the Clippings Stickers from the Halloween Sticker Book tells the story of how he went from an eccentric but estimable man to going crazy.
This shows the bottom part of the tombstone as well as some of the ephemera I layered behind the paper doll.
This shows the upper bits of the layers I included behind the paper doll. Like I said above, in the video gave some ideas for choosing ephemera and layering it behind him.
As always, I hope you found something in the tutorial or post for this project that inspires you to want to create something in your own style.
Have a Creative day!
Tami
I am an affiliate with Simon Says Stamp and Scrapbook.com. The links
below send you to one of those stores. If you wish to purchase something
and use one of my links below, I get a small percentage of your order
at no additional cost to you. This helps me to defray the costs of my
Youtube channel, the time, the ideas and tutorials I post here. Your
help is
greatly appreciated! Thank you!
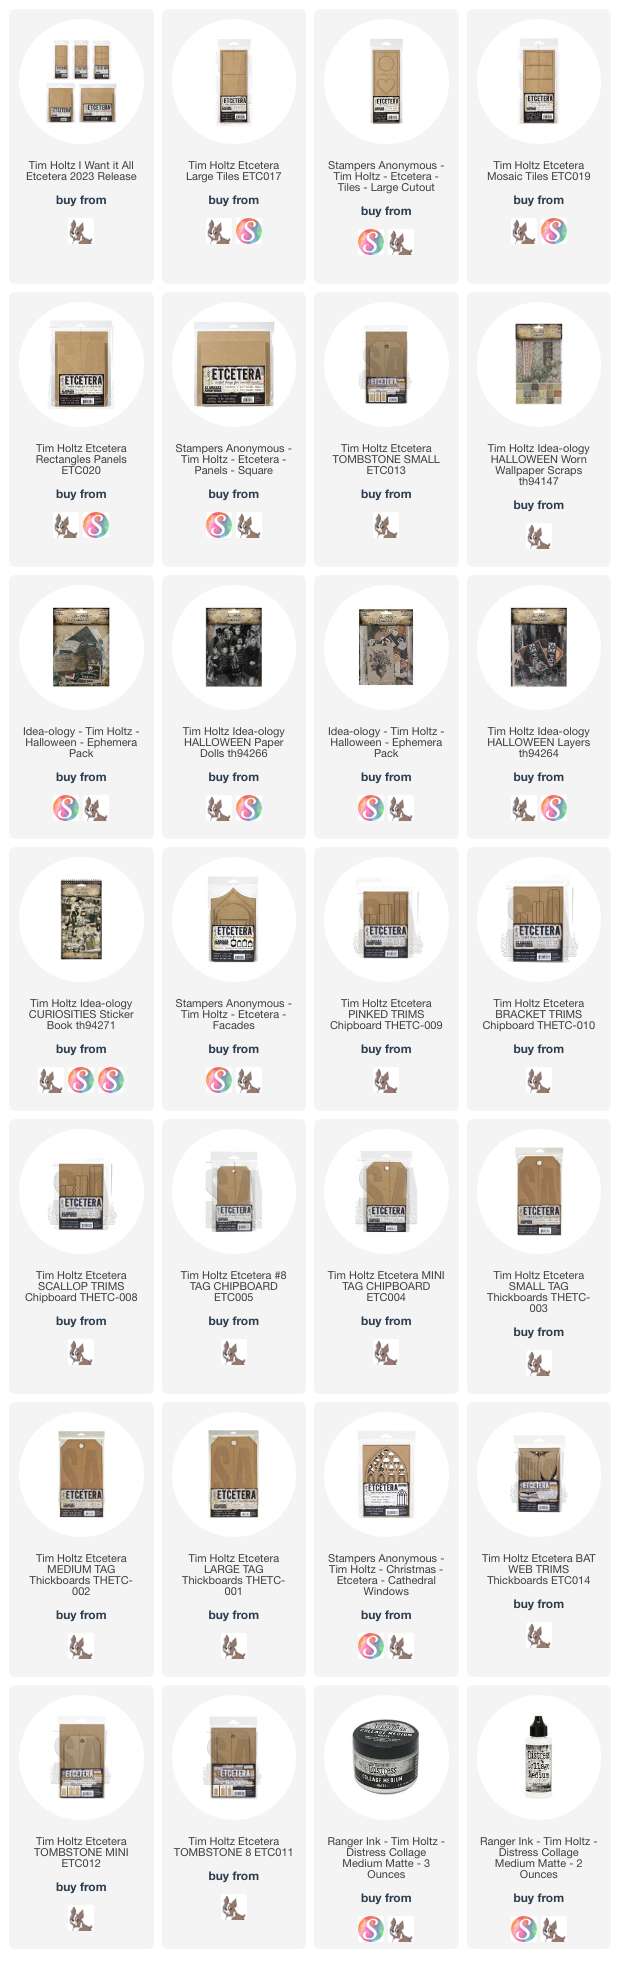
Hey makers! I am so excited any time Tim Holtz and Stampers Anonyous
release an addition to the fabulous Etcetera line. Etcetera is a pressed
paper board that is designed and cut at the Stampers Anonymous factory
in Ohio. It's awesome! I have the entire line linked below.
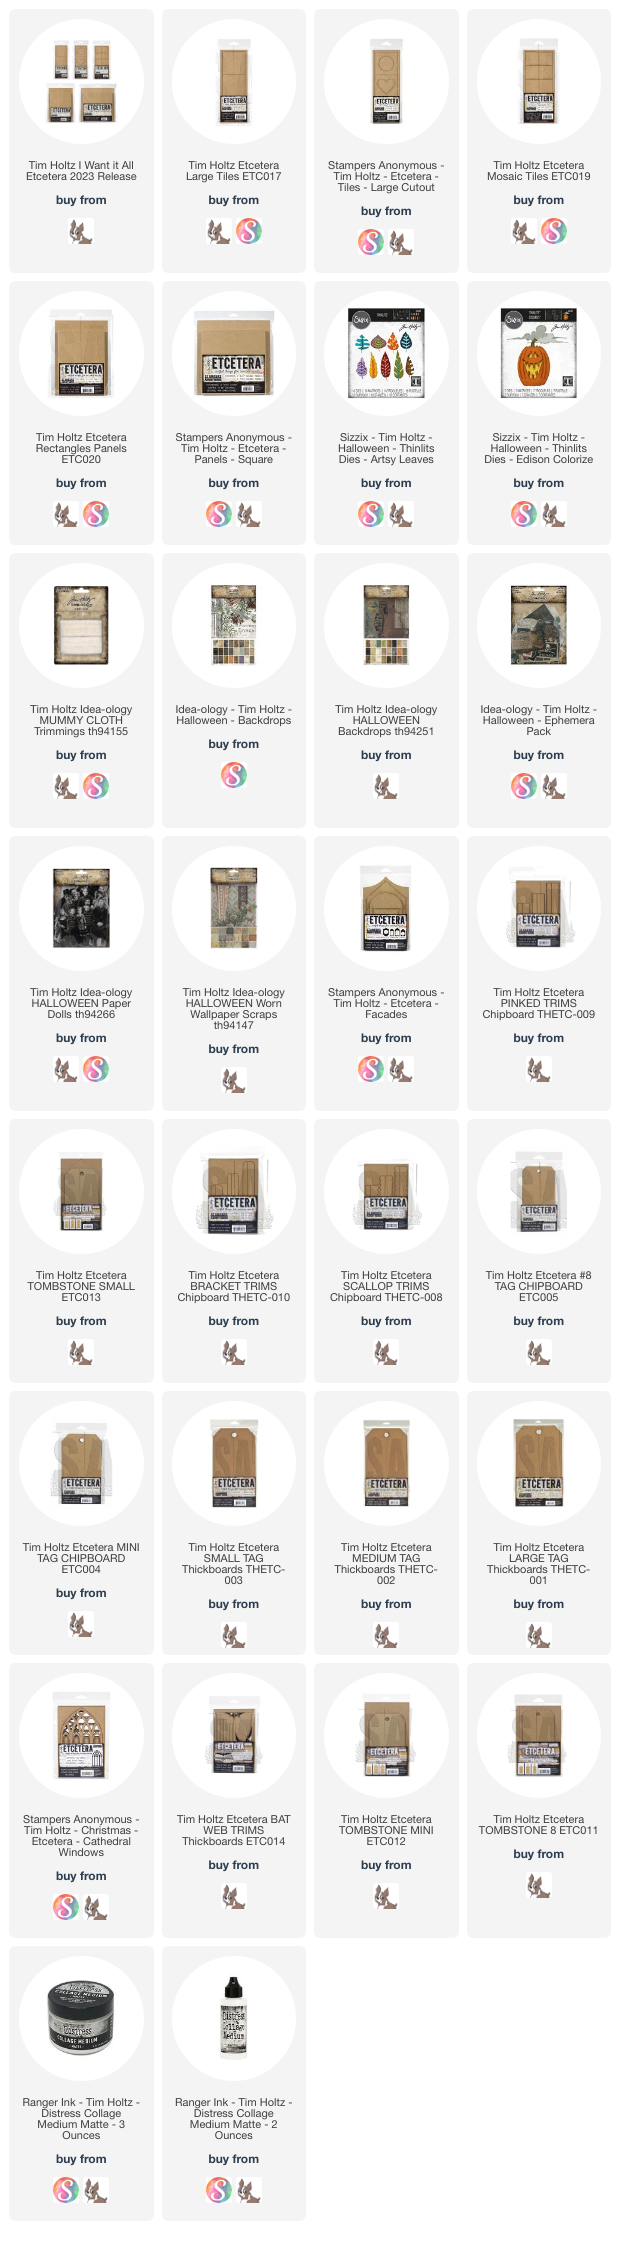
This is one of the projects I made using the Square Panels, Mosaic
Tiles, Large Tile Cutouts, and Pinked Trims. I included the new Edison
pumpkin die and Artsy Leaves dies as well as paper from the 2022 and
2023 Halloween Idea-ology releases.
Here is my short tutorial on this quick and easy make!
Thank you for stopping by my blog. If you have any questions about the details that I didn't cover in the video tutorial, feel free to shoot me an email in the contact section in the right hand collumn and I will get back to you as soon as I can.
Have a creative day!
Tami
I am an affiliate with Simon Says Stamp and Scrapbook.com. The links
below send you to one of those stores. If you wish to purchase something
and use one of my links below, I get a small percentage of your order
at no additional cost to you. This helps me to defray the costs of my Youtube channel, the time, the ideas and tutorials I post here. Your help is
greatly appreciated! Thank you!