Reminiscent of a safari I took at the base of Mount Kilimanjaro when I
lived in Kenya, this piece showcases both Clarence and Mini Clarence in a
scene inspired by the Clarence and the Watering Hole project I made
back in 2021.
Here is the video tutorial of this make.
The Alpine dies on the tag appear farther back because they are higher up on the tags, and the greenery in front appears to be closer to us. it all works as forced perspective.
To mirror the orientation of Clarence, you just need to cut the paper with the die facing the back of the paper, then assemble and it will be facing right instead of left.
I love how the burlap embellishments turned out using an old Christmas
die set called Holiday Blocks and the Woven 3D Texture Fade.
To give the greenery a little height and to help stand Clarence up away from the tag (again to help with the perspective)I added some of that wrapped wire that I used on the Mini Winnie Vacation dome to make the palm tree trunk. Here I just cut a short piece to attach to the greenery in the front. Then I poked a hole in the top of the box and glued the taller piece into the hole for Clarence and also to attach more greenery. The higher pieces of greenery also help the mountain to feel farther in the background.
I attached the large Clarence to the front of the bottom box and that was plenty to secure him in place.
Those burlap pieces are so good!
I opted not to put greenery all the way around this time and to decorate both boxes instead. I also chose just to make a watering hole on the top and not have it spilling over as a waterfall this time.
Thanks you so much for spending some time with me and this piece. I really love how it turned out and I hope you like it too!
Tami
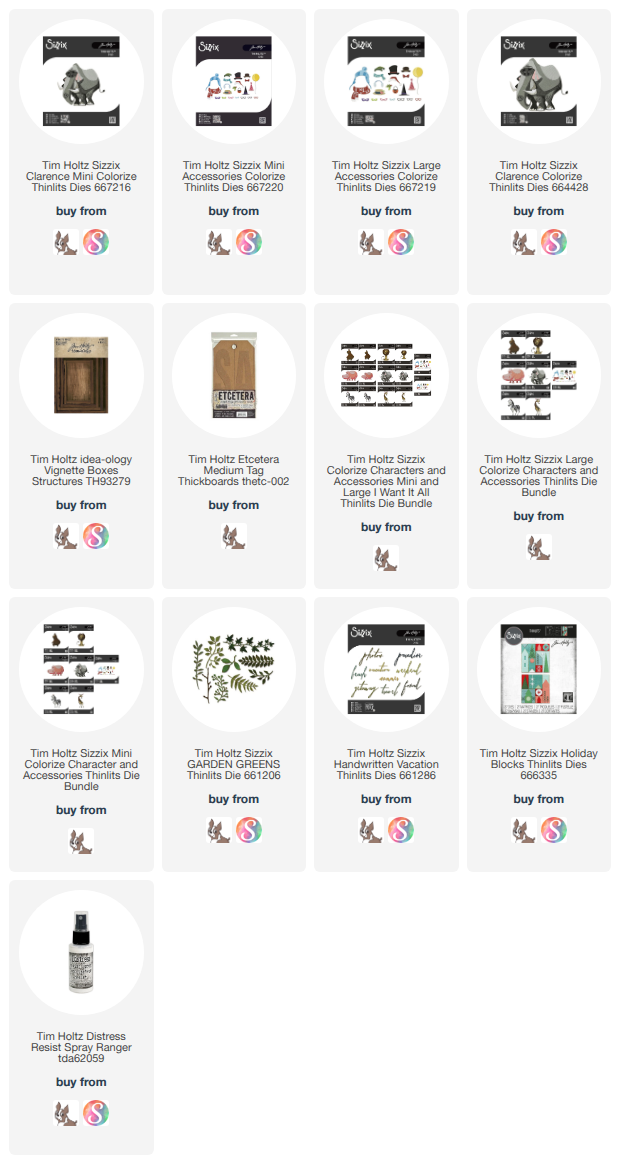
Below are my affiliate links to some of the products I used to make today's project.
Such a stunning make Tami. LOVE the special connection you have to this make through your time in Kenya. The textures you achieved on the elephants skin and the lovely details which reference some of the lovely shapes and batik fabrics found in Africa. So wonderful xoxo


2 comments:
Such a stunning make Tami. LOVE the special connection you have to this make through your time in Kenya. The textures you achieved on the elephants skin and the lovely details which reference some of the lovely shapes and batik fabrics found in Africa. So wonderful xoxo
Beautiful and very creative.
Post a Comment