

Hello Makers! Today I have a card to share with you using the final sets of Distress Oxide Minis. The technique for this card is a simple one that works so perfectly with Oxides due to their opaque quality that allows for layering stamped images. I’m inviting you to come along, and let’s get making!
Here is the video tutorial for this card.
If you would like to see the written version of this tutorial with step out photos, check out Ranger Ink's blog here

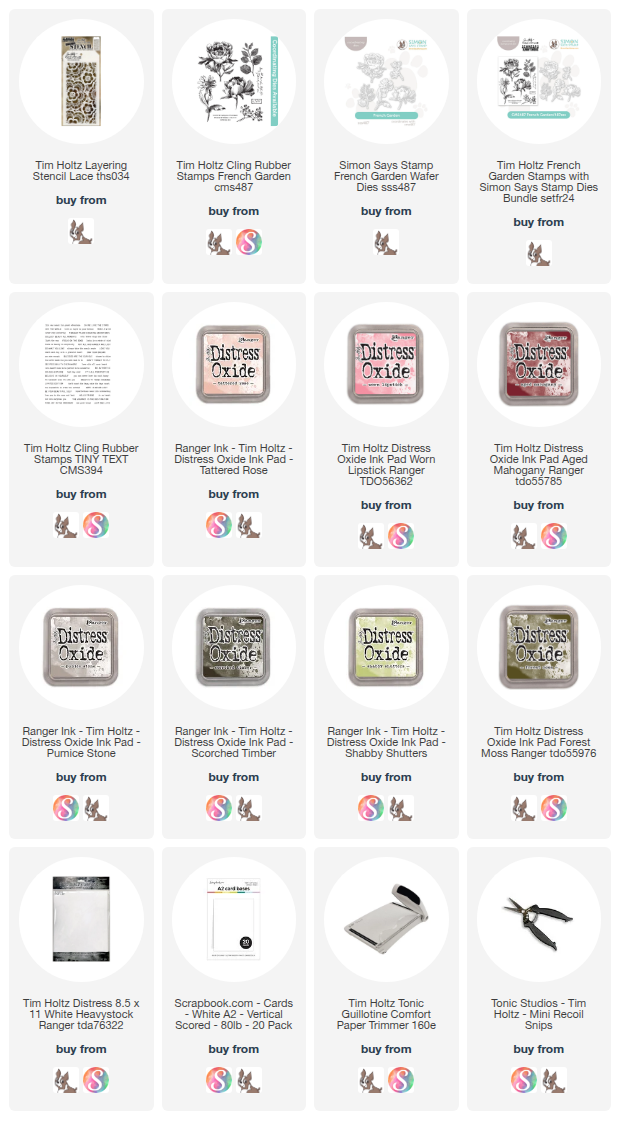
Gather all the supplies

Using a Blending Tool and Blending Foam, begin blending a background through the Lace stencil and onto an A2 piece of White Heavystock in Tattered Rose Oxide.

Using the text stamps on French Garden, stamp them in various places on the background in Pumice Stone Oxide.

Get the leaf stamp from French Garden and place it in the top right corner. Stamp the edges of the leaves with Shabby Shutters.

Ink just the stem with Brushed Corduroy or Scorched Timber and stamp. then ink the inside/bottom of the leaves with Forest Moss and stamp.


Don't the oxides layer so beautifully?
I hope you enjoyed this simple card! Thank you for stopping by.
Tami
No comments:
Post a Comment