Field Notes - Simon Says Stamp Coordinating Dies Blog Hop
Welcome to the Simon Says Stamp Blog Hop featuring exclusive coordinating dies to match Tim Holtz stamps. I hope you are enjoying the inspiration from all of the blog hop participants today.
I've chosen to use the Field Notes stamps and dies for my card today.
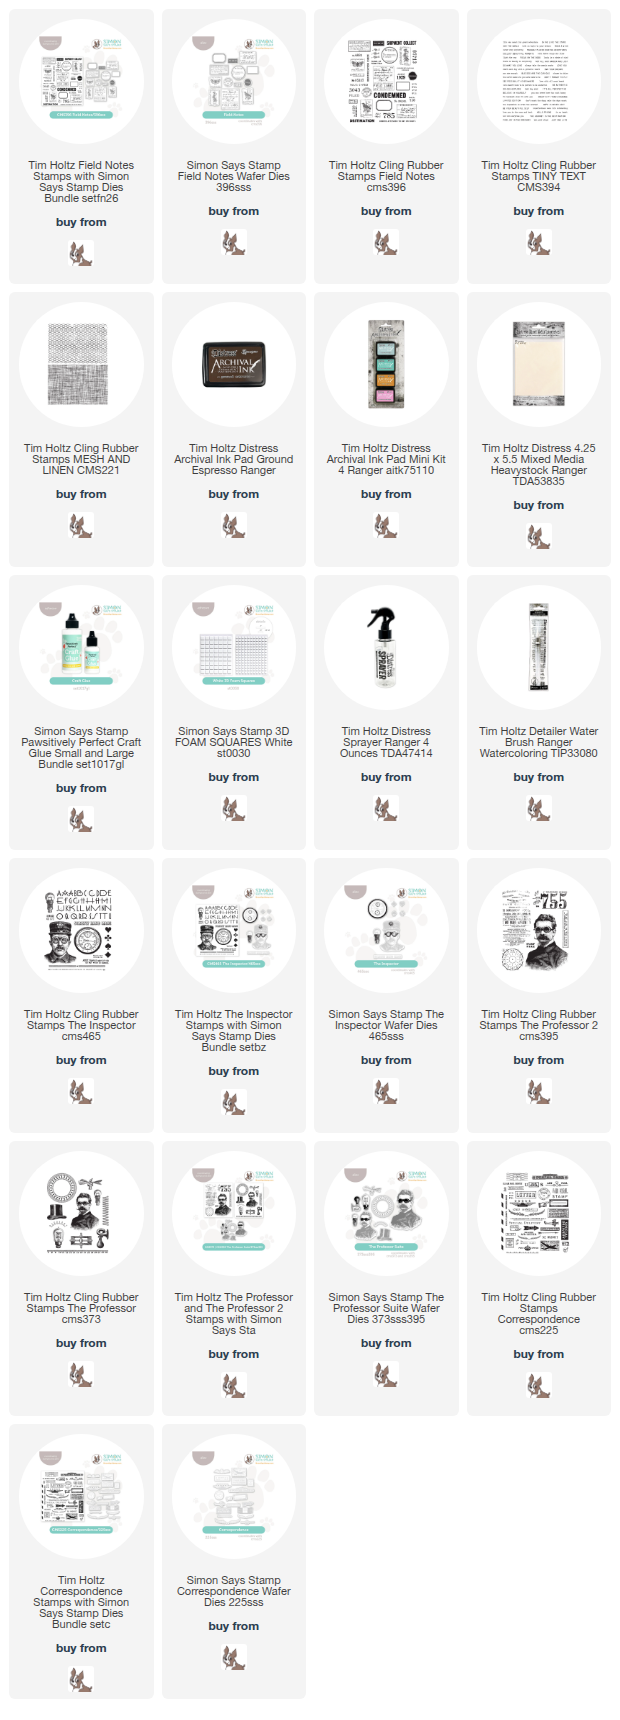
Begin by gathering your supplies. You need the Field Notes Stamps and coordinating dies. I also used Tiny Text CMS394 and Mesh & Linen CMS221, along with other supplies that area all linked below.
Begin by watercolor stamping a background. I used the Mesh stamp from Mesh & Linen CMS221. Both stamps in this set make fantastic backgrounds for a wide variety of stamps and I highly recommend it as a super versatile background stamp. I inked it up with Antique Linen, then some Crushed Olive and ended with a bit of Speckled Egg.
Once you have the inks on the stamp, spray it with some water until you can see it beading up. Then stamp on an A2 piece of Distress Mixed Media Heavystock. I usually press it down with my hand in one corner and then move it to the opposite bottom corner and press it down there so it isn't a complete background stamp, there will be holes or gaps in the pattern.
Next, using Speckled Egg Distress Ink and a small stamping block, stamp many of the small text stamps from Field Notes all over the stamped background to add another layer,
Once the background is stamped, stampp the images that have coordinating dies. I stamped most in Ground Espresso Archival Ink and a few in Speckled Egg Archival Ink. I colored them in with Crushed Olive, Speckled Egg and Rusty Hinge, with a bit of Antique Linen and Ground Espresso.
Once the images are colored, lay the coordinating die on top of it and tape it down and run it through a die cut machine.
Trim your background to 4x5.25. Then plan out where you want all of the die cut images. I lightly inked the edges of all of them with some Ground Espresso.
Some of the Field Notes I attached directly to the background. Others (as you can see here) I added a layer of scraps underneath so they were even when I attached them.
The last layer is to add some foam squares under three of the pieces that will be the last layers. I used the three clippings for this layer.
For a sentiment I stamped "never stop exploring" from the Tiny Text stamp set, in Ground Espresso Archival Ink and then colored it with Speckled Egg Distress Ink. I ripped the left edge and inked it with Ground Espresso Distress Ink before adhering it to the bottom right corner.
Ink the edges of the background and the edges of a kraft card base and then attach the whole card front to the card base.
The layers of stamping and then layers of die cuts and a great deal of interest and texture to the card.
The multiple. layers add interest and dimension.
The coordinating dies work perfectly wtih the stamps. They cut so beautifully!
Here it is completed. Thanks so much for stopping by to see my card!
If you are following the hop in order you are going to
I am an
affiliate with Simon Says Stamp. If you wish to purchase something and use one
of my links below, I get a small percentage of your order at no additional cost
to you. Thank you!
Field Notes is my favorite. I'm so glad to see a lot of y'all creating with it. Yours is so pretty. The colors are great and I like that you added the mesh background. [Bunny]
Stunning Tami! Loved watching your video earlier, was on my phone, so need to go back and comment, but was a wonderful step through your process and yes, we've had grumbles about the recent updates too! So I felt for you on that! Love this gorgeous design Tami, the fab way you laid down the background, created such a cool backdrop for your layered Field Notes design. Love all the details and choices with the colouring you made. Gorgeous xoxo
Am loving that your card really used all of these beautiful and intricate images layered together to appreciate the beauty of this set!! Gorgeous design and fabulous inspiration with the mesh image stamped bg, as well!! Perfect colors too!! Stunning card!


25 comments:
Can't wait to get these stamps & dies! Love your colors, thanks for the inspiration.
Love how you used ALL the stamps and dies and they worked so well in different layers!
I really like the collage effect of your project. Thanks for the ideas.
Wonderful collage arrangement.
Field Notes is my favorite. I'm so glad to see a lot of y'all creating with it. Yours is so pretty. The colors are great and I like that you added the mesh background. [Bunny]
Love the cohesive color choices. Love the botanical feel of it!
Lori S in PA
Love the layers. Thanks for the continued inspiration.
Love the background and all the layers. Works wonderfully together
the colors are so warm and inviting
Love your collage, beautiful card!
The mini stamps of nature are just beautiful. Love the bug! 😘
I really like the collage look!
Your card is so cool! Love the colors and the distressed elements
This is such a cool project.
The layers on this card are so warm - thank you for sharing!
Love Field Notes and the colors and collaging you did. The layers and textures are perfect. Thanks so much for the inspiration!
Love your style!! Beautiful!
Stunning Tami! Loved watching your video earlier, was on my phone, so need to go back and comment, but was a wonderful step through your process and yes, we've had grumbles about the recent updates too! So I felt for you on that! Love this gorgeous design Tami, the fab way you laid down the background, created such a cool backdrop for your layered Field Notes design. Love all the details and choices with the colouring you made. Gorgeous xoxo
Simply lovely
Simply lovely
Love the background and all the layers. Beautiful card
I haven't seen that mesh background before and thanks for sharing because it's pretty nice! I like the collage look of your card!
Great job! I love the layers & colors used!
I love this beautiful, layered card!!
Am loving that your card really used all of these beautiful and intricate images layered together to appreciate the beauty of this set!! Gorgeous design and fabulous inspiration with the mesh image stamped bg, as well!! Perfect colors too!! Stunning card!
Post a Comment