Saturday, November 23, 2024

Snowy Woods - Winter Reliquary Dome


This snowy woodsy scene was inspired by Robert Frost's poem "Stopping by Woods on a Snowy Evening." I taught it for many years in my classroom and even since then on occasions when I am caught in a quiet, tranquil moment alone, or when I have miles to go before I sleep. 

Here is the video tutorial for this snowy dome.

 Here is the poem that inspired this piece:

Stopping by Woods on a Snowy Evening


Whose woods these are I think I know.   
His house is in the village though;   
He will not see me stopping here   
To watch his woods fill up with snow.   

My little horse must think it queer   
To stop without a farmhouse near   
Between the woods and frozen lake   
The darkest evening of the year.   

He gives his harness bells a shake   
To ask if there is some mistake.   
The only other sound’s the sweep   
Of easy wind and downy flake.   

The woods are lovely, dark and deep,   
But I have promises to keep,   
And miles to go before I sleep,   
And miles to go before I sleep.

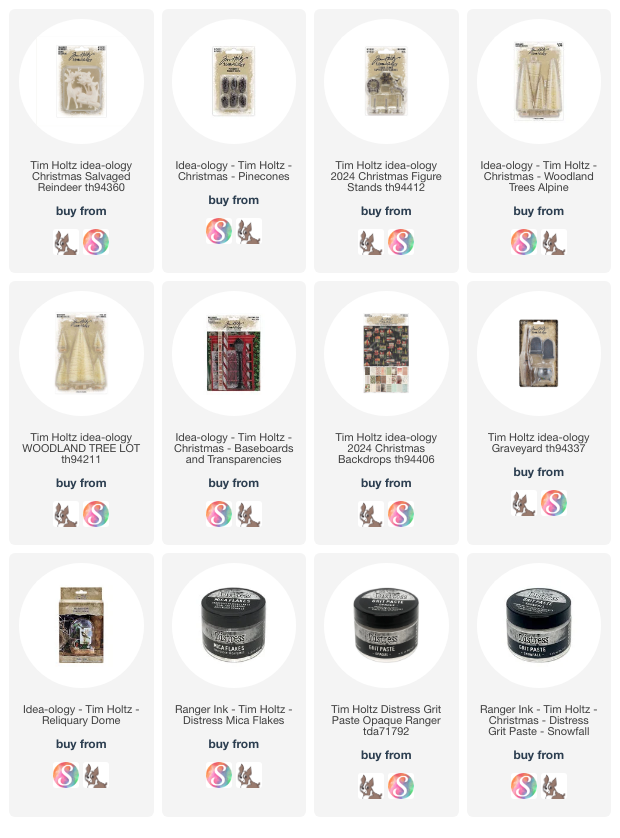
I painted the Salvaged Deer with Distress Paint - the antlers are Brushed Corduroy and Pumice Stone and the body is Vintage Photo and Pumice Stone. The chest is Picket Fence and the hooves are Black Soot and Pumice Stone.

The trees were sprayed with Bundled Sage Distress Stain, and then there were three additional steps. I added a tiny bit of Picket Fence Distress Paint to the tips of the needles, then dried it. Next I added some Snowfall Grit Paste. Lastly I added a bit of Distress Collage Medium and some Distress Mica Flakes.
To the Pinecones I added some Picket Fence Distress Paint and then some Snowfall Grit Paste.

 The final touch was to add some of the twigs from the broom found in the Graveyard pack from the Halloween Idea-ology.


As far as the dome goes, I trimmed the top corners of a snowy transparency from the Christmas Baseboards pack and attached it with score tape.  Then I cut a 1/2" piece of the worn plaid paper from the Christmas Backdrops. The Christmas Greetings board was from the layers pack, and the snowflake was from the Christmas Figure Stands.

 Thank you so much for stopping by and I want to wish you a very happy holiday making season!

Tami

I am an affiliate with Simon Says Stamp and Scrapbook.com. The links below send you to one of those stores. If you wish to purchase something and use one of my links below, I get a small percentage of your order at no additional cost to you. This helps me to defray the costs of this channel, the time, the ideas and tutorials I post here. Your help is greatly appreciated! Thank you!
Monday, November 18, 2024

Snow Snow Snow - Idea-ology


Snow, Snow Snow! This piece is a celebration of snow and the fabulous graphics found in the Idea-ology Emporium Layers pack that was part of the 2024 Tim Holtz Holiday Idea-ology Release. 

I have been making several book nooks and that takes two small Vignette Trays, so I have a lot of large Vignette Trays left and wanted to accomplish two things with this piece, use two of my stash of trays, and showcase some of the amazing Emporium Layers. I think it does the job!


This is the video tutorial for this piece. I hope you enjoy it!

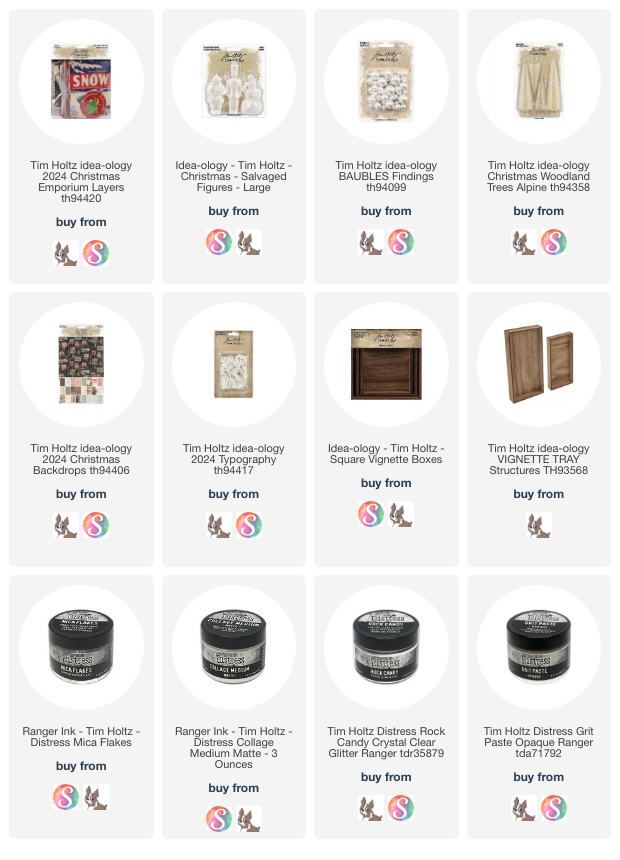
In the middle of the two trays, I attached the medium Square Vignette Box with a hilly, snowy scene inside. I had so much fun adding Mica Flakes everywhere!
The Baubles and Salvaged Snowman were covered in Collage Medium and then sprinkled with Distress Rock Candy Glitter.
The inside of the box was painted with Speckled Egg Distress Paint and then a layer of Collage Medium with Distress Mica Flakes. Then more Mica Flakes on the trees and the snowy hillsides were made with chipboard covered in Distress Grit Paste Opaque.
Along the bottom of the box is a Garland and three of the Jingle Bells.
In the bottom corner I added some Typography letters covered in more Rock Candy Distress Glitter.

And here is the entire piece again showing the sides with the Back Drops Papers.

This piece is an intermediate level project. It goes together pretty quickly. You could easily finish it in a weekend with drying time.

 Thanks so much for stopping by and I hope that you have a festive holiday making season!

Tami

I am an affiliate with Simon Says Stamp and Scrapbook.com. The links below send you to one of those stores. If you wish to purchase something and use one of my links below, I get a small percentage of your order at no additional cost to you. This helps me to defray the costs of this channel, the time, the ideas and tutorials I post here. Your help is greatly appreciated! Thank you!

Sunday, November 17, 2024

Christmas Treats Vignette Drawer

For the Tim Holtz Christmas Idea-ology release, this is one of the projects I made.  It is a Christmas Treat Vignette Drawer made for putting on an office desk or the counter at an office or business to share with special guests or clients.
Here is the video tutorial.
 
The Mini Santa Mugs are so fun to decorate and fill with festive things!
I chose to fill mine with Distress Texture Paste "Whipped Cream" and "sprinkles" of slices cut from the confections.
I wrapped 1/2" and 3/4" wooden blocks with paper from the Christmas Collage Strips.
I popped the fireplace into the back of the Vignette Box. I love it!
The tree was decorated with Baubles colored with Crimson Alcohol Ink. I added a string of Christmas Multi-colored Tiny Lights.
I cut 6 pillowboxes from the Christmas Kraftstock and decorated them with Layers and the sentiments from the Sticker Book.
The front is decorated with more layers and one of the Christmas Marquees. So easy to make a bold, classic statements with the Marquees!
I added a Curio Knob on the the ends of the Drawer.
If you use this to put on a desk or counter for guest, clients or customers, I would make lots of extra pillowboxes to refill the sections when someone takes one. Enjoy!

Have a creative holiday season, 

Tami

I am an affiliate with Simon Says Stamp, Scrapbook.com. The links below send you to one of those stores. If you wish to purchase something and use one of my links below, I get a small percentage of your order at no additional cost to you. This helps me to defray the costs of this channel, the time, the ideas and tutorials I post here. Your help is greatly appreciated! Thank you!