Thursday, December 26, 2024

Let's Get Ready for Next Year! 28 Quick Christmas Cards with Whimsy Stamps


I don't know about you, but I still have a bunch of my Christmas stuff out and now that Christmas is over I have some extra time.  I'm using it to make some things I didn't get around to before Christmas this year, so I'll be ahead of the game next year. 

Although I got these cards finished just before Christmas, this is the perfect type of project for this time in between Christmas and the New Year when we have some down time and all of our holiday stuff is still at the ready. I was able to make 28 cards in one making session, which got me a long way into the number I needed for this year.

If you aren't that type and you are ready to move on, I hope you will save this to watch when you start making for Christmas next year as inspiration for knocking out a bunch of beautiful cards quickly and efficiently.


Wishing you a very creative and productive New Year!

Tami

I am an affiliate with Whimsy Stamps, Simon Says Stamp and Scrapbook.com. The links below send you to one of those stores. If you wish to purchase something and use one of my links below, I get a small percentage of your order at no additional cost to you. This helps me to defray the costs of this channel, the time, the ideas and tutorials I post here. Your help is greatly appreciated! Thank you!


Sunday, December 15, 2024

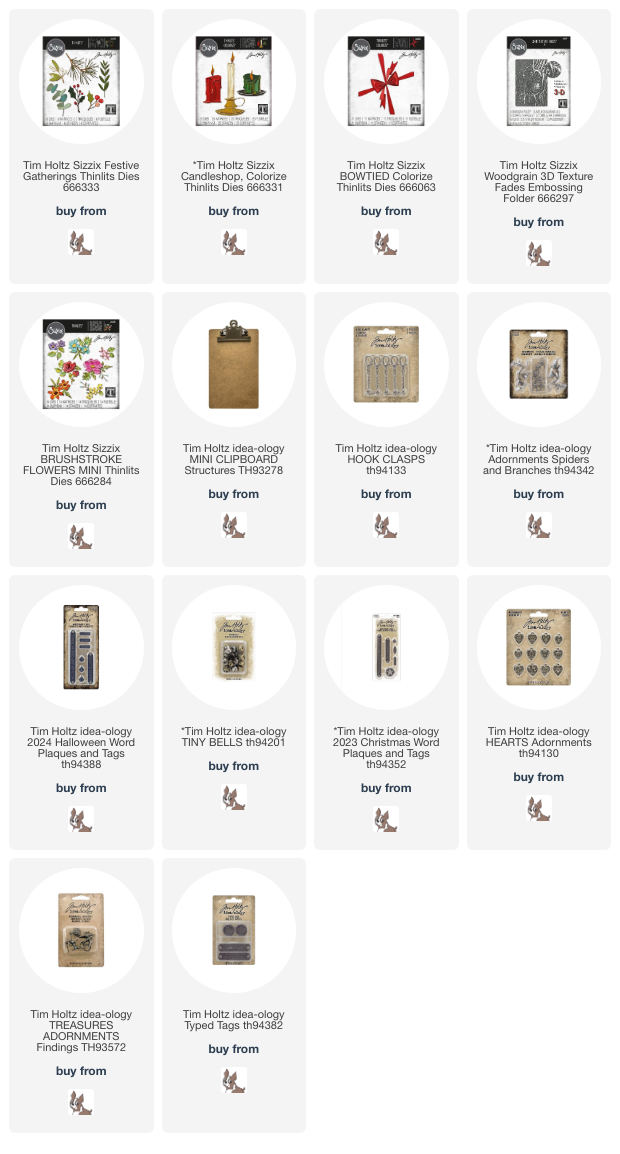
Festive Gatherings Mini Clipboards - Tim Holtz Sizzix

This tutorial was a long time in coming! I made these for the 2023 Tim Holtz Christmas Sizzix Release. I hadn't finished all four clipboards for the live release and just didn't get back to the tutorial...until now! The video tutorial is finally finished and I think it has some great tips! I hope you get a chance to watch it. I am only including photos of the four clipboards here. They can be used for reference if you would like when making your own.

 Below are links to the items I used to make these clipboards. 


Here is the link to the video tutorial. I will put the time stamps on this one so you can skip forward to the different sections if you would like.

Spring Clipboard


Summer Clipboard


Halloween Clipbboard


Christmas Clipboard


Thank you for checking out this long overdue tutorial. I hope you find somethings you can use for inspiration throughout the year and not just for Christmas makes. 

I wish you a very happy holiday season and a very Merry Christmas!

Tami

I am an affiliate with Simon Says Stamp and Scrapbook.com. The links below send you to one of those stores. If you wish to purchase something and use one of my links below, I get a small percentage of your order at no additional cost to you. This helps me to defray the costs of this channel, the time, the ideas and tutorials I post here. Your help is greatly appreciated! Thank you!

Saturday, November 23, 2024

Snowy Woods - Winter Reliquary Dome


This snowy woodsy scene was inspired by Robert Frost's poem "Stopping by Woods on a Snowy Evening." I taught it for many years in my classroom and even since then on occasions when I am caught in a quiet, tranquil moment alone, or when I have miles to go before I sleep. 

Here is the video tutorial for this snowy dome.

 Here is the poem that inspired this piece:

Stopping by Woods on a Snowy Evening


Whose woods these are I think I know.   
His house is in the village though;   
He will not see me stopping here   
To watch his woods fill up with snow.   

My little horse must think it queer   
To stop without a farmhouse near   
Between the woods and frozen lake   
The darkest evening of the year.   

He gives his harness bells a shake   
To ask if there is some mistake.   
The only other sound’s the sweep   
Of easy wind and downy flake.   

The woods are lovely, dark and deep,   
But I have promises to keep,   
And miles to go before I sleep,   
And miles to go before I sleep.

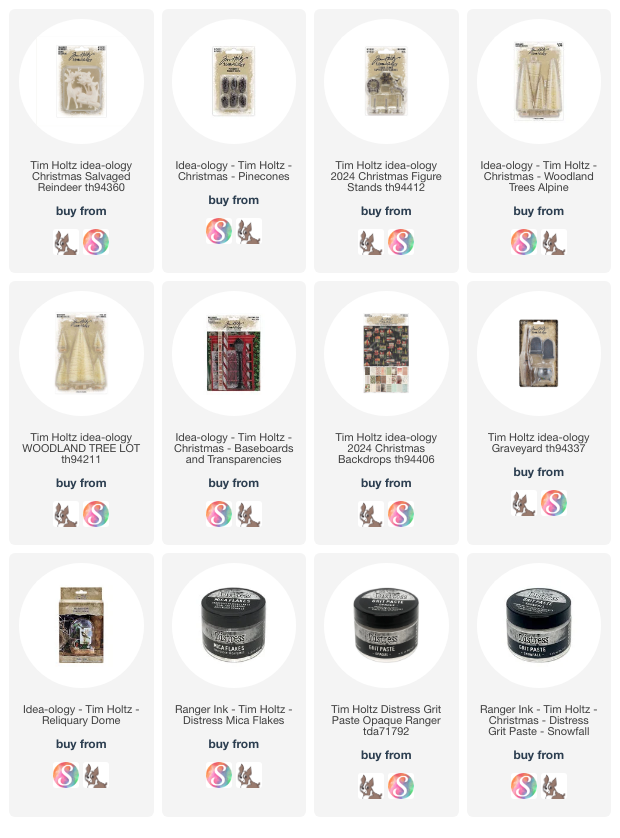
I painted the Salvaged Deer with Distress Paint - the antlers are Brushed Corduroy and Pumice Stone and the body is Vintage Photo and Pumice Stone. The chest is Picket Fence and the hooves are Black Soot and Pumice Stone.

The trees were sprayed with Bundled Sage Distress Stain, and then there were three additional steps. I added a tiny bit of Picket Fence Distress Paint to the tips of the needles, then dried it. Next I added some Snowfall Grit Paste. Lastly I added a bit of Distress Collage Medium and some Distress Mica Flakes.
To the Pinecones I added some Picket Fence Distress Paint and then some Snowfall Grit Paste.

 The final touch was to add some of the twigs from the broom found in the Graveyard pack from the Halloween Idea-ology.


As far as the dome goes, I trimmed the top corners of a snowy transparency from the Christmas Baseboards pack and attached it with score tape.  Then I cut a 1/2" piece of the worn plaid paper from the Christmas Backdrops. The Christmas Greetings board was from the layers pack, and the snowflake was from the Christmas Figure Stands.

 Thank you so much for stopping by and I want to wish you a very happy holiday making season!

Tami

I am an affiliate with Simon Says Stamp and Scrapbook.com. The links below send you to one of those stores. If you wish to purchase something and use one of my links below, I get a small percentage of your order at no additional cost to you. This helps me to defray the costs of this channel, the time, the ideas and tutorials I post here. Your help is greatly appreciated! Thank you!