The Mr Snowman Colorize die from Tim Holtz and Sizzix is certainly a happy little fellow. For this project I have him nestled among the Alpine peaks, happy that it is snowing all around him. I was kind of imagining him as the snowman voiced by Burl Ives in the Rudolph Christmas show. I think these peaks and mountains are really reminiscent of that era of animated claymation shows.
For today's post I'm just going to point out a few things about this piece, but it isn't a full tutorial because there really isn't a technique to this, just a lot of cutting and assembling. Regardless, I do hope it still provides some bit of inspiration.
Begin by cutting coloring and assembling the Mr. Snowman. I cut him all out of Distress Watercolor Cardstock and then colored the bits that needed it. I did edge the white parts with Tumbled Glass Distress Ink with a touch of Hickory Smoke here and there. If you haven't assembled Mr Snowman or a colorize die yet, here is a video that might help.
Once I had my snowman cut, colored and assembled, I was ready to start on the background.
The trees were cut and some of the trunks were trimmed off to again allow for variation in height. I added the word happy in green because I just felt like it needed it and it ties in the hat band and trees with a third piece in that color.
The snowflakes were cut from Distress Watercolor Cardstock and I glued two together. I just wanted something to add interest to the box shape, and these snowflakes did the trick. The added thickness of two glued together keeps them from getting bent too easily.
I did add some lights behind the mountains but it was difficult to photograph, so that is an element to be enjoyed in person.
That's it for this quick little wintry vignette. If you have any questions about something I didn't cover I'd be glad to answer them. Just contact me through the form in the column on the right of this post.
Thank you for stopping by!
Tami
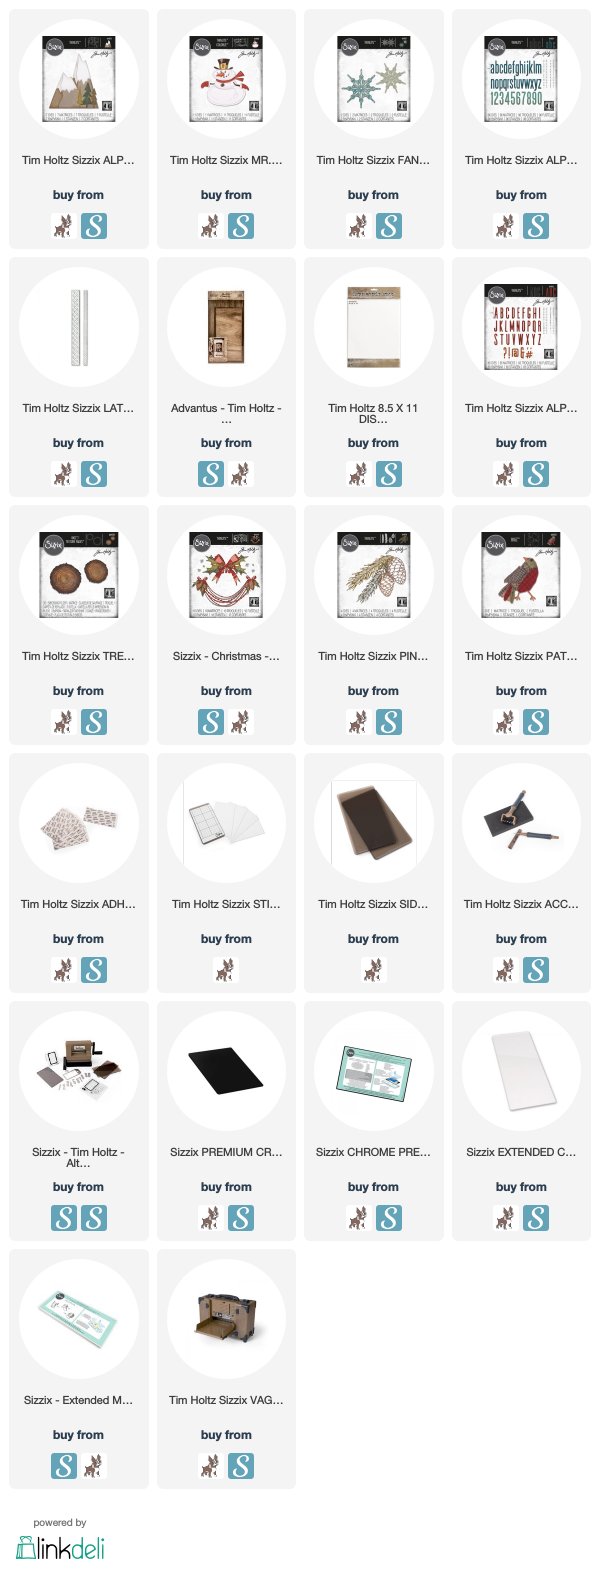
I am an affiliate with Simon Says Stamp and Scrapbook.com so the links below send you to one of those stores depending on which logo you choose. If you wish to purchase something from either store and use one of my links below, I get a small percentage of your order, at no additional cost to you. This helps me to defray the costs of this blog, the time, the ideas and tutorials I post here. Your help is greatly appreciated! Thank you!
For today's post I'm just going to point out a few things about this piece, but it isn't a full tutorial because there really isn't a technique to this, just a lot of cutting and assembling. Regardless, I do hope it still provides some bit of inspiration.
Begin by cutting coloring and assembling the Mr. Snowman. I cut him all out of Distress Watercolor Cardstock and then colored the bits that needed it. I did edge the white parts with Tumbled Glass Distress Ink with a touch of Hickory Smoke here and there. If you haven't assembled Mr Snowman or a colorize die yet, here is a video that might help.
Once I had my snowman cut, colored and assembled, I was ready to start on the background.
I covered the vignette box with some snowflake paper from the Idea-ology Christmas 2019 paper. Then covered the front edge of the box with the smallest 3-D Lattice die that I cut multiple times to cover the raw edge of the small vignette tray.
I used the Alpine die and cut it multiple times so I could have
mountains all along the back and I also cut some of them shorter to
layer in front. I did shape the mountains once they were colored by
bending them in half and arranging them so some were higher and some
were shorter to give a little variation.The trees were cut and some of the trunks were trimmed off to again allow for variation in height. I added the word happy in green because I just felt like it needed it and it ties in the hat band and trees with a third piece in that color.
The snowflakes were cut from Distress Watercolor Cardstock and I glued two together. I just wanted something to add interest to the box shape, and these snowflakes did the trick. The added thickness of two glued together keeps them from getting bent too easily.
I did add some lights behind the mountains but it was difficult to photograph, so that is an element to be enjoyed in person.
That's it for this quick little wintry vignette. If you have any questions about something I didn't cover I'd be glad to answer them. Just contact me through the form in the column on the right of this post.
Thank you for stopping by!
Tami
I am an affiliate with Simon Says Stamp and Scrapbook.com so the links below send you to one of those stores depending on which logo you choose. If you wish to purchase something from either store and use one of my links below, I get a small percentage of your order, at no additional cost to you. This helps me to defray the costs of this blog, the time, the ideas and tutorials I post here. Your help is greatly appreciated! Thank you!


2 comments:
Mr. Snowman looks like a jolly Burl Ives, minus the 'stash...I need to make this one to go next to the Santa Clause Vignette of yours that I made! Fun stuff!!!
Thank you for sharing this on Facebook and giving your blog address this is truly so cute
Thanks
Post a Comment