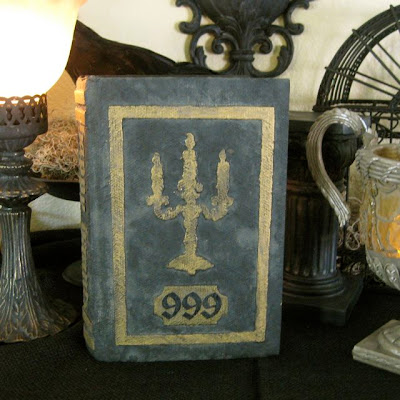
 This one was so fun and it was also easy! I saw a tutorial posted on pinterest on this site. He gives a picture tutorial on how to make them and I just followed it exactly.
 I used a book I got at the thrift store for a quarter, then glued some chipboard on the from to make a frame, label, the ridges on the spine, and the candelabra. The label is from a Sizzix die and the candelabra is from the new Tim Holtz Ideology release for fall. It reminded me of the candelabra in the hall of the Haunted Mansion, so I put 999 on the label and on the spine I named the book Happy Haunts (but don't worry, there's always room for one more!)
After I got the chipboard glued in place, I mod podged paper towels over the entire cover. Let it dry, then painted it black. Once that was dry, I painted the raised portions gold with my finger so it wasn't too perfect. Then I cut out the title and 999 from black cardstock. I painted the letters gold before adhering them to the spine. The last thing I did was to do an antique wash over the whole thing with a dark brownish grayish paint that I mixed from odds and ends of paint. I watered it down and washed it on, and wiped it off, then let it dry so it looks like years of dust all stuck into the over of the book.
 The font is "Haunted" by Lifestyle Crafts (used to be QuicKutz.)


