They are going to be layered like this. You will cut the Flowery background die out of the light blue/grey tag, then peel off the adhesive cover and adhere it to the darker blue/grey tag. You will inadvertently cut the top of the tag off when you cut the background. Save that top piece for later.


Here is where the extra tag top comes in handy. I don't like gaps when I am layering, so before you put the frame on the tag, you need to fill in the gap at the top. I gently peeled odd the reinforcer off the tag before adhering the ltop ayer.

Here is the completed project with Jelliebellies.

I added on of the heart from the Lucky Love 3D embossing thinly. It was colored with Crackling Campfire

To finish it I added Carrot Bunny and some lettering for a sentiment from the Alpohanumeric Bold letters.


Tami
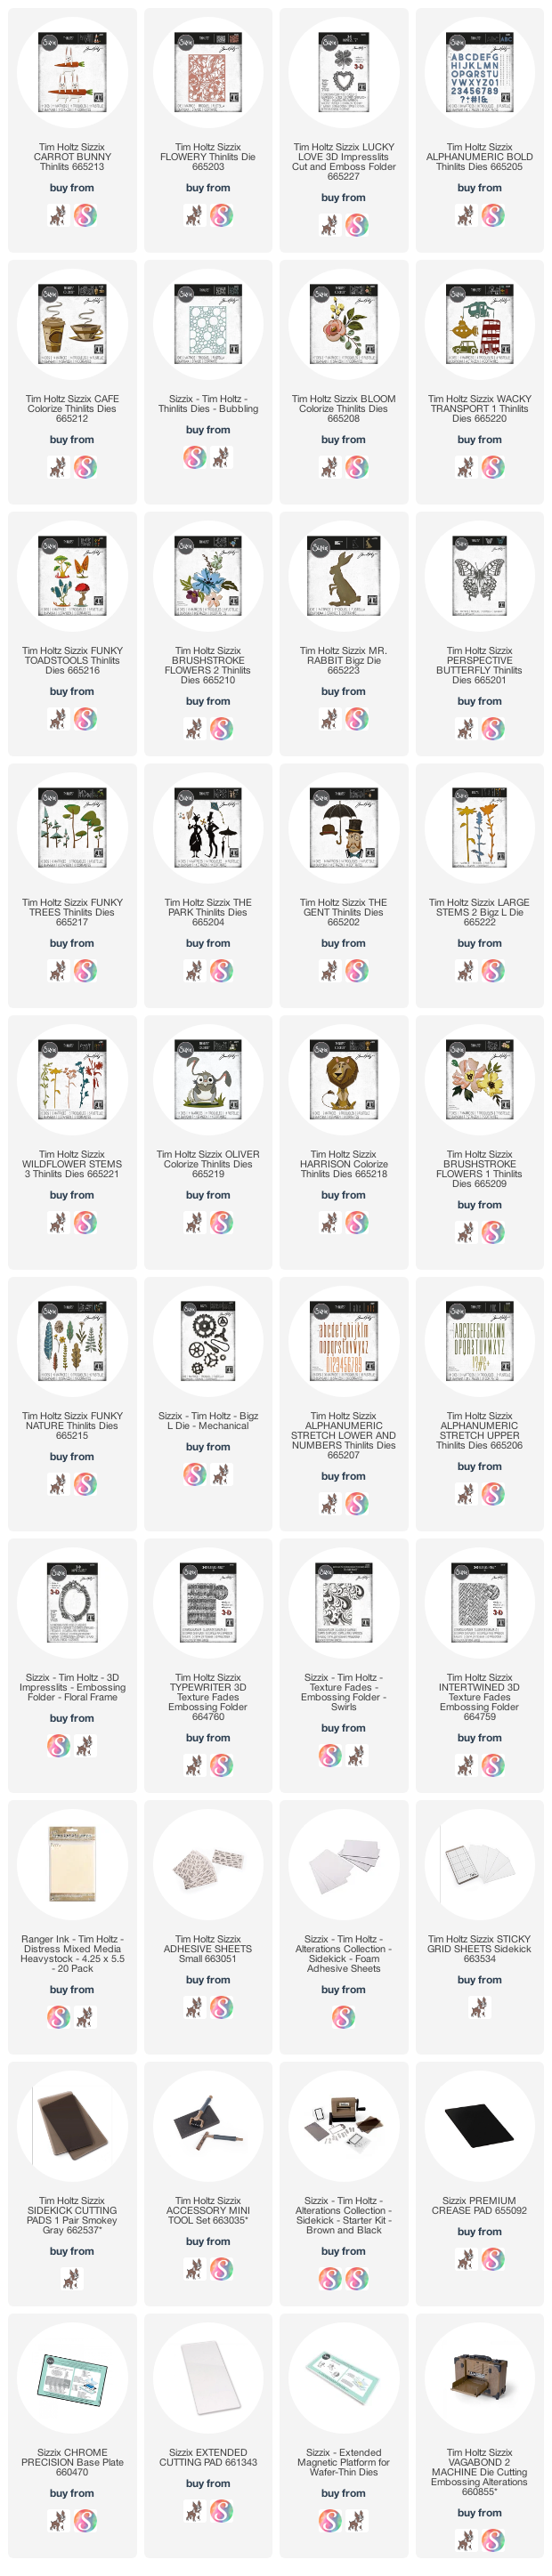
I am an affiliate with Simon Says Stamp and Scrapbook.com so the links below send you to one of those stores depending on which logo you choose. If you wish to purchase something from either store and use one of my links below, I get a small percentage of your order, at no additional cost to you. This helps me to defray the costs of this blog, the time, the ideas and tutorials I post here. Your help is greatly appreciated! Thank you!