
Here is the video tutorial of this make.


Tami
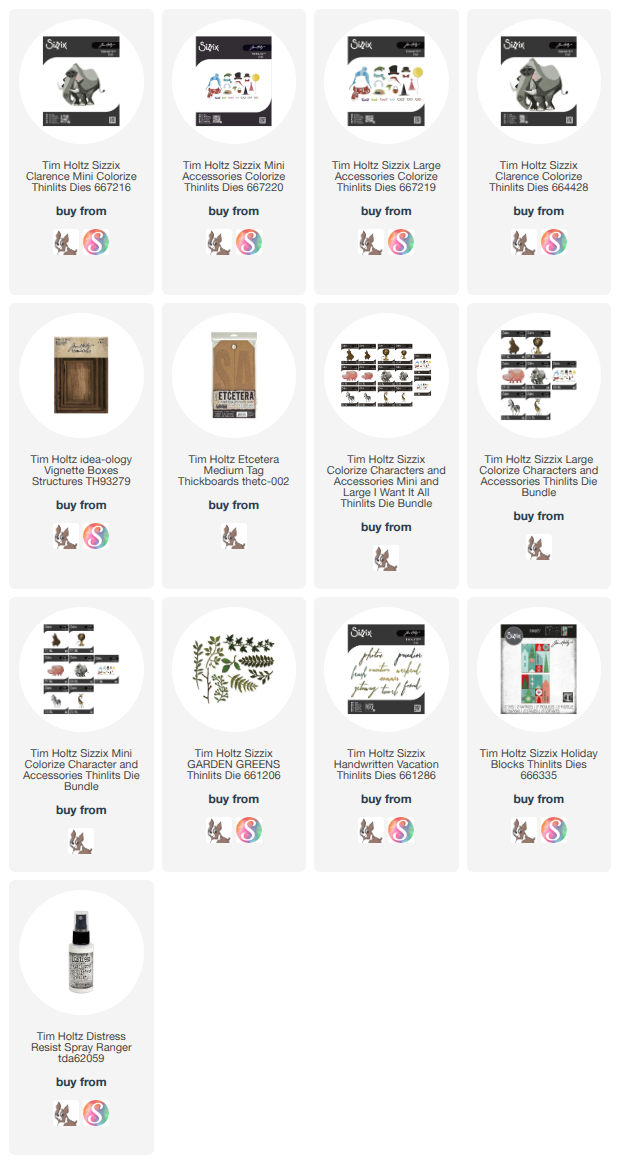
Below are my affiliate links to some of the products I used to make today's project.

Tami
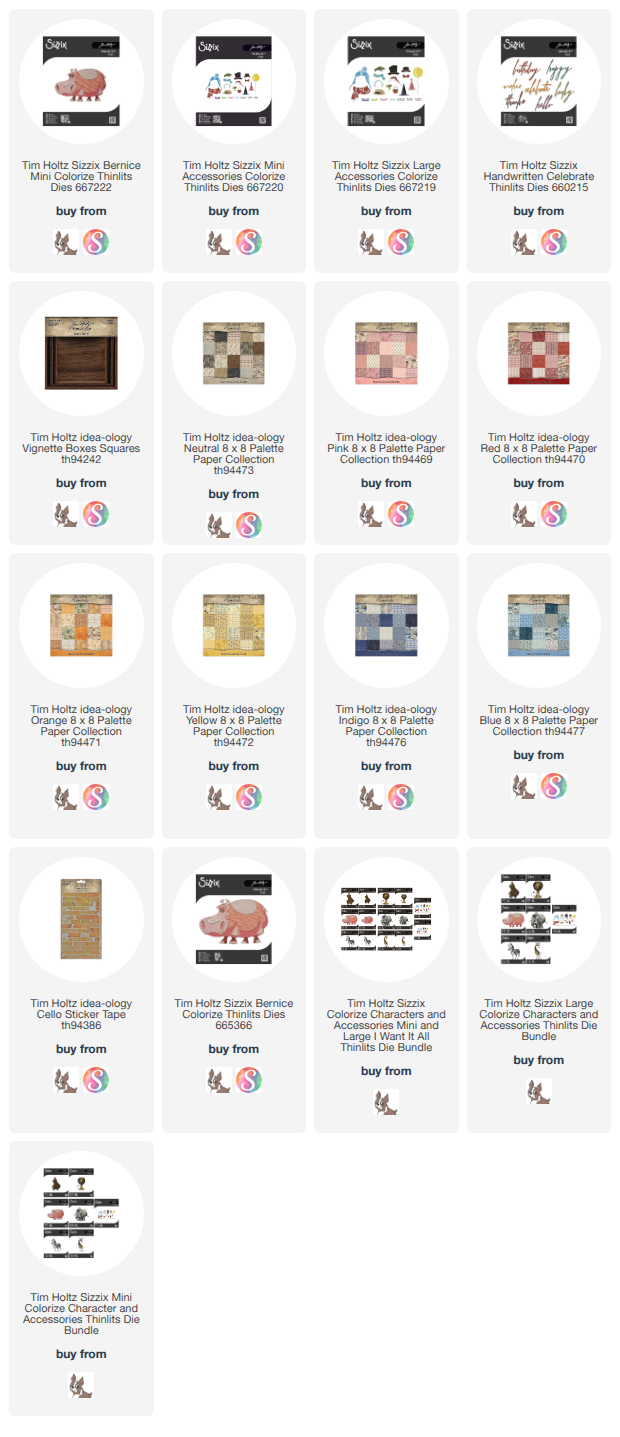
Below are my affiliate links to some of the products I used to make today's project.

Mini Bernice from Tim Holtz Colorize is ready to celebrate! Instead of a card to celebrate, how about making a vignette box? This celebratory box can be placed at a table setting for the person being celebrated, or on a desk or dresser or bookshelf as a reminder of a special moment.

I just love that the re-release of some of our favorite Tim Holtz Colorize animals included new mini versions. The mini Bernice fit perfectly on a square vignette box with enough room for a sentiment and a bunch of balloons.
Here is a short video showing how to cover the vignette box and assemble Mini Bernice.


I colored Distress Cracked Leather cardstock with various browns and Tattered Rose Distress spray stains. I think the cracked leather paper gives the hippos and elephants a very authentic skin texture.


Thank you so much for visiting!
Have a creative day,
Tami
Below are my affiliate links for the products I used for this make.


I originally made this tag featuring Harrison, one of the colorize dies from Tim Holtz, for the Sizzix Blog back in 2021. Unfortunately that particular blog is long gone and with it this tutorial. So I am reposting with the re-release of the colorize dies in 2026.
I had a chance to visit Walt Disney World in October of 2020 for the very first time ever. Before I was married I lived in Kenya for a year, and as expected, on that 2020 trip to Walt Disney World, I fell in love with Disney's Animal Kingdom park. It is the closest I will ever come to getting to share that Kenya experience with my husband. That trip inspired me in so many ways, and this make with Harrison is one of them.
Here is the video talk through of this tutorial if that is helpful to anyone.
The supplies you need to make this are:

To begin, I wanted to make some paper that looked like African Mud Cloth or Kitenge cloth. You do not need to do this step if you have some patterned paper you would rather use. For me, it’s all in the details, and I really enjoy making things like this to give my projects a unique, personalized feel.
To do this I stamped a pattern onto some Distress Mixed Media Heavystock using the small, linear stamps from some stamp sets called Media Marks 1 and Media Marks 2 from Stampers Anonymous (pictured above)

To make a whole piece of patterend paper, I picked two of the patterned linear stamps and placed them next to each other on my stamp platform. Then I stamped them two at a time in clear embossing ink onto an A2 piece of Mixed Media Heavystock. I started at one edge of the paper.

Then I moved the paper 1/2 “ to the right and stamped again, moved 1/2 and inch, stamped again, and repeated until I had a whole side of and A2 paper stamped. With some patterns I turned it over and did the other side too.

Then I was done stamping, I quickly put embossing powder over it, heat embossed, then inked the piece with Distress Ink and a Blending Tool. Once inked I sprayed with water, to let the ink move and pool in a few places. Set aside to let the piece dry naturally. Don't use Distress Spray Stains for this technique because the color is too wet and too intense and it will soak under the embossing and it won't resist the way we want it to. Continue the same way with other stamps until you get at least four pieces stamped, embossed and inked.

Then using a hot, dry iron, put a clean piece of Mixed Media Heavystock over the embossed, inked piece and heat it with the iron until the embossing powder remelts and soaks into the second piece of Heavystock. It leaves the first piece looking so much like batik or mud cloth which is a great look and perfect for this project.


When you finished making your mud cloth papers, you need to cut them into triangles. I used the smallest two triangles from the Stacked Triangles dies. There are five sizes and five of each size so you can cut multiples at the same time. You will want to cut ten of the second to smallest triangle from color. I cut yellow triangles from the second to smallest. Then cut 10 from the smallest triangle in another color. I cut them from brown. These will go inside the yellow triangles later. Lastly, You will want to cut eight more of the smallest triangles for another color. I used orange.

Across the top and bottom of the tag, cut a strip of one of the colors (I used a green paper) that is just wide enough to fit the yellow triangles. Arrange the yellow triangles on the paper so they point up along the top and down across the bottom. Add the small triangles in the center of the yellow ( I chose dark brown). Don't adhere anything yet, just place things on the tag for spacing.

Across the bottom do the same thing. Then add a second strip of patterned paper above the first one. I chose a strip of dark brown and made it just wide enough to place eight small triangles on their sides. The triangles on this piece (I used orange ones) should have the points facing the sides with the flat bottoms butted against each other forming a diamond shape.

Once the patterns on the top and bottom were started I added some strips of black paper between each section. I made this the same way as the other papers above, I just used the pine stamp from Flurry & Pine CMS312. I cut 1/8" strips to go across the tag to separate the borders.

Before you start adhering anything, there is one other bit of prep work to do. Paint the Etcetera Tag with Speckled Egg Distress Paint, and then when it is completely dry, sand it off in areas, allowing the kraft color of the tag to show through.


I cut Harrison from Distress Watercolor Cardstock on the rough side and colored with Distress Inks. I think the rough side really makes the pattern look a little like ruffled fur. I found it easier to color the paper before I cut the large parts. For the smaller pieces, I cut them from white watercolor paper and it just took a second to color the tiny pieces with a watercolor brush before assembling.

I assembled Harrison according to the photo on the package, but Sizzix has a great video on their website for putting him together that might help.

Next I cut and assembled the Funky Trees, again using the rough side of the watercolor cardstock to add texture like I did for Harrison. I adhered Harrison and the trees onto the tag leaving enough space for the sentiment.

 .
I cut the title from the Bold Alphanumeric several times. Each letter is cut three times from black cardstock, and once from the orange inked paper. I glued the black cardstock letters to one another and then attached the orange one on top. This makes the sentiment really stand out.

The finished tag can be a decor piece that is a good reminder that as Mufasa told Simba, “Remember Who You Are.”
Thanks you so much for following along with this make. I hope you are inspired to make something with the new Harrison Colorize die.
Tami



To begin with I cut two of the new Bubbling background dies from the White Heavystock paper. But I didn't use the Chrome cutting plate, I just used my regular old cutting plates and it didn't cut through which is what I was hoping! It just cut through the front so it left the impression or the pattern, but with all the bubbles in place. Many people would have thought it was a fail, but I thought it was perfect! I adhered both pieces to the back panel of the Mini Framed Panels. I put a nice layer of Distress Collage Medium on the panel and then pressed the Bubbling paper into it so it was flat and adhered all over the panel. Then put a thin layer of Collage medium over the top and lightly rubbed it in so it was smooth and there were no brushstrokes.


Then I took a piece of black Cardstock the size of the panel. I scored it so that it would be 1/8" smaller all the way around than the inside of the frame to make a mat to go on top of the Bubbling background. The background die doesn't cover the entire inside of the frame as it is a little smaller, so to make it look clean and finished, you need to mat it.


The word tea was cut from the Stretch Alphanumeric lowercase. I cut one from Distress White Heavystock colored with Brushed Corduroy. Then I cut three more from black cardstock. I layered them together with Distress Collage Medium to make the words stand out.


These Cafe Mini Panels are really a straight forward, fairly easy project to complete and will be the perfect addition to a cute tiered tray or coffee area.
All of the new release dies are listed below, as well as the Distress papers and such if you need a place to get them.
Thank you so much for stopping by! I hope you enjoy the new Sizzix Chapter 1 dies from Tim Holtz as much as I am.
Tami
I am an affiliate with Simon Says Stamp and Scrapbook.com so the links below send you to one of those stores depending on which logo you choose. If you wish to purchase something from either store and use one of my links below, I get a small percentage of your order, at no additional cost to you. This helps me to defray the costs of this blog, the time, the ideas and tutorials I post here. Your help is greatly appreciated! Thank you!

