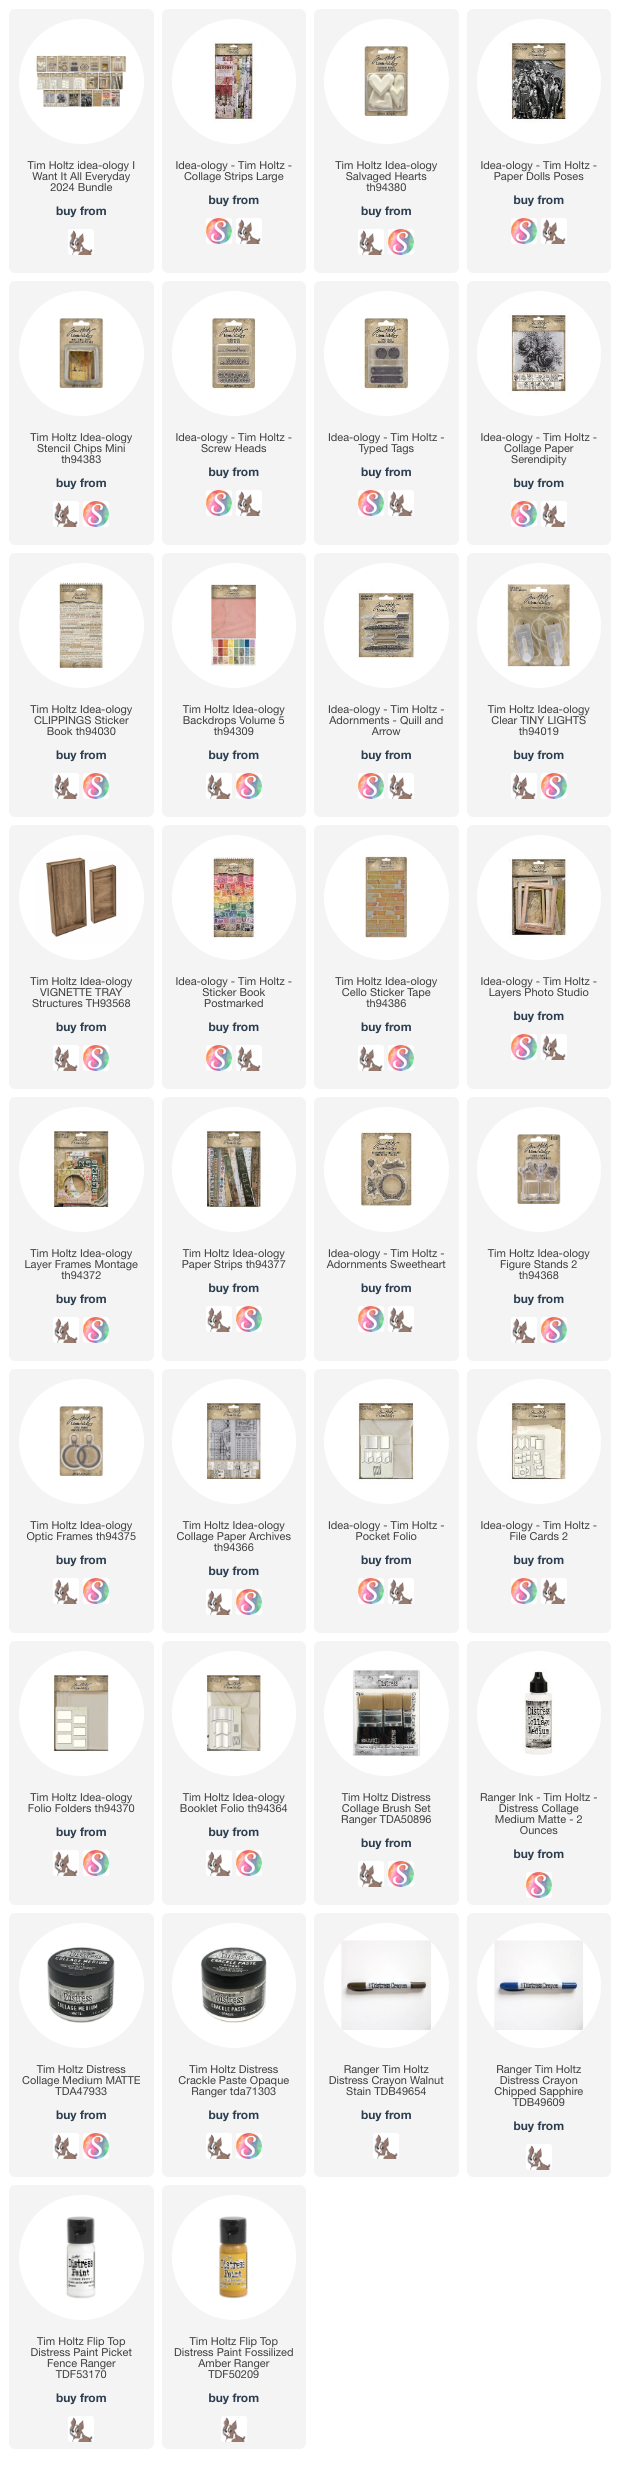
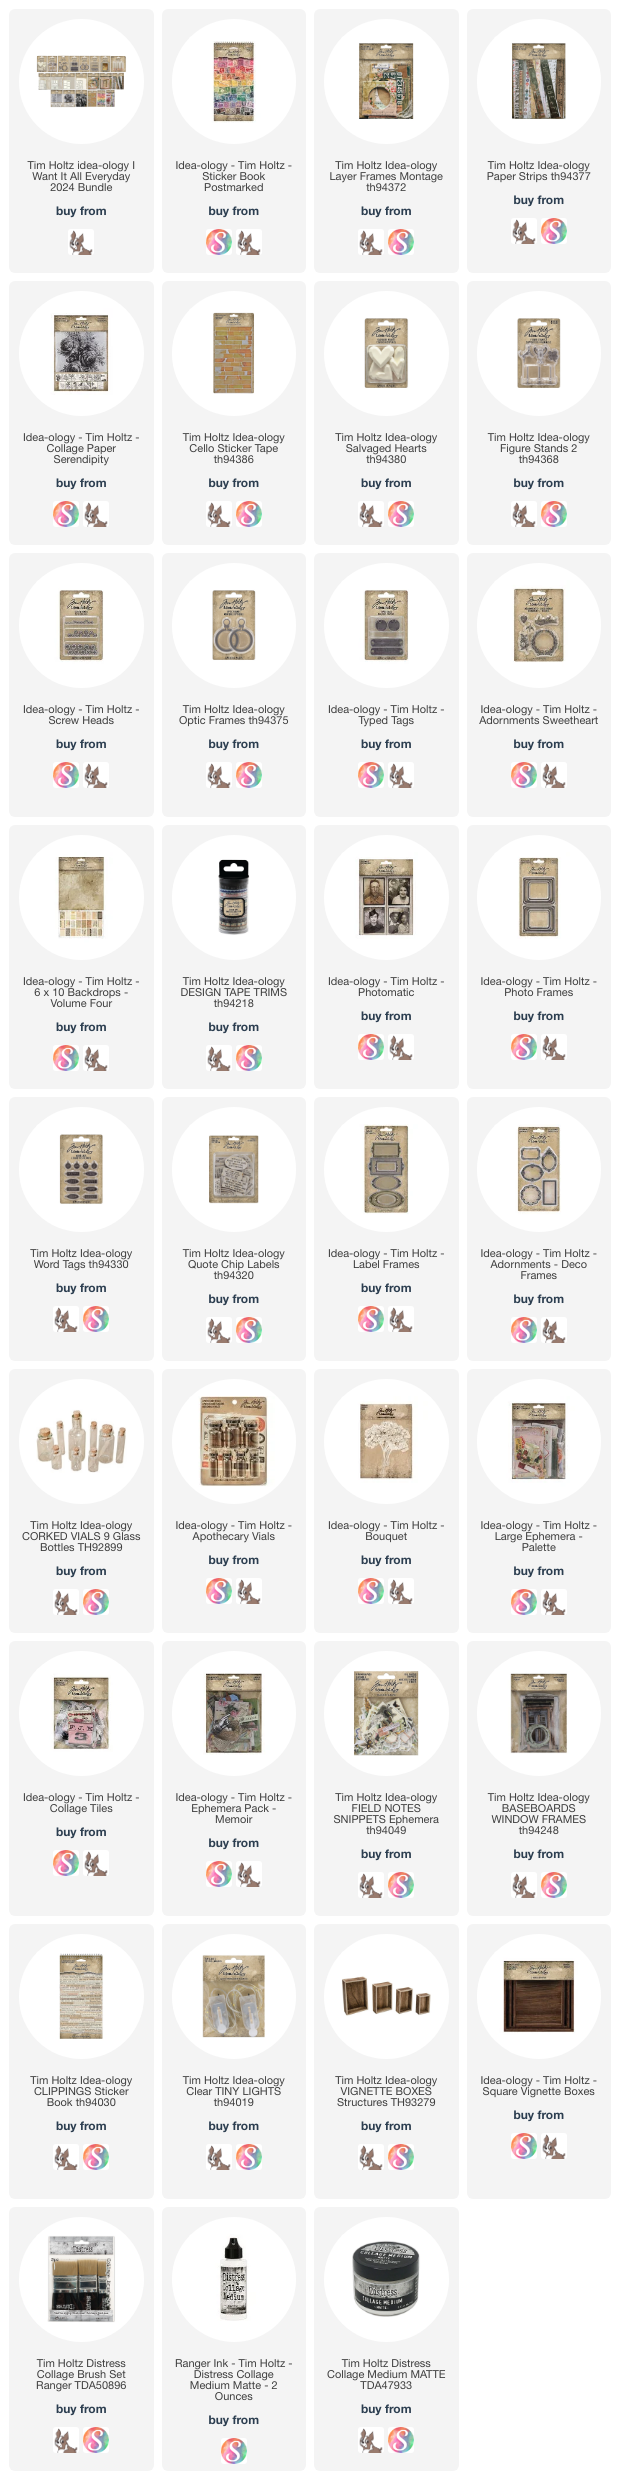
I made this double-sided vignette for the Tim Holtz Idea-ology 2024 Live release. It was inspired by Vintage shops selling great bits of pieces from the past.
I used so many bits and pieces of Idea-ology, that the tutorial is a
long one. I added time stamps in the description so you can skip to
parts you are most interested in if you don't have time to watch the
whole thing.
Side one has the back of two Vignette Boxes (2nd to largest) and the inside of one square Vignette Box (2nd to largest) The boxes are attached together with some Collage Medium and I leave them overnight to dry.
This stamp catalog ephemera is from the Memoir Ephemera pack. I used old book pages to make it into a book then cut out part of the pages to make room to hide the batter pack and wire. I added some Postmarked stamps and a Label Frame and Quote Tile
In the center box I made some fake envelopes bu folding pieces of Backdrops papers and tying them in stacks behind some letters I found in I believe the Memoir Ephemera Pack. I also added a corked vial I painted and put some Bouquet clusters in it.
The back side of the right box just has the Salvaged Heart, Typed Tag, Typed Token and one of the Montage Layer Frames.
The Salvaged Heart was painted pink and then collaged with a piece of the Serendipity Collage Paper.
Making the Postmarked covering for the top and sides of the vignette was a lot of fun!
The other side of the vignette has two boxes and one back panel.
The left box has several tiny book made with book covers from the Memoir Ephemera Pack, the Trophy Cup Figure Stand, a Silverware Adornment, and a Sweetheart Adornment in a Deco Frame.
I love making the tiny books!
I have a segment of the tutorial that shows how I make these little books.
I aged this Figure Stand with Mushroom Alcohol Ink and Picket Fence Distress Paint.
I added some numbers from a sheet of Rub-ons.
I attached a Deco Frame and adornment to a piece of Chipboard and then added some Grit Paste, then painted with Distress Picket Fence Paint. I wiped some of the paint off then let it dry. Then added some Gilded Foundry Wax, an other layer of Distress Paint and finished by adding a bit of Scorched Timber Distress Crayon with a water brush.
The back of this box was covered with paper from Backdrops Volume 4.
Then I added a few pictures from Photobooth and some letters from the Palette Ephemera.
I added a few stamps from the same Ephemera pack, some of the Cello Sticker Tape and some Clippings Stickers.
The last box has a Baseboard Window in the back that was aged with Distress Crackle Paste and Distress Crayons.
I aged am Optic Frame with Grit Paste, then added some Mined Foundry Wax and finished it with some Scorched Timber Distress Crayon.
The Mini Dome is filled with Hing Fasteners, some painted and others not. The little tape measure is part of a Paper Strip, and the 2/6 is from the Memoir Ephemera Pack.
Lastly, I tied some string around a typewriter tin piece from the Junk Drawer Baseboards, and made a tag out of a Curator Snippet. I colored the dog from Figure Stands 2 with Mined Foundry Wax, and painted a Corked Vial white, then added a Curator Snippet and put a half an arrow from Quill Adornments into the cork.
There are many more details of course in the long video tutorial, but I hope these photos and the video will together help you as you make your own vignettes.
Have a creative day! Tami
I am an affiliate with Simon Says Stamp, and Scrapbook.com. The links below send you to one of those stores. If you
wish to purchase something and use one of my links below, I get a small
percentage of your order at no additional cost to you. This helps me to
defray the costs of this channel, the time, the ideas and tutorials I
post here. Your help is greatly appreciated! Thank you!
Longing for Home is my second project for the Tim Holtz 2024 Idea-ology Release. It features the NEW Large Collage Strips, Salvaged Hearts, Mini Stencil Chips, Screw Heads and Typed Tags as well as a few previously released items.
Here is my video tutorial, and I left in some design choices that I ended up changing at the very end. This project did go through a few different iterations before I finally settled on the final design.
This lovely home is the focal point. I colored with Distress Watercolor Pencils straight on to the piece. The Dolls and Houses and Cars all have a glossy finish, so you can color straight onto them.
Here you can see some of the detailed coloring I did on the clothes of the people. The sharp point of the pencils really let you do the detailed coloring.
I added some large and small pieces from the Palette Ephemera pack and half of an arrow from the Quiver Adornments Pack.
Oh these Salvaged Hearts... hahahahahaha! Bless them. They went through a lot before I finally just painted them with Distress Paint. This is the only one I wrapped with string and then tied a Typed Tag onto it.
Here you can see the other three hearts with no string. I do love them, and I loved the other versions too. This version just fit the project better.
Look at that Distressed Crackly goodness!
I did get the Mini Stencil Chips HOME to light up. I take awhile to show and explain how I did this, so I hope it made sense in the video.
I tried to keep the sides simple so the focus stayed on the front of the piece. You can also see how the HOME is raised to encase the Tiny Lights.
Thank you so much for stopping by and I hope you found the video to be helpful and these photos a support to the video.
Have a creative day! Tami
I am an affiliate with Simon Says Stamp, and Scrapbook.com. The links below send you to one of those stores. If you
wish to purchase something and use one of my links below, I get a small
percentage of your order at no additional cost to you. This helps me to
defray the costs of this channel, the time, the ideas and tutorials I
post here. Your help is greatly appreciated! Thank you!
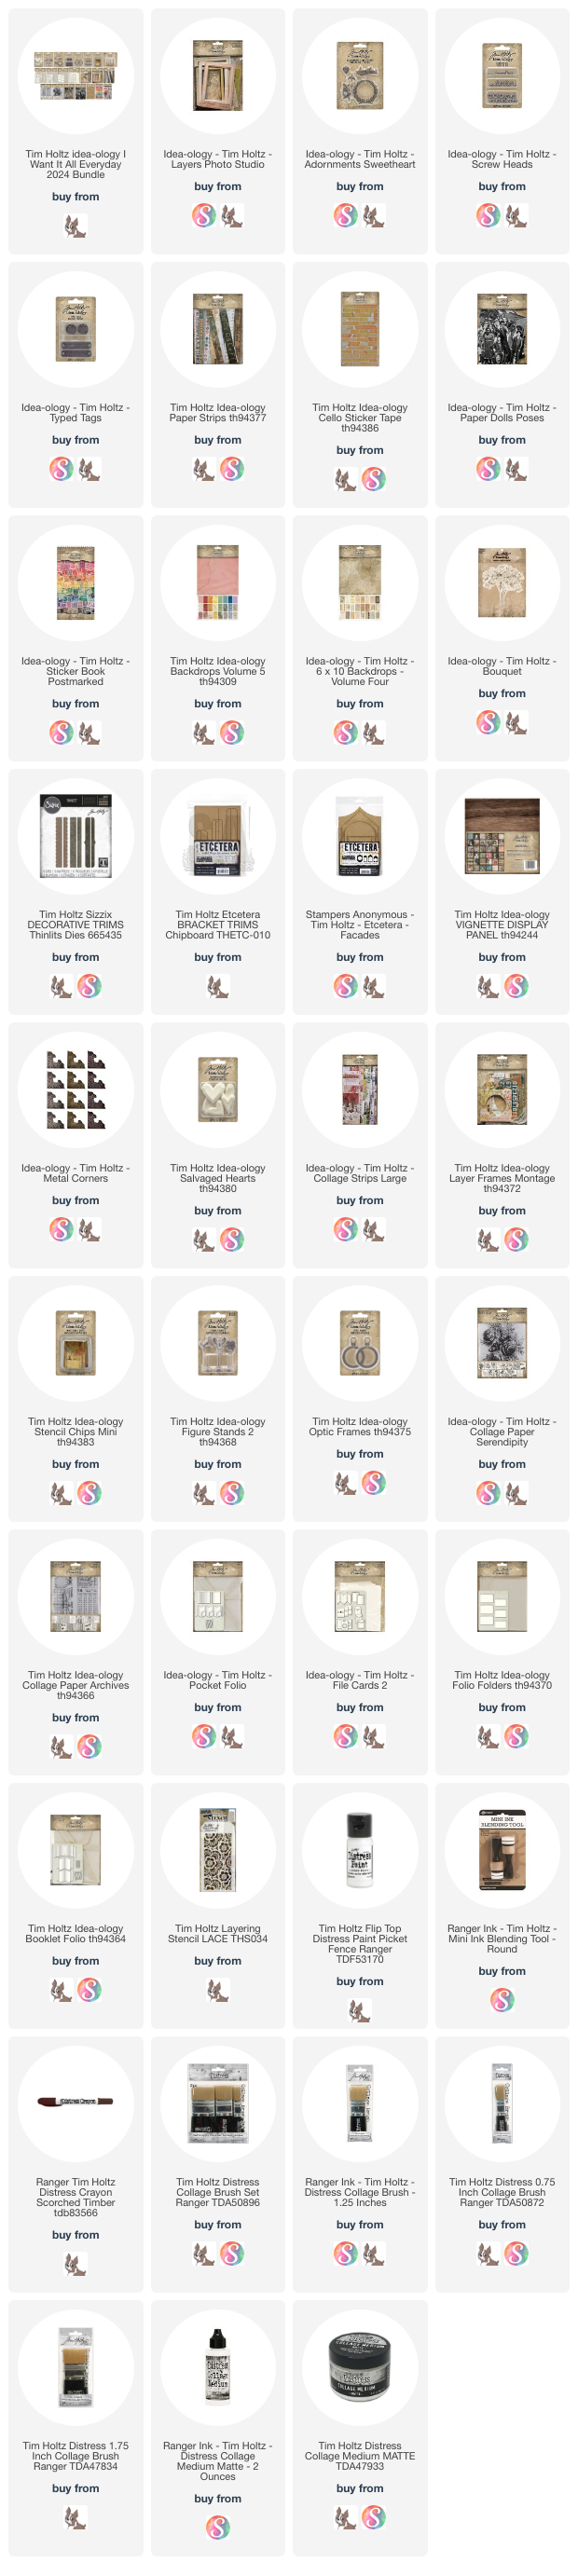
This is the first thing I made with the Tim Holtz Idea-ology 2024 release. This Idea-ology release was worth the wait wasn't it?! This Vignette Display Journal features many of the new products including the Paper Doll Poses, Cello Sticker Tape. Sweetheart Adornments, Photo Studio Layers and Paper Strips.
Of course I have a video tutorial of how I made this piece. As with any Idea-ology project, it is a longer video because they are much more involved than a card. That being said, this project was made keeping beginners in mind. So if you are a beginner who has wanted to try to make an Idea-ology project, this one is a good place to start and I hope this tutorial makes it easy to follow.
I love the bits of Cello Sticker Tape. So good!
The Sweetheart Adornments are fabulous!
Just adding that little bit of stenciling over the Photo Studio cards softened it so much.
More stenciling and Cello Sticker Tape. I also colored the car hub caps with Distress Watercolor Pencils.
And I colored the couple with Distress Watercolor Pencils as well. The flowers are Bouquet and I show in the video how to make them smaller for the paper doll.
I also show how to stencil on the cards, how to attach the cards and how to add Distress Crayon to the cards.
I also show how to color the metals, and cover the Etcetera Facade and the trim. And do you see that little bit of vintage retired Tim Holtz Idea-ology lace peeking through at the top?
I hope you like this Sweetheart Panel as much as I do. If I didn't
cover something in the video tutorial, please feel free to ask me in the
contact me section in the right column. I cannot respond directly to a
comment on the blog so If you ask a question in the comments here, you
probably won't get an answer.
Thank you so much for stopping by! Links to all the products are below for easy shopping.
Have a creative day!
Tami
I am an affiliate with Simon Says Stamp, and Scrapbook.com. The links below send you to one of those stores. If you
wish to purchase something and use one of my links below, I get a small
percentage of your order at no additional cost to you. This helps me to
defray the costs of this channel, the time, the ideas and tutorials I
post here. Your help is greatly appreciated! Thank you!
I am always so happy that you took the time to stop by my blog here or my youtube channel or both, Thank you so much!
Have a creative day,
Tami
I am an affiliate with Simon Says Stamp, and Scrapbook.com. The links below send you to one of those stores. If you
wish to purchase something and use one of my links below, I get a small
percentage of your order at no additional cost to you. This helps me to
defray the costs of this channel, the time, the ideas and tutorials I
post here. Your help is greatly appreciated! Thank you!




 t