Showing posts with label Whimsy Stamps. Show all posts

Monday, October 5, 2026

Hey Ghoul-Friends! - Whimsy Stamps Halloween

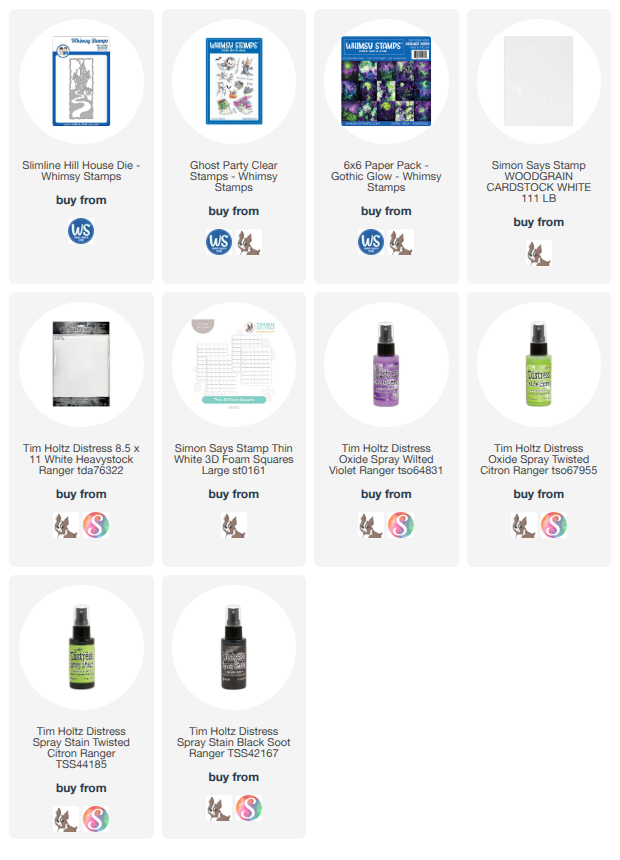
Hey Ghoul-friends! I'm back with another Whimsy Stamps Halloween Card! Today I'm using the Ghost Party clear stamps and the Hill House Slimline Die Cut to make this fun and adorable Halloween card.  

Here is a video process video. I hope you like it.

The background paper is the 6x6 Gothic Glow paper cut in half to fit behind the Hill House Slimline Die Cut.
I cut one Hill House die from White Heavystock and colored it with Distress Spray Stain and Spray Oxides. Then cut the house and fence part of the die from Woodgrain Cardstock and trimmed just the house and fence to layer it over the full backdrop. 
The second half of the Gothic Glow paper was layered behind the bottom 2" of the die cut. I trimmed the top purple part off as I only needed the black and green to show behind the die.
I trimmed the Ghost Party stamps along the outer lines. I didn't want the white mat around them. Then I popped them up along the path with thin Foam Squares.

I think this ittle giggly Frankenstein is the cutest. 

Below are the products with my affiliate links. Thank you so much for purchasing with them. If you choose to purchase from the Whimsy Stamps store, be sure to use my affiliate code playswellwithpaper for 10% off at check out from Whimsystamps.com

Thanks for visiting, and have a creative day!

Tami 

Sunday, September 20, 2026

Ahoy Me Hearties - Whimsy Stamps

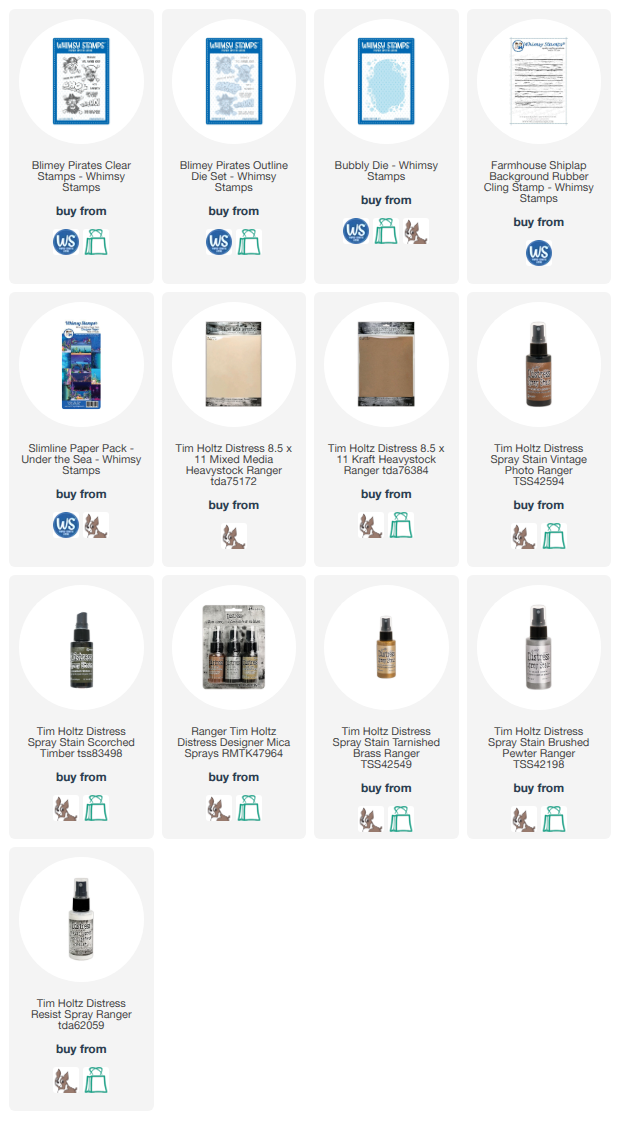
Hello Makers! I'm back with another card using Whimsy Stamps products. You all know by now that I have been on a huge Pirate kick this season, and today's card is no exception. The birthday link may be a surprise though.  Last week was Deb Davis's birthday and she is the delightful creative director for Whimsy Stamps. In the craziness of the last month I missed wishing her a Happy Birthday, so this is my birthday card for sweet Deb. Happy Birthday Deb!

I did film and edit a tutorial for this card. There are a few details that you may miss just looking at it that give extra life to this die cut, so I hope you find something beneficial from it.  

Here you can see the stamped Farmhouse Shiplap to mimic the sides of a sunken ship.
And here you can see some of the details that add interest and texture to the stamped and die cut frame.
The Blimey Pirates stamps and dies are so creepy! The stamps are still available, but the dies are being retired so once they are gone, they are gone. I have them linked below so you don't miss out. 
I had to sneak in a little pirate treasure to this make. I glued mine to the background, but it you were inclined to make this a shaker card, they would certainly be perfect for that!

For the sentiment, I put two together and then fussy cut them out. Deb designed these cards so I know she will appreciate the pirate birthday humor. 

 Thank you so much for stopping by!

Tami

Below are my affiliate links to the products I used in today's card.

Sunday, August 2, 2026

Boo to You - Whimsy Stamps


Hey Makers! It's the atart of a new Halloween season at Whimsy Stamps! For my first spooky make I ended up with two cards from the same design. It is amazing how just changing up the color scheme and papers really makes the card feel completely different!

https://youtu.be/LrNni0zFA1I 

Of course I made a process video as I was muddling through the design on this one. 

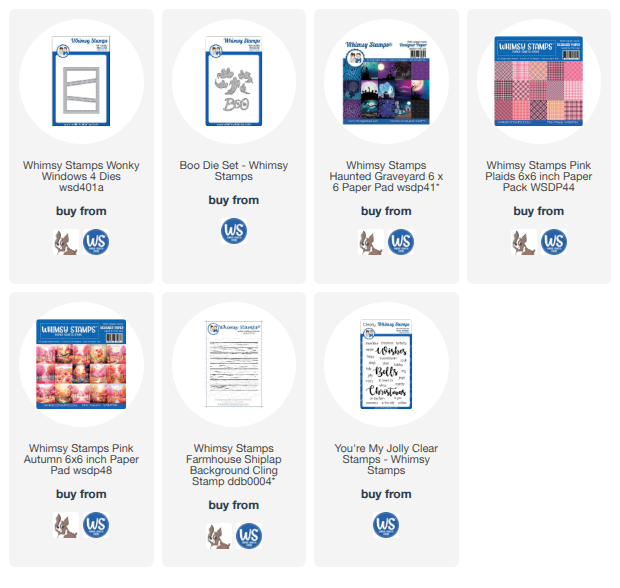
This first card uses the Wonky Frame 4 and papers from the Haunted Graveyards 6x6 paper pack. 
The ghosts and sentiment are from the Boo Die Set. 
I cut the ghosts and the Boo shadow from vellum and ran them through my Xyron
The Xyron makes them stick without the squiggely glue lines showing through.
I finished the sentiment with part of a phrase stamped from the You're My Jolly sentiment set.
This second card was a bit out of my Halloween wheel-house. I never reach for pink for Halloween but I had the Pink Autumn and Pink Plaid paper packs from Whimsy so I decided to give it a go.
The pink plaid ghosts are a fun, whimsical addition to this card.
I wanted to frame to be dark brown so I colored kraft paper with Scorched Timber Distress Stain and stamped the Farmhouse Shiplap Background stamp in Black Soot Archival. 
Then added some brown sequin to finish it. 

Thank you for stopping by to see the details of these simple cards as I kick off the Halloween season with Whimsy Stamps. I hope you will follow along from August 1st to October 31st with the team. 

Have a vreative Day!

Tami


Below are my affiliate links to the products I used to make today's cards. 

Friday, June 5, 2026

Howdy Folks! Layout

I thought the recent western release from Whimsy Stamps would be perfect for a frontierland themed layout. I haven't done too many layouts in the last several years, but I am hoping to get back to doing more scrapbooking in the next few years. 


Here is a little tutorial showing how I put this layout together. 
 I used the Cottage Core papers which are 6x6 but I was able to piece them together and make this 12x12 layout come together.


The title uses the Rope and Barb die set and the Howdy Word Die.

I added a few scraps in the top corner and if you look on the cream paper, you can see the faint burlap stamping I did in the corners of the cream 12x12 paper.
The theme of this page was about the goat in the Disneyland version of Big Thunder Ranch Railroad. Everyone loves to look for the goat when you are on the ride. 


So I added this older stamp called Cranky Pants because I thought the goat perched on the stenciled bluff would be funny! 


The stenciled bluffs were from the new Rustic Landscape Layering Stencil. It fits a Slimline sized card, but I stretched it to fit across the entire bottom of the 12x12 paper. 


I added the cracked texture to the stenciling by stamping through the stencil with the Chippy Paint stamp.  Then I added pieces of the barbed wire frame from the Rope and Barbed Die Set 


 I thought I would add something that some people have said over the years. I made this sentiment by cutting out words from the different sentiments on the Cranky Pants stamps.

Thank you for being here! Have a creative day!

Tani

Here are my affiliate links for easy shopping.  

Friday, April 3, 2026

Aloha! Tropical Makes - Whimsy Stamps

I designed a small make and take project for an event using Whimsy Stamps products. The theme of the event was tropical paradise, so I reached for a few Whimsy stamps products. This was the basic Make and Take. I cut a white cardstock base for a mat from the Mini Slim Notched Dies. I also cut a piece of Tropical Flowers 6x6 paper a little smaller than the mat. Then I cut a piece of vellum one size smaller to tone down the beautiful floral paper. 
Some of the images from the Aloha Kids stamps were stamped on watercolor paper, watercolored and then fussy cut to make a tropical scene on the Mini Notched shape. 
This one was turned into a bookmark. 
For this make and take, I added it to the middle of a journal page with a spot for a photo and room for journaling at the bottom. The Tropical Floral background stamp was used to add a bit of color to the top and bottom of the journal page. In addition to the Make and Take images and background, I added some of the Hiscus Flower dies for texture and added tropical color and dimension. 
For this A2 card I reached for a 6x6 piece of the Tropical Florals Paper Pack and ut a background for a card, Then I watercolor stamped a background on Watercolor Paper using the Tropical Floral Background stamp. then I added the ifussy cut mages included in the make and take. 

Lastly I added the make and take to a tropical scrapbook layout. The make and take made for a fun title piece, Then I stamped the Tropical Floral Background Stamp in two corners. I added some 3x6 pieces of paper from the Tropical Florals paper pack with photo mats on top of them. In the bottom I added a tropical scene from the Build an Island die set. 

These are all really simple idea to use these tropical make and takes as well as some other Whimsy  Stamps tropical products. 

Below are links to all the products and don't forget to use the playswellwithpaper discount if you purchase  from the Whimsy Stamps store for 10% off.  

Thank you so much for checking these tropical ideas out,

Tami

I am an affiliate with Simon Says Stamp and Whimsy Stamps. The links below send you to one of those stores. If you wish to purchase something and use one of my links below, I get a small percentage of your order at no additional cost to you. This helps me to defray the costs of this channel, the time, the ideas and tutorials I post here. Your help is greatly appreciated! Thank you!


Thursday, April 2, 2026

Whimsy Stamps Sampler Cards

These are cards I made for a Whimsy Stamps Card Class. I still have some class kits available if you would like a sampling of Whimsy Stamps products that make these six simple cards.  Here is a link to the kit In my Etsy Shop: Purchase Card Kit Here

Otherwise I will list the products used on each card below the picture and have a list of products at the end of this blog. 

Thank You Card - Fancy Florals Toner Card Pack, Thank You Word Die, Vintage Script Background Stamp
Sympathy Card - Sympathy Bouquet 2 Quick Card Fronts, Simple Sentiments Die, Antique Frames Die Set
Fabulous Paris Quick Card Fronts, Simple Sentiments Die, A2 Shaker Pocket, shaker confetti
Creative Cupcakes Quick Card Fronts, Sprinkle Scallops Rectangular Die Set, Birthday Word and Shadow Set, Dew Drops
Peeking Giraffes stamps and outline dies, Jungle Frames Die set
Wonky Donkey stamps and Non-Fuss Masks, Selfie die set, Simple Sentiments stamps and dies, Postmarks Background Stamp

 I hope you like these cards! They are very different in style because they showcase many products from Whimsy Stamps. Below are the links to the Whimsy products I used in these cards. 

Not included are the This Calls For Confetti products that I also included such as the shaker card fronts, confetti for the shaker and all the embellishments for each card. Those items are included in the card kits, including an entire pack of confetti that is an exclusive mix just for this card kit. You can't purchase it.  

Thank you for checking this out!

Tami

I am an affiliate with Simon Says Stamp, Whimsy Stamps, and Scrapbook.com. The links below send you to one of those stores. If you wish to purchase something and use one of my links below, I get a small percentage of your order at no additional cost to you. This helps me to defray the costs of this channel, the time, the ideas and tutorials I post here. Your help is greatly appreciated! Thank you!

Saturday, March 14, 2026

St Patricks Postcard Cards - Whimsy Stamps

I needed more St. Patrick's Day Cards! So I reached for my pack of St. Patrick's Day Vintage Postcard Quick Card Fronts from Whimsy Stamps. These are so gorgeous I really didn't need to do anything to them, but I did die cut the focal points out and popped them up just slightly. Then added some Distress Stained muslin ribbon and some sequin confetti. 

Here is a short process video showing how I had 10 more card and envelopes in no time to get popped in the mail and on their way to their respective new homes.  


Thank you so much for checking in! I have one more pair of quick cards to share tomorrow for cards I will be handing out to friends in person. Then on to other kinds o makes.

Have a creative day, 

Tami

I am an affiliate with Simon Says Stamp and Whimsy Stamps. If you wish to purchase something and use one of my links below, I get a small percentage of your order at no additional cost to you. I greatly appreciate it! Thank you!