Showing posts with label card making. Show all posts

Saturday, March 14, 2026

St Patricks Postcard Cards - Whimsy Stamps

I needed more St. Patrick's Day Cards! So I reached for my pack of St. Patrick's Day Vintage Postcard Quick Card Fronts from Whimsy Stamps. These are so gorgeous I really didn't need to do anything to them, but I did die cut the focal points out and popped them up just slightly. Then added some Distress Stained muslin ribbon and some sequin confetti. 

Here is a short process video showing how I had 10 more card and envelopes in no time to get popped in the mail and on their way to their respective new homes.  


Thank you so much for checking in! I have one more pair of quick cards to share tomorrow for cards I will be handing out to friends in person. Then on to other kinds o makes.

Have a creative day, 

Tami

I am an affiliate with Simon Says Stamp and Whimsy Stamps. If you wish to purchase something and use one of my links below, I get a small percentage of your order at no additional cost to you. I greatly appreciate it! Thank you!

Sunday, January 18, 2026

Stencil Stamped Background - Stampers Anonymous Valentine Curation

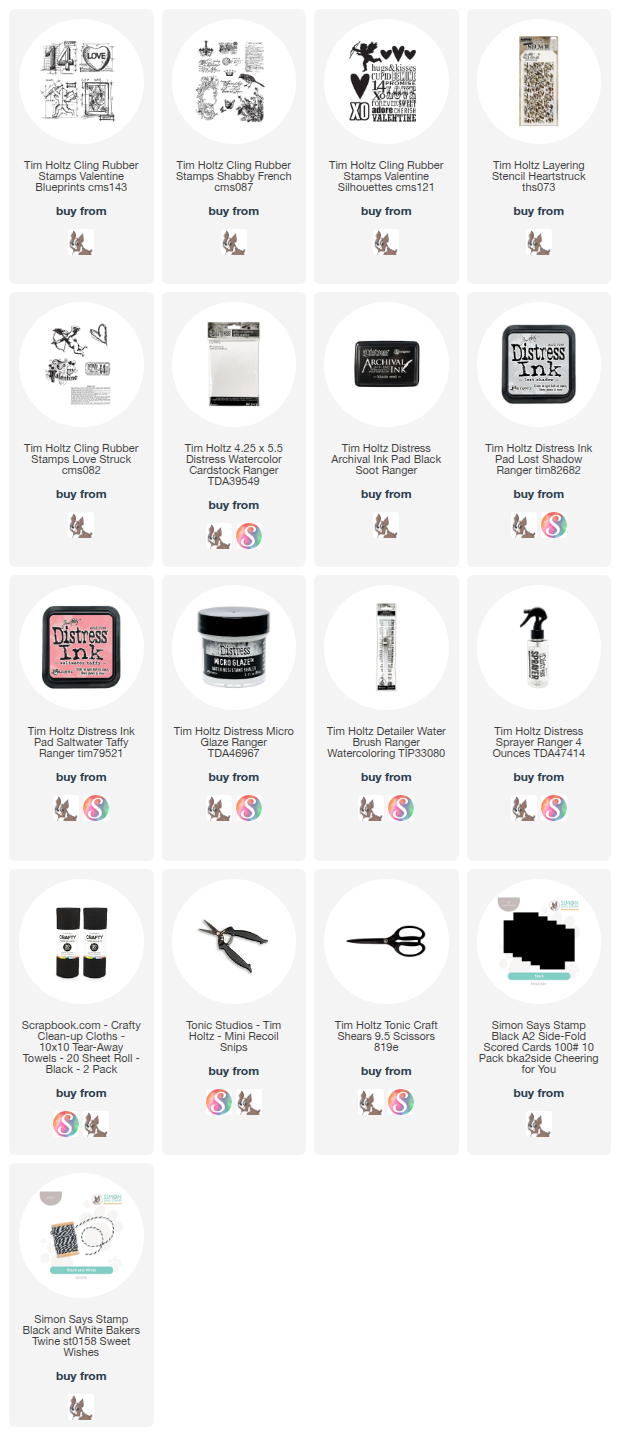
Stencils can be a versatile tool. You can obviously stencil with them, which will give you one pattern, and then you can stamp with them which will give you another version of the pattern. For the background of today's card, I used the Heartstruck stencil from the Stampers Anonymous Tim Holtz Valentine Curation as a stamp. 
 

Here is the video tutorial of the card, and below are the close-ups so you can see the details add to the finished card. 
In this top left corner of the card you can see the watercolor stamping of the scroll from the Shabby French CMS087 stamp, as well as the twine bow, and the script stamping I did on the paper that I stamped the Cupid on.
This photo of the top right corner really shows the hearts from the stencil stamping as well as more of the scrip in the cupid word and image. 
 If you wanted you could pop up the cupid with some foam squares. It would add some dimension, but even just the extra layer of cardstock added some fabulous dimension. 
 This close-up really lets you see the script stamping behind the sentiment. See how protecting the script with the Micro-glaze really protected itwhen I watercolored the letters?
 
 Here iin the bottom you can see the stamps I added from the Love Struck CMS082 set. 
 
Another card that was pretty simple, but now you can see how each of the steps added little details that really set this card apart. 
 
Thank you for the visit. I hope you have a very creative day,
Tami 
 

I am an affiliate with Simon Says Stamp and Scrapbook.com. If you wish to purchase something and use one of my links below, I get a small percentage of your order at no additional cost to you. I greatly appreciate it! Thank you!

Wednesday, June 25, 2025

Just Celebrate - Distress Paint Resist

Hello Makers! Today I have a card to share with you using a Distress Paint Resist technique. I usually use Distress paint for altering Idea-ology, but for today’s technique I used it for resisting Distress Stain. So I’m inviting you to come along, and let’s get making

Gather all the supplies.

·      Distress Paint : Peacock Feathers, Picked Raspberry

·      Distress Stain: Twisted Citron

·      Black Soot Distress Archival Ink

·      Distress Mixed Media Heavystock

·      Distress Black and White Heavystock for an A2 card base and mat.

·      Blending Brushes or Blending Tool and Blending Foam

·      Tim Holtz Stampers Anonymous Stamp & Stencil Mixed Media #43

Using a Distress Blending Brush (or Blending Tool and Foam) load with a light amount of Peacock Feathers Distress Paint and apply through one side of the stencil onto an A2 piece of Mixed Media Heavystock in various places. Do not cover the entire piece. Dry and clean off the stencil.

Apply Picked Raspberry Distress Paint the same way through the other part of the stencil.

Once the paint is dry and most of the paper is covered, as shown in photo, spray the entire piece with Twisted Citron Distress Spray Stain.

You will see that the paint resists the stain. Let the stain sit for a few seconds and start to dry.  With a clean paper towel, soak up any excess stain that is pooled on the paint. You can even lightly wipe it off the paint with a damp towel once the stain is completely dry. It will come right off the paint. 

 
I wanted to do a quick comparison between Distress Paint and Distress Oxides. I used the same colors of each and the same technique, but you can see that the Oxides react to the stain and they bleed and lighten, while the Distress Paint does not react and it in fact resist the stain so that the paint become prominant and maintains its bright color. That is the beauty of Distress Products. They have different properties and techniques that work with some products do not work with others.

Drop some of each paint color onto a Media Mat. Spray with water and then swipe Mixed Media Heavystock through it. Dry.
Once the paint is dry, spray it with Twisted Citron Distress Spray Stain.

When the stain is completely dry, stamp the balloon in Black Soot Archival Ink. Then fussy cut it oout. Stamp the balloon blue print onto a piece of White Heavystock and then pop the balloon up over the stamped image. 
For the sentiment, put a thin line of Distress Paint in Peacock Feathers, then roll a brayer through it. 
Once the brayer is coated, roll it over the long, thin label stamp and stamp it onto a piece of White Heavy Stock. Then stamp a sentiment into the center of it with Picked Raspberries. Color it with Twisted Citrosn Distress Stain and pat off the excess. Once dry cut out the labe, then cut a white and a black mat
Attach both the matted balloon and the matted sentiment to the front of the card.
The paint remained bright even thought it was sprayed with a dark Distress Stain. Distress Paint, once dry, is no longer water reactive so it really resists Inks, Stains and Oxides because they remain water reactive even when dry.
Of course I needed to finish it off with a little machine stitching.
Including a bit of messy stitching for texture.
Thank you so much for following along on the Distress Paint Resist tutorial today. 
 
If you would like to see the same technique with a completely different look, check out my tutorial here on the Ranger Ink blog.

Now let’s go shine brightly, and have a creative day! ðŸ˜ƒ

Tami  


I am an affiliate with Simon Says Stamp, Ranger Ink, and Scrapbook.com. The links below send you to one of those stores. If you wish to purchase something and use one of my links below, I get a small percentage of your order at no additional cost to you. This helps me to defray the costs of this blog, the time, the ideas and tutorials I post here. Your help is greatly appreciated! Thank you!

Sunday, June 22, 2025

Happy Birthday - Tim Holtz Collection Summer Curation

 This fun little Happy Birthday card  made for the Stampers Anonymous Tim Holtz Summer Travel Curation 2025. 

I used two of the Mixed Media sets from this curation. For the circular purple piece and the sentiment around the edge I used Noteworthy 2 - THMM162. To make the purple piece, I lightly colored a piece of Mixed Media Heavystock with Dusty Concord Distress Ink, and then I smooshed my inkpad on the circular part of the stencil, sprayed it with water and pressed it onto the inked paper using a paper towel. Then lifted it off the paper and let dry. I speckled it with drops of Peacock Feathers.
I made the teal grid paper the same way, but with part of the stencil from Snarky Cat THMM109 Mixed Media Set. I then stamped the cat, bow tie, sentiment and two balloons from that set, colored them and attached them to the center of the card.
Let's take a minute to talk about the background. I sprayed a piece of Mixed Media Heavystock with Distress Spray stain in Disty Concord, Crushed Olive, and Peacock Feathers. Then Let them dry. 
Instead of finisheing this card with a bit of sewing, I stamped the Best Day Ever sentiment all around the outside edge. It was fun to do! It's not perfectly spaced, but that really doesn't matter. It works fine being a little wonky.

This card came together much better than I had planned. These little Mixed Media sets have been so much fun to work with. Some of them need to be used in conjuction with other sets, as seen here, like Noteworthy 2 and Correspondence. But how great is it to have some sets with lots of sentiments to pull from as well?

Many thanks again for stopping by to check out this card. I hope it inspires some ideas for your own making session.

Now let’s go have a creative day! ðŸ˜ƒ

Tami  

I am an affiliate with Simon Says Stamp, Ranger Ink, and Scrapbook.com. The links below send you to one of those stores. If you wish to purchase something and use one of my links below, I get a small percentage of your order at no additional cost to you. This helps me to defray the costs of this blog, the time, the ideas and tutorials I post here. Your help is greatly appreciated! Thank you!

Wednesday, June 1, 2022

Be Fearless - Stampers Anonymous

 I'm sure if you are here that you have already heard the exciting news! New stamps and stencils from Tim Holtz and Stampers Anonymous are available for pre-order now! Click one of the links below to get yours today.
 

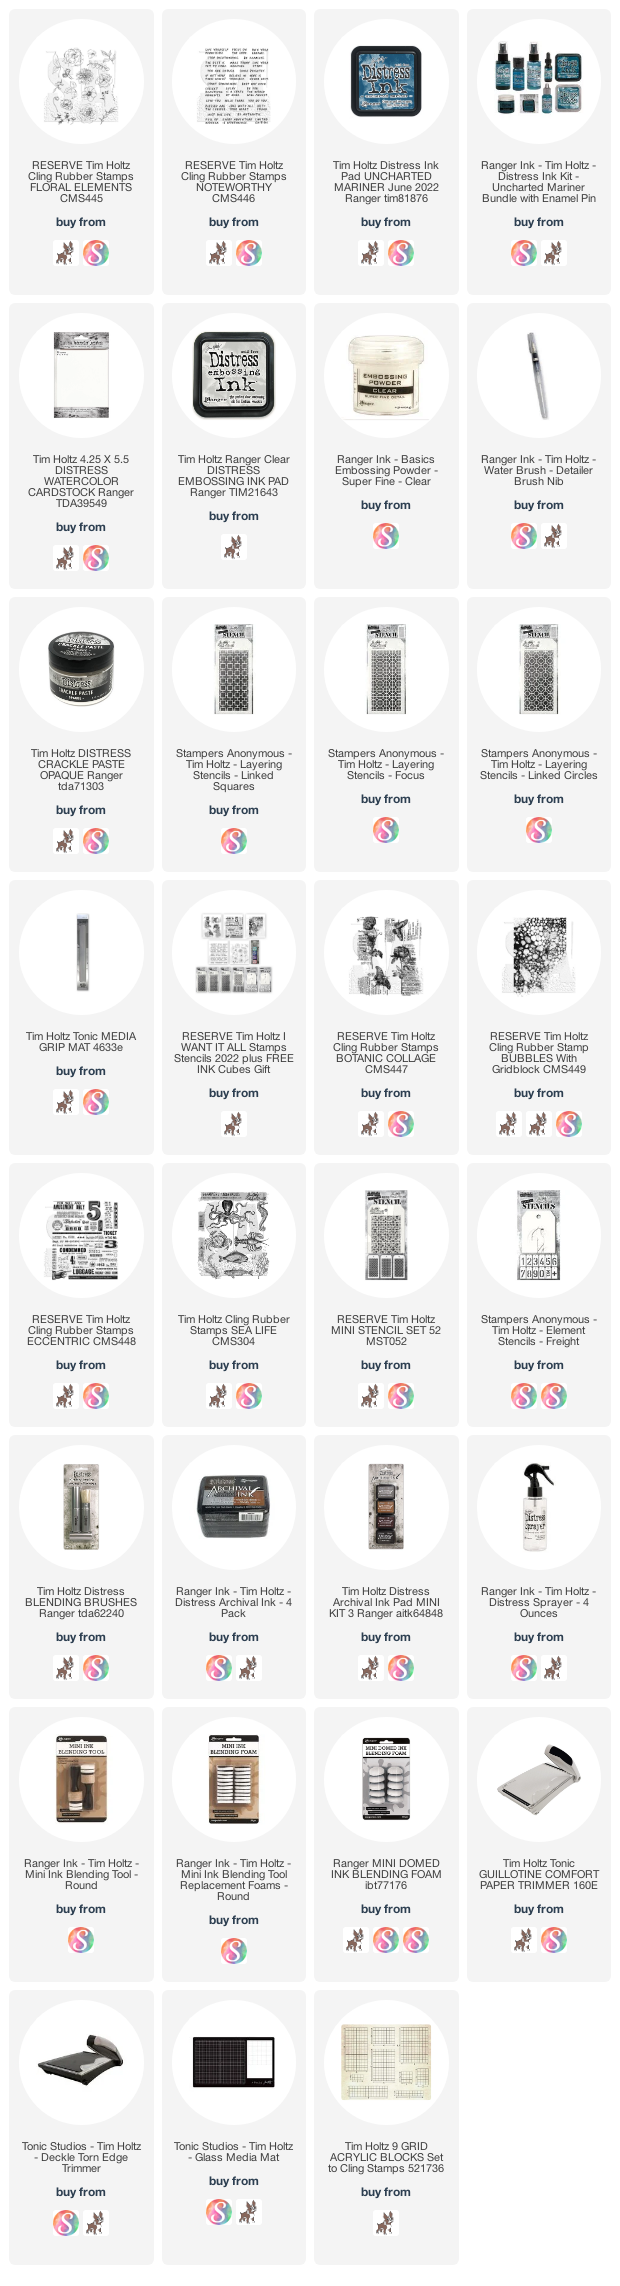
To make this card I stamped the smaller butterfly and text stamp from the Botanic Collage CMS447 set in Distress Clear Embossing Ink on Distress Water Color Cardstock twice, then covered it in clear embossing powder. I used a blending tool to color the paper, sprayed it with water and let it dry naturally. 

Once it was dry, I covered it with a scrap piece of paper and ironed the clear embossing off of the watercolor paper. I cut one of the butterflies out and then trimmed the other with a Deckle Trimmer.


Sew around the outside edge of the stamp. Add a foam dot or piece of chipboard behind the cut butterfly and attach it over the trimmed stamped piece so it has some dimension.

To make the background, apply Salvaged Patina, Salt Water Taffy, and Squeezed Lemonade to the Bubbles CMS449 stamp. Spray it with water before stamping it onto Distress Watercolor Cardstock. Trim it with a Deckle Trimmer and attach to a while card base. Be sure to sew around the edge if desired.

Stamp a sentiment on one of the scrap pieces  using the Noteworthy, CMS446 set. swe it along the bottom right edge.

There you go. It's a quick, simple card to make using the beautiful new stamps from Tim Holtz and Stampers Anonymous!

Thanks you so much for stopping by. I truly appreciate your support!

Have a crafty day!

Tami

I am an affiliate with Simon Says Stamp and Scrapbook.com so the links below send you to one of those stores depending on which logo you choose.  If you wish to purchase something from either store and use one of my links below, I get a small percentage of your order, at no additional cost to you. This helps me to defray the costs of this blog, the time, the ideas and tutorials I post here. 

Your help is greatly appreciated! Thank you!