Happy World Cardmaking Day! I thought I would start today off with this magical Disney Christmas card using the new Chapter 4 dies from Tim Holtz and Sizzix. This is a fast, simple make so let's do this!
The background papers are from the Ideaology 2019 Christmas Paper Stash -- so good!!
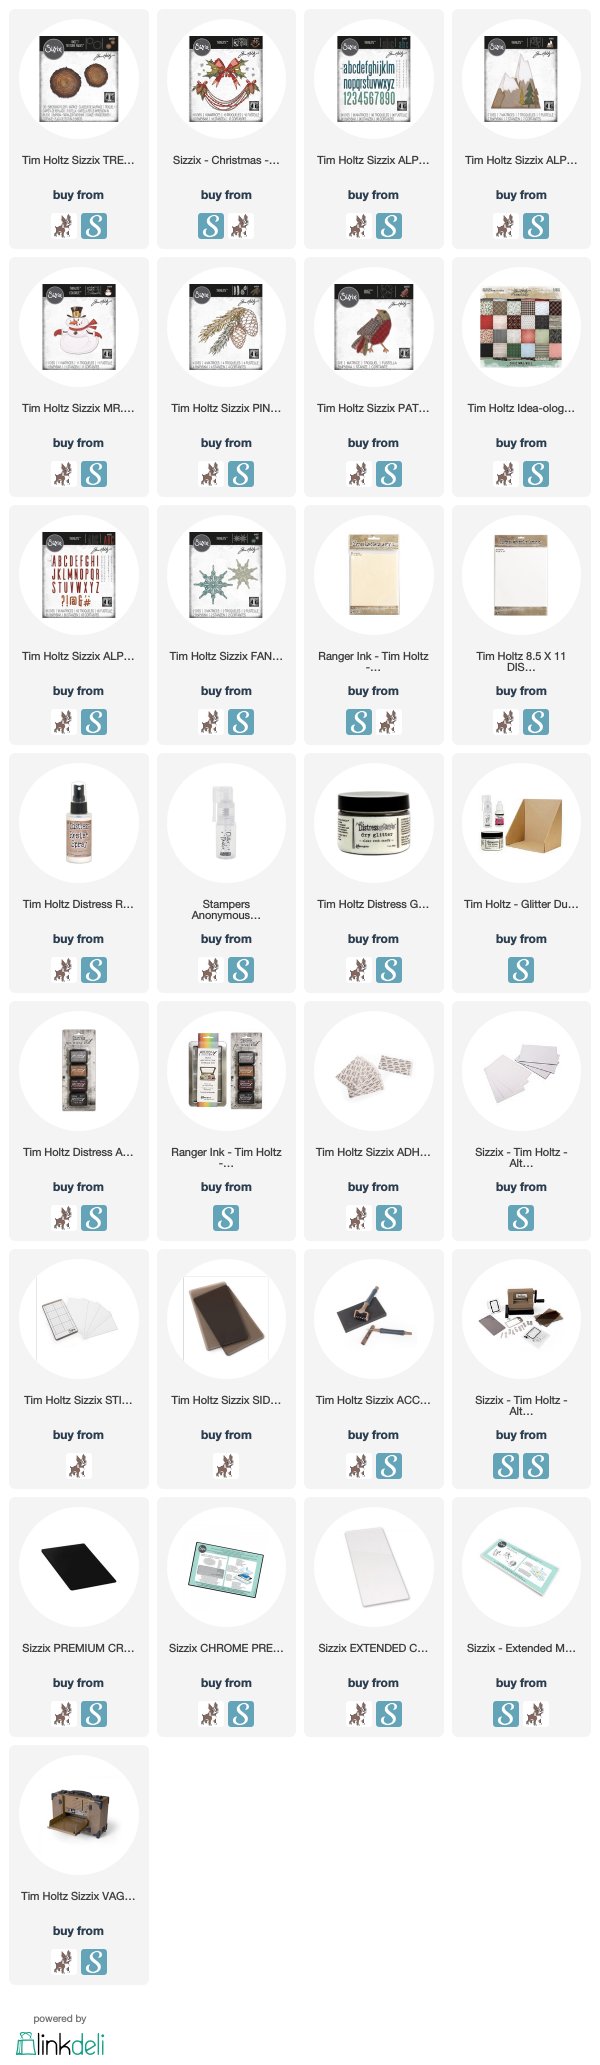
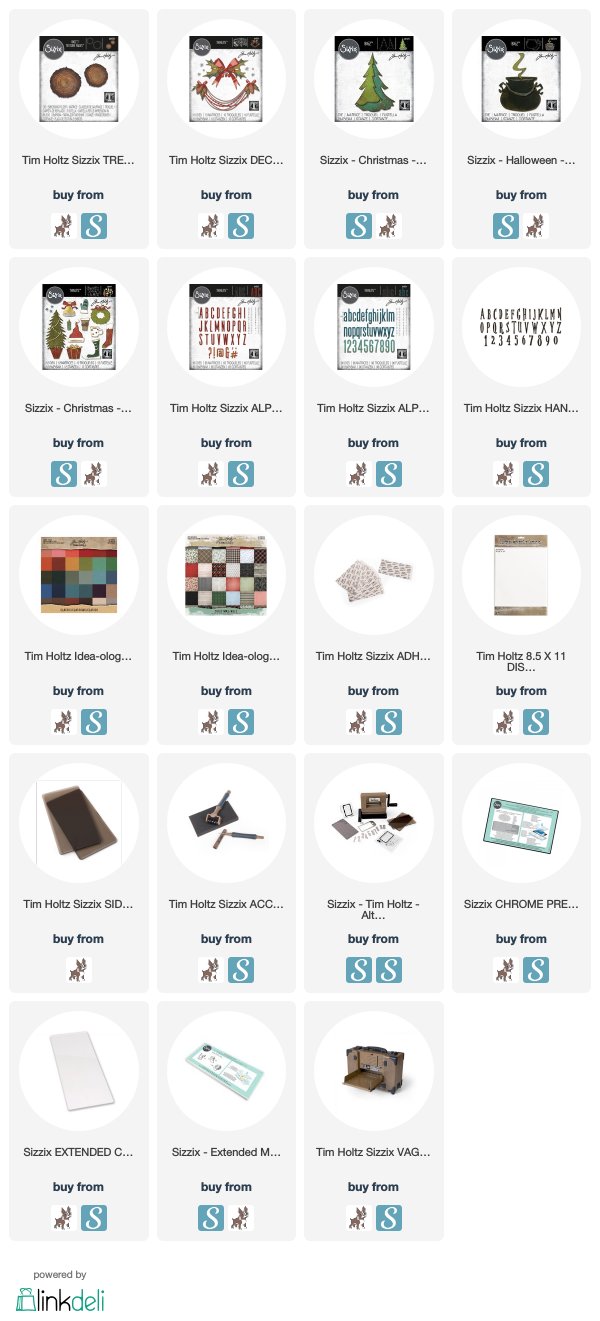
Then cut out three wood slices, two small and one medium from the new Tree Rings Bigz Steel Rule die.
I cut it from Kraft Paper and inked the embossing folder with Vintage Photo Distress Archival Ink, or you could use Ground Espresso, to make the debossed parts a darker brown.
There is a little part on each ring that sticks out and makes a little tab. That helps to get the pieces lined up properly in the embossing folder.
Additionally, I cut three rings out of chipboard and adhered the embossed pieces onto them so that they gave the card some dimension.
Assemble the rings in a classic Mickey/Minnie shape on the card. Cut some Holly and a Bow from the Deck the Halls Thinlit die set.
You can cut the pieces from colored cardstock, or as I did here, I colored some Distress Watercolor paper in shades of green and red with my Distress Inks, and then cut them out.
Once the Holly and Bow were assembled, I sprayed them with a bit of Distress Resist Spray and dusted them with Distress Rock Candy Glitter in a Glitter Duster.
Isn't the sparkle glorious?

This is one of my go-to items to have on hand for all my holiday makes!
Just a funny side note here, if you are super tired and find yourself "sleep crafting" as I did at one point during this make, put the paper crafting down and take a nap. I continued to attempt to assemble some holly leaves and ended up asleep with my face on my glass mat, collage medium spilled and about 5 holly leaves that didn't line up. LOLOLOL! Trust me, go take the nap!
The last touch is to add the sentiment. I cut the word magic out of the new lowercase Classic alpha out of white watercolor cardstock and some I had colored a pink to match parts of the bow and the paper.
I also cut some of the sparkles that are a part of the Deck the Halls set and both the alpha and the sparkles got a dose of Distress Resist Spray and Rock Candy Glitter.
I offset the pink letters from the white just so that they kind of stood out a little. This is a super easy technique that is a standard thing to do with alphas that really can make a huge difference with little effort.
Add some machine stitching, and that's it! Such a fun card to make and one that you can easily duplicate for the holidays.
I am always grateful for your comments and support. If you have any questions, feel free to contact me through the form in the right column.
Tami
I am an affiliate with Simon Says Stamp and Scrapbook.com so the links
below send you to one of those stores depending on which logo you
choose. If you wish to purchase something
from either store and use one of my links below, I get a small
percentage of your order, at no additional cost to you. This
helps me to defray the costs of this blog, the time, the ideas and tutorials I
post here. Your help is greatly appreciated! Thank you!