Showing posts with label Classic Alpha. Show all posts

Monday, December 2, 2019

Christmas Tablesettings - Sizzix Ch. 3 & 4

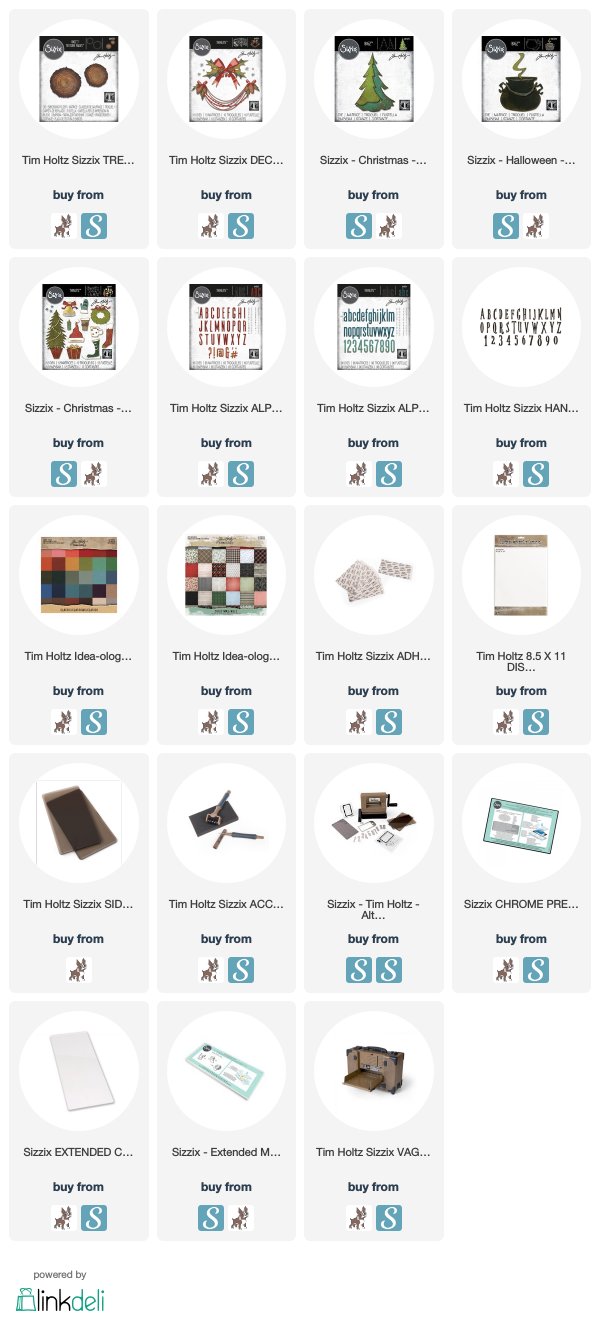
How about some quick table setting ideas for Christmas parties? I used several of the Bigz Dies from the Tim Holtz Sizzix Chapter 3 and 4 releases to make some very quick nameplates for a festive party, Christmas tea, or for the meal on the big day.

Let's start with the Wood Slices from Chapter 4.
This die has two sizes and comes with an embossing folder. The larger slice is the one I used for this standing nameplate.

You will do the following few steps for each name plate shown below:
  1. Score and fold a piece of kraft paper cardstock in half, then score 1/2" on each side of the fold.
  2. Fold them to form a W shape.
  3. Lay this on the die with the fold just inside the cutting edge, and cut.
  4. Glue the top together. 
  5. You end up with a little base at the bottom that allows the piece to stand up on it's own. 
     

    Now back to the wood slice, before you glue it, run it through the embossing folder. Line up the little tab so it's going the right direction.
Ink the rings before you emboss so that they really show.
The Holly is from the new Deck the Halls thinlit set. So many good bits in that one!
The name font is the brand new Alphanumeric Classic Uppercase. It's so bold, I love it! The shadow effect was just from cutting the letters twice and off-setting them as you attach them. Super fast and super easy
 While we are on the Wood Slice, I made a gift tag out of the small slice.
I folded a small piece of Kraft paper cardstock in half, (only in half.)
Again, put the fold just inside the cutting edge and run it through the cutting machine.
 Emboss it, punch a hole in the top where the fold is for tying jute or string through to make a tag. Add a few holly leaves and berries from Deck the Halls.

Chapter 3 dies that I used to make name place settings were the Tree and the Cauldron.
Follow steps 1-5 above and then decorate as you see fit.
 For these name place settings I used Kraftstock,  and sanded the edges.
 The alphabet on both of these place settings is the Bigz XL Handemade alphabet.
 The presents on both of these are from the Festive Things die set . 

There you go! A couple of quick ways to deck your table for the holidays.
Tami

I am an affiliate with Simon Says Stamp and Scrapbook.com so the links below send you to one of those stores depending on which logo you choose.  If you wish to purchase something from either store and use one of my links below, I get a small percentage of your order, at no additional cost to you. This helps me to defray the costs of this blog, the time, the ideas and tutorials I post here. Your help is greatly appreciated! Thank you!


Monday, October 14, 2019

Tis the Season to be Jolly - Sizzix Ch 4 and Distress Oxide Sprays

Isn't this Pine Bough die set from Tim Holtz and Sizzix just amazing?  Oh I do love it and have so many plans to use it. One of the first applications I used was this jolly Etcetera tag inspired by the Sugar Plum Fairy.
Cut some pine boughs and pine cones from the die set out of kraft cardstock.
I love the open feel of the pinecones, but I needed to have them backed with paper for this tag. So I adhered them to some kraft cardstock using Distress Collage Medium.
Once they were dry I trimmed around the outside of the pinecones.
Next I tore some Idea-ology Christmas Collage paper and adhered it to some places here and there on the tag using Distress Collage Medium. Then I adhered a couple of pine boughs and a pinecone in one corner.
I did the same thing in the bottom corner, making sure the Collage Paper was adhered before the pine bough die cuts. In addition, I cut a festive saying out of Metallic Gold Kraftstock using both the upper and lowercase Classic Alpha die sets. Once the letters are in place, cover the entire tag, including all the die cuts, with a layer of Distress Collage Medium.
Once the tag is complete and the entire tag and all the Collage Medium are dry, you want to create some magic with Distress Oxide Sprays. I used some of the most recently released colors on this tag.
To do this technique, lay the tag on some paper towels and then shake the Distress Oxide Sprays really well. Then spray them on the tag as seen above.
I sprayed Chipped Sapphire across the main center of the tag.
Then I added Evergreen Bough on the pine boughs, and some Brushed Corduroy in a few places on the tag and also on the pinecones.
Here you can see how the green in mostly on the pine boughs and the brown is on the pine cone. You might also note a few red splatters. I sprayed the Barn Door Oxide Spray into a plastic cup and then dipped the Distress Splatter Brush into the spray and splattered it over the tag. Don't be too heavy handed with this color but add a few splatters for interest later.
The lighter speckles is the Antique Linen that I sprayed in a small plastic cup, dipped the Distress Splatter Brush into it and then splattered all over the tag.  It looks totally cool when it is wet but I really am not sure that this color actually did anything to the overall look. LOL! These are the things you discover when you are experimenting.
Let it sit until it is dry. It was about 30 minutes for me, so I worked on something else during this time. Once it is dry you want to wipe off most of the Oxide Spray.  It will be dry but it won't be permanent. It will wipe off easily. Take a damp rag or wet wipe and start wiping.
You can start seeing here that as you wipe the color underneath, including some of the kraft color, will begin to show through.
Once you have wiped away most of the oxide on the surface, you will still have some of the oxide that sticks down in the recessed areas of the dies and next to the edges of the dies. That is perfect!
I love how the Evergreen Bough Oxide leaves green between the needles on the boughs and the Brushed Corduroy colored the pinecones.
And how the Chipped Sapphire Oxide stayed around the gold letters giving them definition.
 Isn't it fascinating how the dark ink portion of the oxides soaked through the Collage Medium and gave the tag some vibrant color? I really wasn't expecting the deep plum colors with the warm golden brown. But what a fabulous surprise!
If you look closely you can see where a few of the bits of Barn Door showed up here and there adding a bit of interest as well as how the bits of collage paper show through the color as well.
The finishing touch was to spray some Distress Resist Spray over the entire piece and then lightly dust it with Platinum Distress Glitter Dust to add a little Sugar Plum Fairy sparkle.

Thank you for sticking with me to the end of this post. If you have any questions, please feel free to ask by using the contact form at the side of this post. And thank you for all of you that visit and leave comments. I read them all and truly appreciate when you take the time to leave them!
Tami

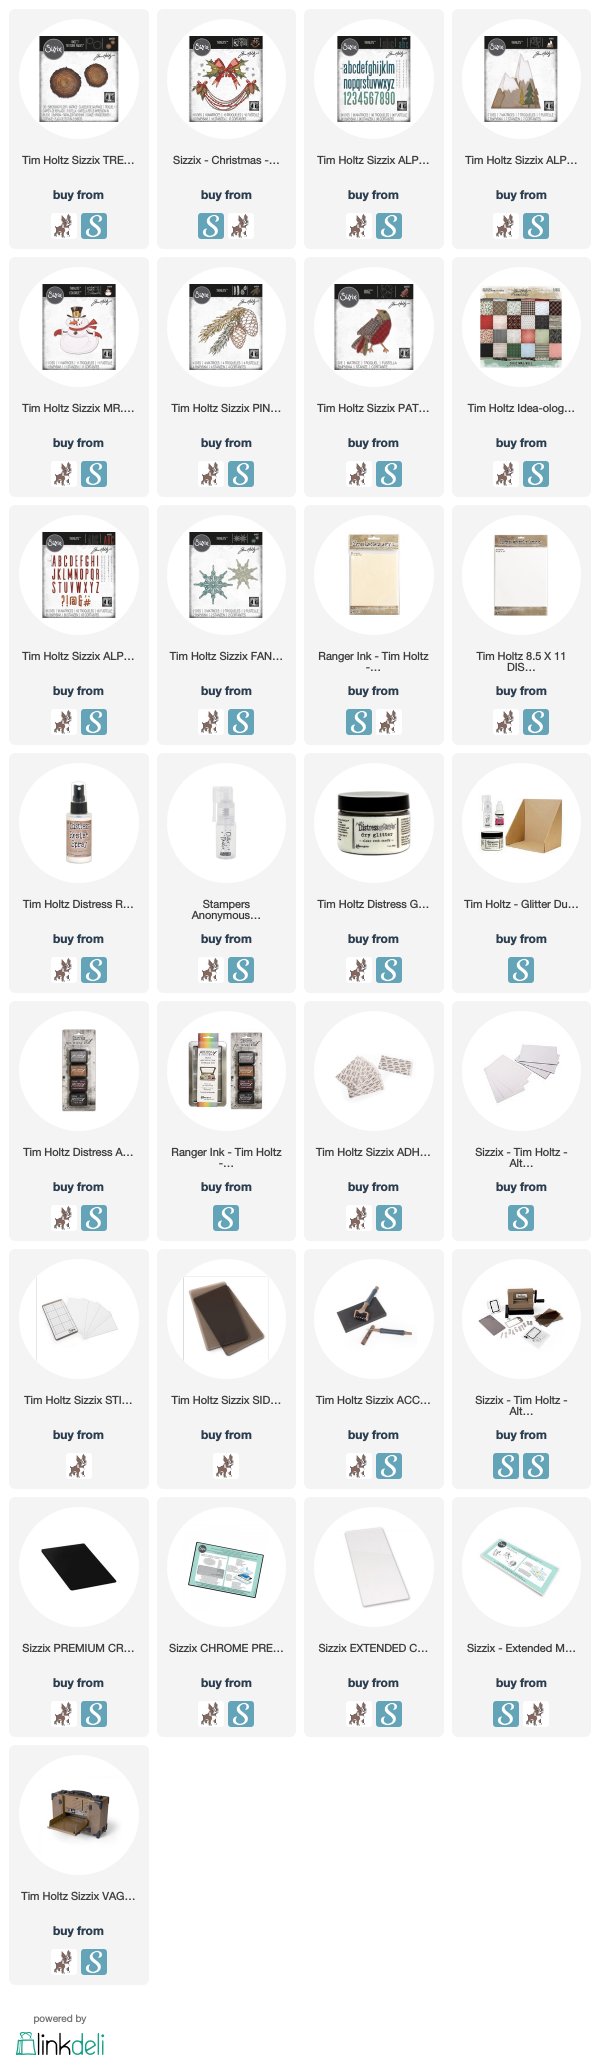
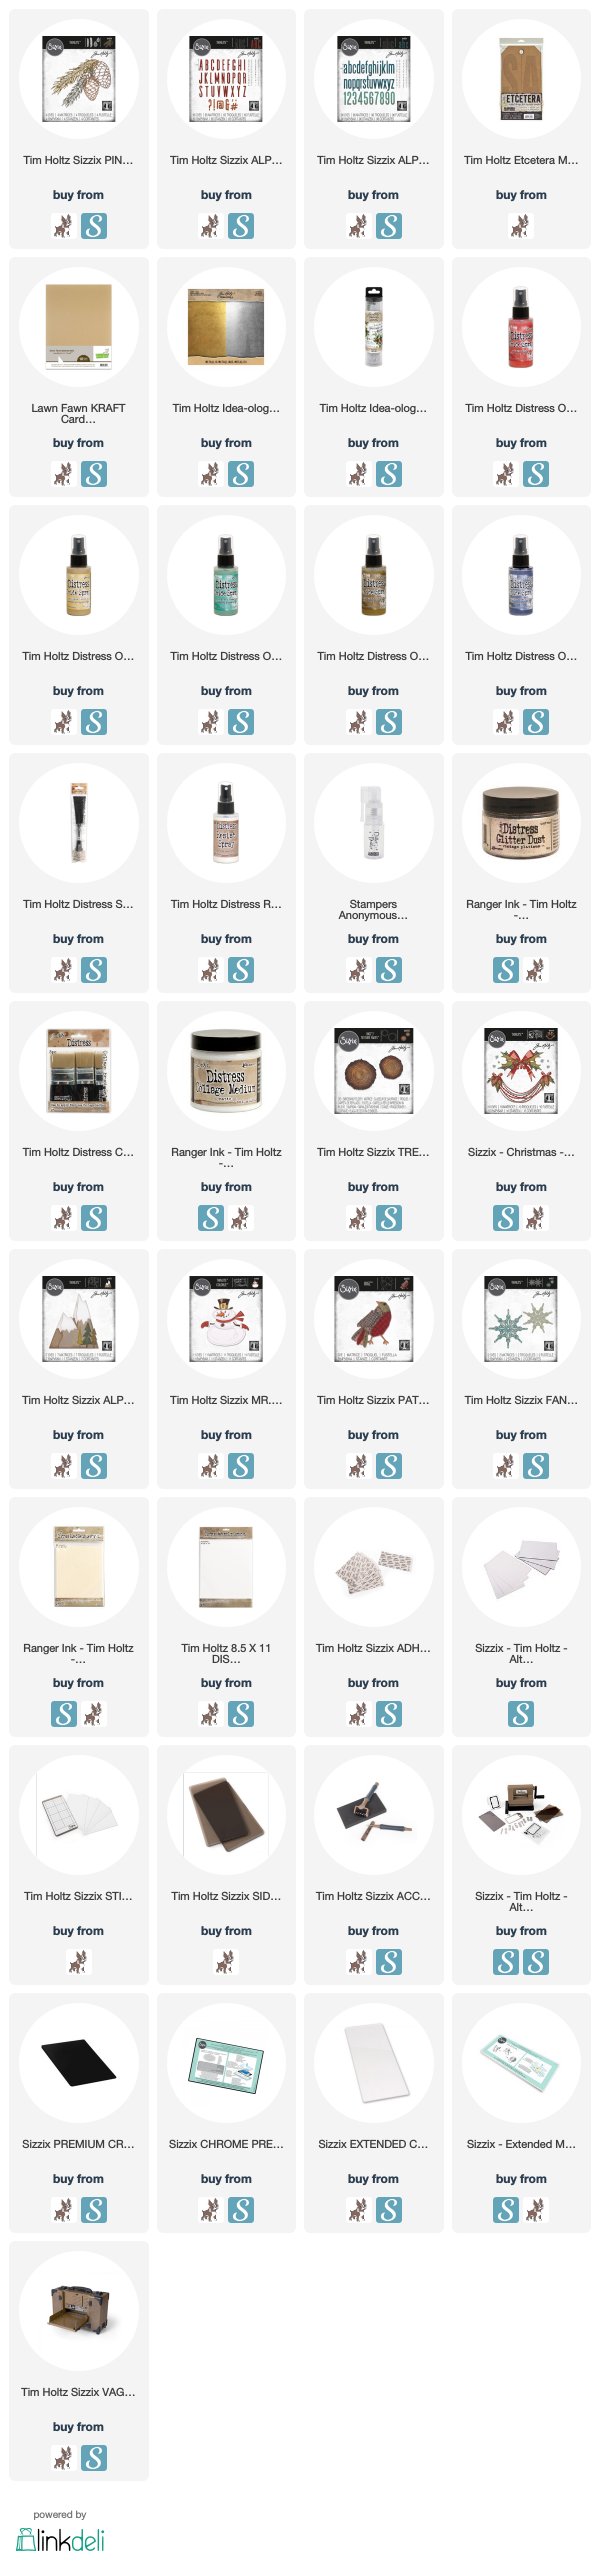
I am an affiliate with Simon Says Stamp and Scrapbook.com so the links below send you to one of those stores depending on which logo you choose.  If you wish to purchase something from either store and use one of my links below, I get a small percentage of your order, at no additional cost to you. This helps me to defray the costs of this blog, the time, the ideas and tutorials I post here. Your help is greatly appreciated! Thank you!

Saturday, October 5, 2019

Magic - Tree Rings Sizzix Chapter 4

Happy World Cardmaking Day! I thought I would start today off with this magical Disney Christmas card using the new Chapter 4 dies from Tim Holtz and Sizzix. This is a fast, simple make so let's do this!
The background papers are from the Ideaology 2019 Christmas Paper Stash -- so good!!
Then cut out three wood slices, two small and one medium from the new Tree Rings Bigz Steel Rule die.
I cut it from Kraft Paper and inked the embossing folder with Vintage Photo Distress Archival Ink, or you could use Ground Espresso, to make the debossed parts a darker brown.
There is a little part on each ring that sticks out and makes a little tab. That helps to get the pieces lined up properly in the embossing folder.
Additionally, I cut three rings out of chipboard and adhered the embossed pieces onto them so that they gave the card some dimension. 
Assemble the rings in a classic Mickey/Minnie shape on the card.  Cut some Holly and a Bow from the Deck the Halls Thinlit die set.
You can cut the pieces from colored cardstock, or as I did here, I colored some Distress Watercolor paper in shades of green and red with my Distress Inks, and then cut them out.
Once the Holly and Bow were assembled, I sprayed them with a bit of Distress Resist Spray and dusted them with Distress Rock Candy Glitter in a Glitter Duster.
Isn't the sparkle glorious?
This is one of my go-to items to have on hand for all my holiday makes!
Just a funny side note here, if you are super tired and find yourself "sleep crafting" as I did at one point during this make, put the paper crafting down and take a nap. I continued to attempt to assemble some holly leaves and ended up asleep with my face on my glass mat, collage medium spilled and about 5 holly leaves that didn't line up.  LOLOLOL! Trust me, go take the nap!
The last touch is to add the sentiment. I cut the word magic out of the new lowercase Classic alpha out of white watercolor cardstock and some I had colored a pink to match parts of the bow and the paper. 
I also cut some of the sparkles that are a part of the Deck the Halls set and both the alpha and the sparkles got a dose of Distress Resist Spray and Rock Candy Glitter.
I offset the pink letters from the white just so that they kind of stood out a little.  This is a super easy technique that is a standard thing to do with alphas that really can make a huge difference with little effort.
Add some machine stitching, and that's it! Such a fun card to make and one that you can easily duplicate for the holidays.
I am always grateful for your comments and support.  If you have any questions, feel free to contact me through the form in the right column.
 Tami

I am an affiliate with Simon Says Stamp and Scrapbook.com so the links below send you to one of those stores depending on which logo you choose.  If you wish to purchase something from either store and use one of my links below, I get a small percentage of your order, at no additional cost to you. This helps me to defray the costs of this blog, the time, the ideas and tutorials I post here. Your help is greatly appreciated! Thank you!