Showing posts with label Deck the Halls. Show all posts

Monday, December 16, 2019

Mr. Snowman Decks the Halls - Sizzix Chapter 4


I am overjoyed that Sizzix The Making Journal has asked me to share a project with you from the Tim Holtz Chapter 4 release. There are some delightfully whimsical dies to choose from and that makes for equally whimsical projects.

It’s that time of year when we are all decking the halls and getting ready for the big day! Well, Mr. Snowman didn’t want to be left out so he decked out his cabin too. If you would like to make your own version of this framed wintry scene, I’ve detailed the steps I took to make it and hope it inspires you to make one of your own.
Just head on over to The Making Journal for directions and step-out photos as well.
 
 
Cover the panel of the frame with the wood paper from the Idea-ology Christmas Paper Stash. I adhered mine with Collage Medium on the panel and then gently pressed the paper onto the panel and smoothed it onto the panel pressing out any bubble with a bone folder.
 
Paint the frame white with one layer of Picket Fence Distress Paint. Then put some Ranger Opaque Crackle Texture Paste on your finger and smear a thin layer here and there all over the frame. Let it dry and crackle.
Spray with Distress Resist Spray and a thin layer of Clear Rock Candy Distress Glitter from a Glitter Duster. Attach the frame to the panel with Distress Collage medium. Set a few books on it once it is in place and set aside to let it dry.
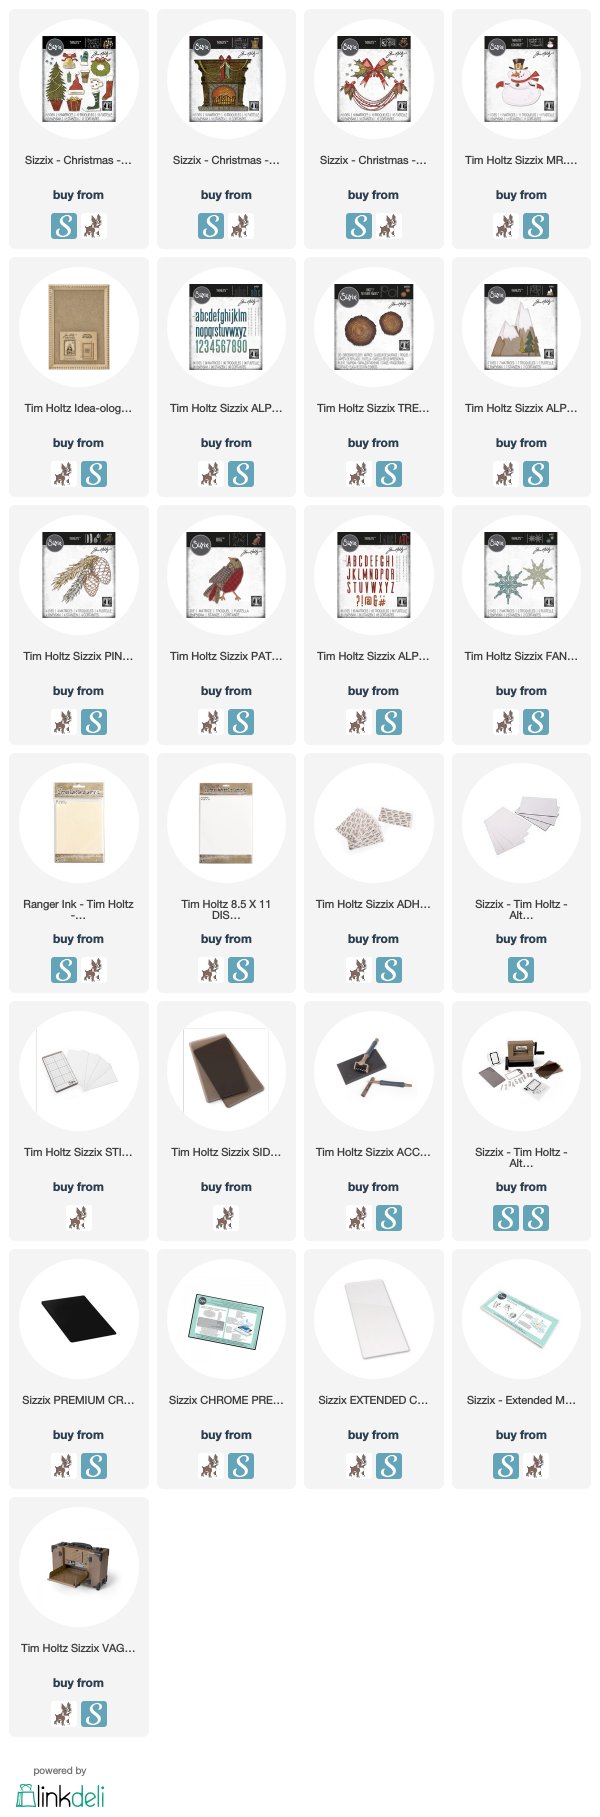
Cut out all of the pieces of the FIRESIDE die. I cut the fireplace pieces and flames out of Distress Watercolor Cardstock so they stayed white. I cut the grate from black cardstock, and the tile surrounds from Watercolor Cardstock coloured with Tumbled Glass Distress Ink. Assemble the entire mantle.
Cover the whole piece with Clear Distress Crackle Paint.
When it is dry, scribble some Hickory Smoke Distress Crayon on the mantle and rub it in with a damp finger. 
Cut a piece of watercolor cardstock big enough to fit behind the fireplace opening. I colored mine with a few blue Distress Inks that were on the darker side. Then cover it with a thin layer of Distress Crackle Paint as well. Rub some Picket Fence Distress Crayon over the dark blue insert and attach it to the back of the mantle behind the opening.
Lightly color the flames with Tumbled Glass Distress Ink and then put them on a non-stick surface and slather some Distress Crackle Paint all over it and let it dry so that when it is dry it is stuck in the curly bits like frosty ice.
Attach that in the fireplace opening and then curve the grate a little bit and put the black grate in front of the ice flames.
Cut three trees and a wreath from the FESTIVE THINGS die set in Dark Green cardstock. Flick some Picket Fence Distress Stain onto the them. When dry, spray with Distress Resist Spray and add some Clear Rock Candy Glitter. Make sure to cut the bases from silver metallic paper and adhere them to the trees.
The trees are put on the frame with one in each lower corner and the third up behind the tree on the right. The lower part of that tree will be covered by Mr. Snowman soon. Attach the completed Fireside piece to the right of the tree in the left corner. I popped it up a little with some pieces of chipboard behind it.
Adhere some Sizzix Permanent Adhesive sheets to a few pieces of Distress Watercolor Cardstock. Cut all of the MR. SNOWMAN pieces. 
Lightly edge the white Snowman part in Tumbled Glass Distress Ink, then assemble them.
Color the black pieces with Black Soot Distress Ink. Adhere them to the snowman body.

Color the scarf, mittens, and hatband the colors you want and adhere them, as well as the nose. Cut a buckle from silver metallic Kraftstock. Once the snowman is complete, lightly spray him with some Distress Resist Spray and then some Clear Rock Candy Distress Glitter. I adhered a few pieces of chipboard behind him to pop him up off the frame and then placed him to the right of the fireplace.
The last thing to do is to DECK THE HALLS! Color Watercolor Cardstock with several fun, wintry colors. I used Chipped Sapphire, Tumbled Glass, Shaded Lilac, Faded Jeans, Dusty Concord, and Milled Lavender. I also colored a few pieces green with Pine Needles and Peeled Paint, as well as some brown with Brushed Corduroy and Ground Espresso.
Cut the greenery, pine cones, bows and garlands from the appropriate colored papers. I cut four of each color garland - three across the top of the frame, and the one on the mantle.
Start layering the garlands. You will need to trim the garlands along the top of the frame to get them to fit. I glued the ends in place with Collage Medium.
Once all the pieces are in place, cover the ends with greenery pieces, two pinecones and a bow.
I also added two pinecones and a bow in Mr. Snowman's hand to make it look like he is decorating.
Add the bow and some of the sparkles from one of the garland dies to the wreath, then attach it above the fireplace.
The final touches are to cut two ice skates from the Festive Things dies and adhere them to the mantle in place of stockings. Put a few of the sparkle pieces in the top of the skates, cut two mugs and put them either side of the mantle.
I painted a little bit of Distress Collage Medium on the top of the mantle and all along the bottom of the frame and sprinkled some Distress Mica Flakes onto them to add a snowy, wintry touch to Mr. Snowman's festive cabin.

With so many options in the three die sets used in this project, it's easy to make a whimsical wintry scene that is uniquely your own. I hope you let your imagination go and create some fantastically frozen fun!

Tami

P.S. Since this is technically #5 of my 12 days of Tim Holtz Christmas, here is the recipe to my Grandma's Penuche, or Brown Sugar Fudge. It's so good!

I am an affiliate with Simon Says Stamp and Scrapbook.com so the links below send you to one of those stores depending on which logo you choose.  If you wish to purchase something from either store and use one of my links below, I get a small percentage of your order, at no additional cost to you. This helps me to defray the costs of this blog, the time, the ideas and tutorials I post here. Your help is greatly appreciated! Thank you!
-->

Wednesday, December 4, 2019

Wintry Table Decor - Sizzix Pine Bough

Hello! I’m so honored today to be able to share with you a tutorial I was asked to write for the Sizzix Blog as a guest designer. I had so much fun making this winter centerpiece using the Pine Bough 664228 and Deck the Halls 664229 from Tim Holtz and Sizzix.
 I hope you enjoy the tutorial and that you come away inspired to make one of your own. You can find the blog tutorial here: Sizzix Blog

If you have any questions about the project, please feel free to email me through the link in the right hand column on this post. I’m happy to help if I can.
Thanks for stopping by!
Tami

I am an affiliate with Simon Says Stamp and Scrapbook.com so the links below send you to one of those stores depending on which logo you choose.  If you wish to purchase something from either store and use one of my links below, I get a small percentage of your order, at no additional cost to you. This helps me to defray the costs of this blog, the time, the ideas and tutorials I post here. Your help is greatly appreciated! Thank you!

Monday, December 2, 2019

Christmas Tablesettings - Sizzix Ch. 3 & 4

How about some quick table setting ideas for Christmas parties? I used several of the Bigz Dies from the Tim Holtz Sizzix Chapter 3 and 4 releases to make some very quick nameplates for a festive party, Christmas tea, or for the meal on the big day.

Let's start with the Wood Slices from Chapter 4.
This die has two sizes and comes with an embossing folder. The larger slice is the one I used for this standing nameplate.

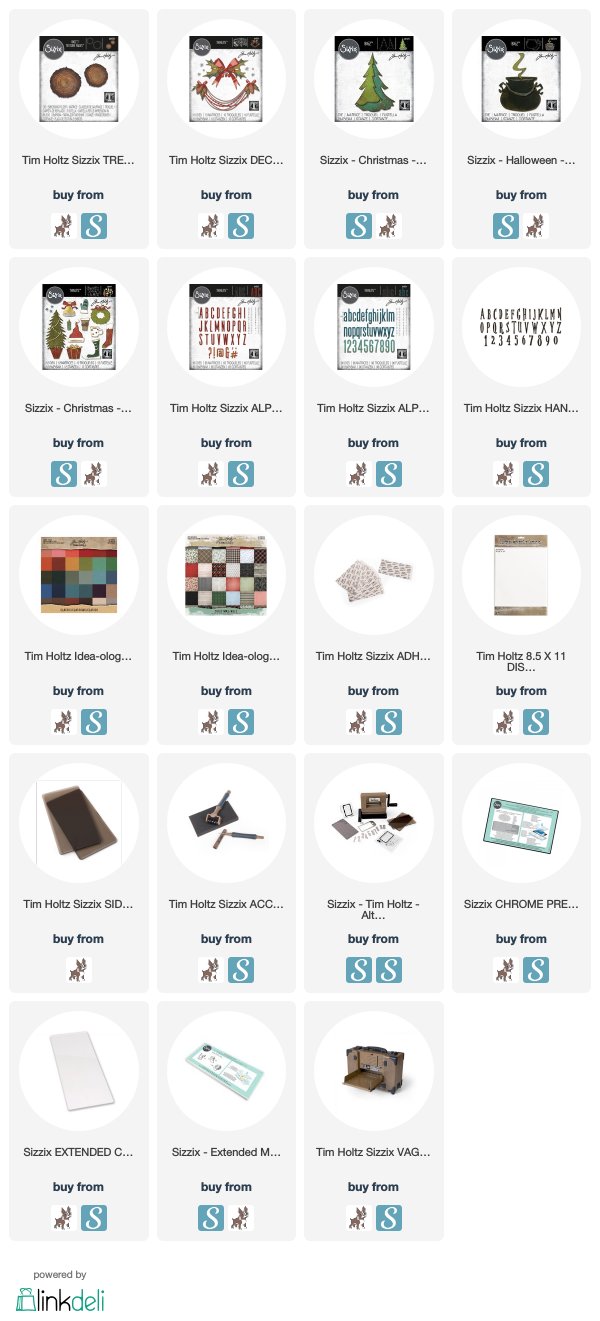
You will do the following few steps for each name plate shown below:
  1. Score and fold a piece of kraft paper cardstock in half, then score 1/2" on each side of the fold.
  2. Fold them to form a W shape.
  3. Lay this on the die with the fold just inside the cutting edge, and cut.
  4. Glue the top together. 
  5. You end up with a little base at the bottom that allows the piece to stand up on it's own. 
     

    Now back to the wood slice, before you glue it, run it through the embossing folder. Line up the little tab so it's going the right direction.
Ink the rings before you emboss so that they really show.
The Holly is from the new Deck the Halls thinlit set. So many good bits in that one!
The name font is the brand new Alphanumeric Classic Uppercase. It's so bold, I love it! The shadow effect was just from cutting the letters twice and off-setting them as you attach them. Super fast and super easy
 While we are on the Wood Slice, I made a gift tag out of the small slice.
I folded a small piece of Kraft paper cardstock in half, (only in half.)
Again, put the fold just inside the cutting edge and run it through the cutting machine.
 Emboss it, punch a hole in the top where the fold is for tying jute or string through to make a tag. Add a few holly leaves and berries from Deck the Halls.

Chapter 3 dies that I used to make name place settings were the Tree and the Cauldron.
Follow steps 1-5 above and then decorate as you see fit.
 For these name place settings I used Kraftstock,  and sanded the edges.
 The alphabet on both of these place settings is the Bigz XL Handemade alphabet.
 The presents on both of these are from the Festive Things die set . 

There you go! A couple of quick ways to deck your table for the holidays.
Tami

I am an affiliate with Simon Says Stamp and Scrapbook.com so the links below send you to one of those stores depending on which logo you choose.  If you wish to purchase something from either store and use one of my links below, I get a small percentage of your order, at no additional cost to you. This helps me to defray the costs of this blog, the time, the ideas and tutorials I post here. Your help is greatly appreciated! Thank you!


Monday, November 25, 2019

Gather Together - Deck the Halls


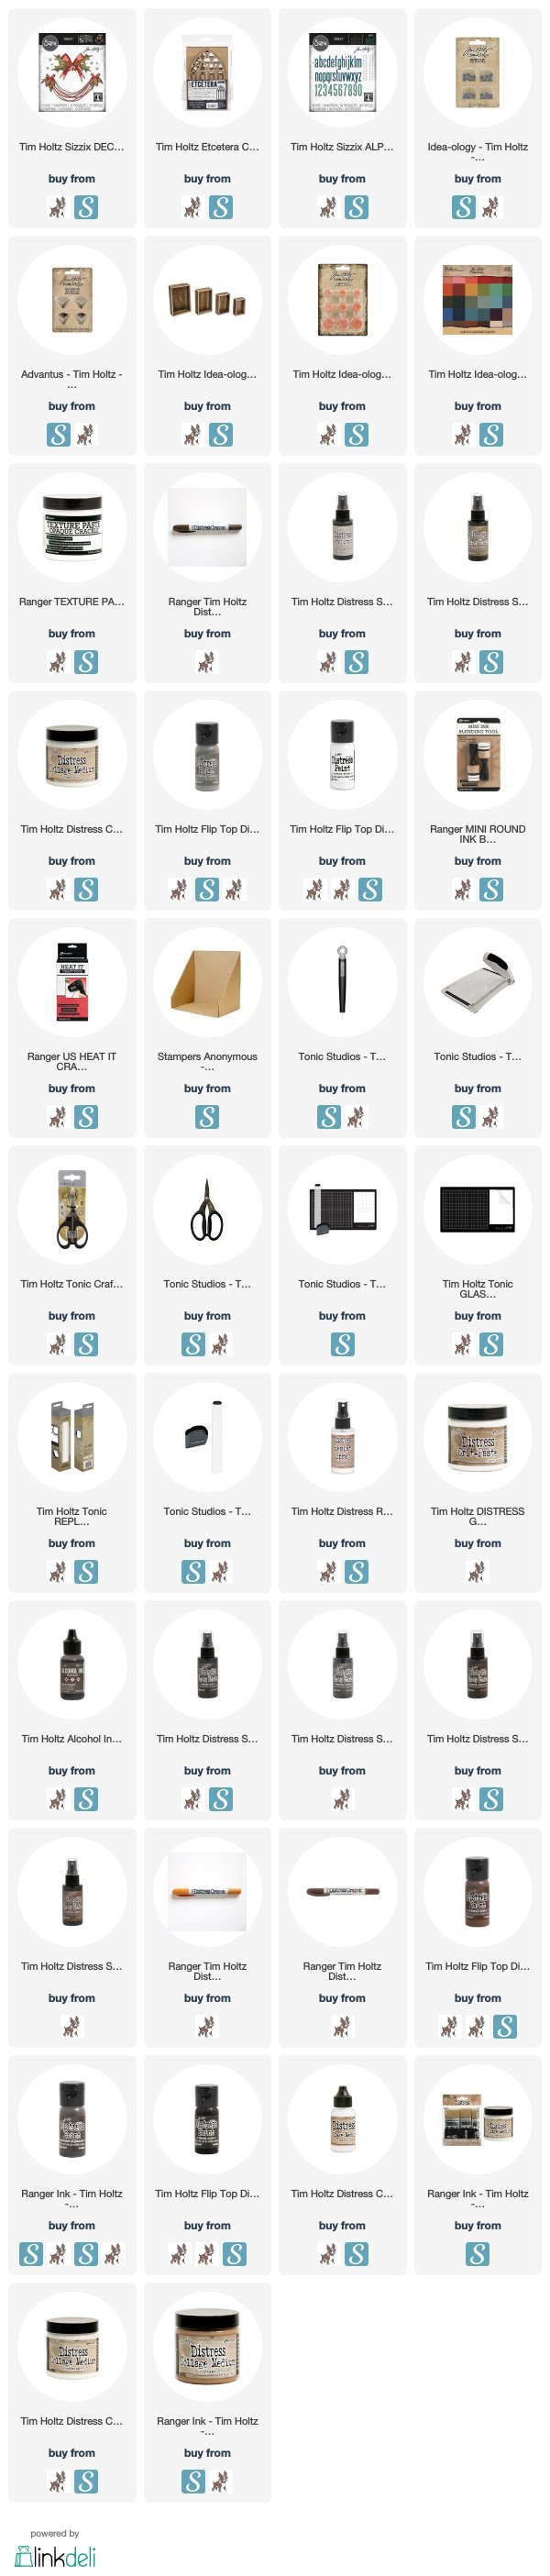
I wanted to make a quick last minute little decor piece for Thanksgiving using some of the new Christmas dies from Tim Holtz and Sizzix, namely the Deck the Halls die set.  You can make this in an afternoon if you have all the items on hand, or substitute for what you do have.
I started by lightly painting the large etcetera Cathedral window and the large Vignette Box with Hickory Smoke Distress Paint.
Once the paint was dry I used my finger to spread some Ranger Opaque Crackle Texture Paste on the surfaces of both.
You can see it was pretty messy and I had bits hanging off here and there.
I lightly sanded off the high bits and loose bits.
Then I sprayed both the Cathedral window and box with some Pumice Stone Distress paint.
Put a one inch layer of floral foam in the Vignette Box.
Hot glue the windows into the center of the foam.
Paint the foam with Distress Walnut Stain or any other brown paint.
Put some Texture Paste onto the Mini Foundations, then when dry add a little color with Distress Crayon.
Put some moss over the foam to cover it all. I got this cream colored moss from Hobby Lobby, but Spanish Moss or Green Moss would work just as well.
Grab some fall colored papers and sand them with 150 grit sand paper.
The spray them with some brown Distress Stain and water to age them.
I have to confess here that when I first saw this pinecone die in the Deck the Halls set, and didn't have the concept art, I thought it was corn. LOL! That's what gave me the idea for this project way back when.
Anyway, cut the pinecone/corn bases and criss cross bits out of the yellow paper. Then blot some Fired Brick Distress Marker here and there on the corn.
Follow the brick color with some Carved Pumpkin. Notice I'm not coloring the entire corn cob orange or red.
Lighty spray with some water and dry. This softens the color.
Attach the criss cross bits to the bases with Collage Medium and rub some Collage Medium over the top of the corn as well.
Cut the "corn husk" bit which is the side of the pine cone and looks like two little canoes, out of cram kraftstock. I get this cream craftstock from JoAnn's cardstock section. It is by Coordinations.
I also adhered the little stems to the corn cobs. The stems are actually for the berries, but they work great for this too.
Then to make them fit with my decor and the fell of this project, water down some Antique Linen Distress Paint and rub it onto each corn cob.
When the paint is dry, rub some Walnut Stain Distress Crayon onto the corn cobs to distress them.
Cut more husks from the greenery pieces that are attached to the holly pieces in the Deck the Halls dies set. There are some smaller bits to layer on these but I wanted to keep it simple so just cut them and aged them a little with some Distress Inks
Cut four of each of the garlands. Two the right way and two back wards. The reason for this is that you will attach the backwards one on the back of the right side one so that it is the same color on the front and back. I hope that makes sense.
Cut four bows and add a little watered down Antique Linen Paint on the bows and the garlands so they match the corn.
After I took this I changed my mind. I used two packages of pumpkins because I love them. Paint them all with a layer of Distress Antique Linen Paint and then wipe it off lightly.
Then just like above, scribble some Distress Crayon on the nonstick mat, wet it and brush it over the entire pumpkin. Then lightly wipe off.
Start decorating the Cathedral window and vignette box. I added one piece of "greenery" corn husk to each corn cob.
Put one of each garland on each side of the Cathedral window. the add the corn and bows.
I arranged the pumpkins so that they looked like they were just strewn around with no arrangement. Add some corn, branch punches, and leaf punches in among them as well.
I added the words Gather on the front and Together on the back in the new Classic Alphanumeric lowercase letters. The title for this piece is from a line from a Thanksgiving hymn "We Gather Together" and the first line says "We gather together to ask the Lord's blessing." It is from a Dutch hymn from the 16th century that we still sing today! I love that so much.
I tried to make this piece one that could be set in the center of a table or buffet or island.
If you look closely you can see that I added four Hardware Heads to each corner on both the front and back of the Vignette Box. To make it look like they were rusted, I put some texture paste on them, then colored the area where I was going to attach them with Distress Crayons. Once I secured them with Collage Medium, I colored the Texture Paste with the Distress Markers as well.
This was a quick, fun little project that I have been thinking about for months and it's a relief to have it out of my head and into real life.
Thanks for sticking with me. This was a long post.
If you have any questions, please contact me through the link in the column on the right. I can't reply to you on here.
I am always so grateful for your comments and support. They mean a great deal to me so thank you from the bottom of my heart.
Tami

I am an affiliate with Simon Says Stamp and Scrapbook.com so the links below send you to one of those stores depending on which logo you choose.  If you wish to purchase something from either store and use one of my links below, I get a small percentage of your order, at no additional cost to you. This helps me to defray the costs of this blog, the time, the ideas and tutorials I post here. Your help is greatly appreciated! Thank you!