Showing posts with label Stitches CMS365. Show all posts

Friday, August 7, 2020

Cards for Kindness Post 8 - Spirals


Today's Cards for Kindness use the bright spirals in the middle of this picture. This background makes me think of the Incredibles for some reason. But since I don't have any Incredibles stamps, I stuck with the Funny Farm CMS361 stamps from Tim Holtz and Stampers Anonymous. With their hand-drawn feel, they go really well the the Spirals from Scribbles and Spirals CMS296.
This is again the Iron-off Embossing technique I learned from this Jennifer McGuire Ink video.
Once the Spirals were heat embossed with clear embossing powder, I inked the paper and then ironed the clear embossing powder off onto a second piece of paper.
I then colored that paper the same way. You can see the original stamping is still sharp and white, while the iron-off image on the left is a bit softer and wider.
I used the original and paired it with a piece of paper stamped in the same colors but using the Scribbles stamp. To finish this card I stamped one of the Stitches stamps along the right side of the inside of the card, and trimmed the front of the card on a diagonal, then machine stitched around the outside edge. The orange and yellow sequins were in a little baggie in my stash from eons ago so I have no idea who the manufacturer was.

The second card was made the exact same way with the only change being that I didn't leave the color behind the Scribbles stamp white. It was too bright for the soft Spirals side, so I lightly colored the paper yellow and stamped in the orange and red.

Thanks for sticking with me for all of the Cards for Kindness posts. I did make 30 cards, so I have a lot of them to share. I think there are only one or maybe two more for me to post after this. I hope that you are enjoying seeing the little differences the colors and stamps make with the same technique. 

Okay friends, lets go spread some kindness!

Tami
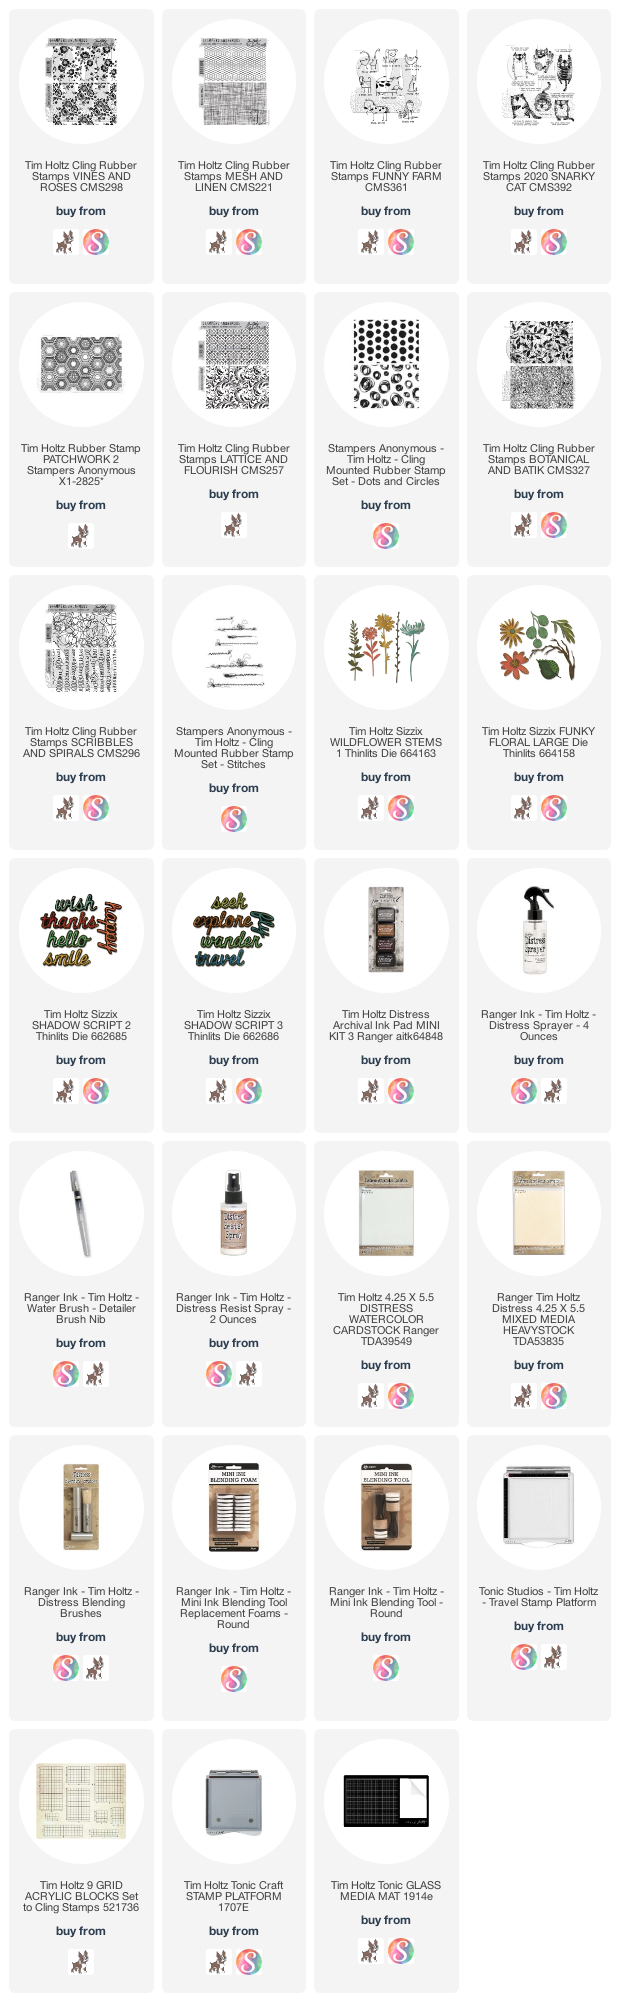
I am an affiliate with Simon Says Stamp and Scrapbook.com so the links below send you to one of those stores depending on which logo you choose.  If you wish to purchase something from either store and use one of my links below, I get a small percentage of your order, at no additional cost to you. This helps me to defray the costs of this blog, the time, the ideas and tutorials I post here. Your help is greatly appreciated! Thank you!

Monday, August 3, 2020

Cards for Kindness Post 7 - Scribbles

Today's Cards for Kindness that I'm focusing on are the two blue card backs in the bottom right corner.  It's not a color scheme I use often so I found this Iron-off Embossing Resist Technique to be a fun time to try some colors I don't usually use.
The stamp I picked for this background is Scribbles from Scribbles & Spirals CMS296 by Tim Holtz and Stampers Anonymous. Stamp the background onto the smooth side of a piece of Distress Watercolor Cardstock in Clear Distress Embossing Ink. Then cover with Clear Superfine Detail Embossing Powder and heat emboss. Then color the background with Distress Inks. I used Faded Jeans and Peacock Feathers Lastly, mist with water and set aside to dry.
When it is dry, lay a new piece of Distress Watercolor Cardstock smooth side down onto the inked side of the stamped piece. Thoroughly iron over them with a hot, dry iron until the embossing powder has had a chance to reheat and soak into the new piece of Watercolor Paper.
It should look like the one on the left above.
Ink it the same way you did the first one, mist and let it dry. Notice how the original maintained the detail and white resist, but the second one on the left has a softer, swirly water feel to it.
Both of these cards open from the side and so I cut the front flap short to For a coordinating piece of paper, I used the Linen stamp from Linen & Mesh CMS221 and inked it with the same Distress Inks, then sprayed it lightly with water and did a watercolor stamp onto another piece of Distress Watercolor Cardstock. I Studio Calico sequins that I've had in my stash for years.
For both of these cards I chose images and sentiments from the Snarky Cats CMS392 set. I know these are cards for kindness, but we all have such different personalities, preferences and things we think are humorous. Sometimes kindness looks like reaching out with a little snark and sarcasm to lighten the mood or make someone chuckle.

Let's go spread some kindness,
Tami

I am an affiliate with Simon Says Stamp and Scrapbook.com so the links below send you to one of those stores depending on which logo you choose.  If you wish to purchase something from either store and use one of my links below, I get a small percentage of your order, at no additional cost to you. This helps me to defray the costs of this blog, the time, the ideas and tutorials I post here. Your help is greatly appreciated! Thank you!

Monday, July 27, 2020

Cards for Kindness Post 5 - Batik

Today's Cards for Kindness are on the cute side.  Just a reminder that all of these cards are made with a technique I learned from this Jennifer MacGuire video.

 For today's card I used a stamp called Batik from Botanical and Batik CMS327 and I love the way it worked with this technique.
As with each card from this technique, I stamped the Batik stamp onto the smooth side of a piece of Distress Watercolor Cardstock with clear Distress Embossing Ink, then covered it with clear, superfine embossing powder. Heat emboss, then color with Distress Inks and a blending tool. Mist with water and set aside to dry.
Once it is dry, put a second piece of Distress Watercolor Cardstock smooth side down on top of the first piece. Heat through with a hot, dry iron. Take your time to make sure the embossing powder remelts and soaks in to the second piece of paper. It should look like the one on the left above.
Then color the second piece with the same Distress colors. You can see how the thin lines and white detail remain on the first background on the right, and how the detail blends out softening the second one on the left.
On both cards I trimmed the front of the card to about 3.75" so that it allowed the piece of linen paper  adhered to the inside back to show. On each card I added a strip of stamped watercolor cardstock. This was made when I inked the linen stamp from Linen and Mesh CMS221 with the same colors of Distress Ink as the batik, and then misted with water and dried to used as a coordinating strip of paper.
To each card I stamped one of the stitched stamps from Stitches CMS365. I also added a few flat sequins that I have had in my stash for years, and years, and years! It was so nice to get them out and use them finally.

Another set down. With each set I think it's my favorite, but I think it's just that I love getting to play with color, the satisfaction of seeing how the ironing changes the look, and then making all the cards with basically the same, simple design, but having them all look and feel just a little different.

Let's go out and spread some kindness!
Tami

I am an affiliate with Simon Says Stamp and Scrapbook.com so the links below send you to one of those stores depending on which logo you choose.  If you wish to purchase something from either store and use one of my links below, I get a small percentage of your order, at no additional cost to you. This helps me to defray the costs of this blog, the time, the ideas and tutorials I post here. Your help is greatly appreciated! Thank you!
Saturday, July 25, 2020

Cards for Kindness Part 4 - Lattice

The Cards for Kindness today took a really bright turn.
On the smooth side of a piece of Distress Watercolor Cardstock, stamp the Lattice stamp from the Lattice & Flourish CMS257 set in clear embossing ink. Then cover it with clear embossing powder and heat emboss. Color over the embossing with a rainbow of Distress Inks using a blending tool. Then mist with water and set aside to dry while you make other backgrounds.
Once it is dry, put a second piece of Distress Watercolor Cardstock smooth side down on top of the first piece. Heat through with a hot, dry iron. Take your time to make sure the embossing powder remelts and soaks in to the second piece of paper. It should look like the one on the left above.
Then color the second piece with the same rainbow colors. You can see how the thin lines and detail remain on the first background on the right, and how the detail blends out on the second one on the left.
I wanted a coordination paper to go along with the Lattice, so I inked the Dots stamp from Dots & Floral CMS220 in the same rainbow pattern. Once the Stamping is dry, use a blending tool and lightly blend the same rainbow background colors over the dots so that it softens it.  Then cut the dots into strips and apply them to the right side of the inside of the card bases. I did a quick machine zig zag down the right side.
Trim the lattice backgrounds to 5.5x3.5 and trim the front of the cards to the same size. That will show part of the strip of rainbow dot paper. Stamp a couple of the small Stitches CMS365 stamps in the top and bottom corners of the lattice piece. Then mat the focal point stamps and you are done.

I'm happy with how bright and colorful these cards turned out.

Now let's go out and spread some kindness!
Tami
I am an affiliate with Simon Says Stamp and Scrapbook.com so the links below send you to one of those stores depending on which logo you choose.  If you wish to purchase something from either store and use one of my links below, I get a small percentage of your order, at no additional cost to you. This helps me to defray the costs of this blog, the time, the ideas and tutorials I post here. Your help is greatly appreciated! Thank you!