Today's Card's for Kindness are different that most of the others I have posted in that I used sentiments from some old Stampin Up wooden stamps that I had in a drawer. I pulled them out to put them to use with this project. I'm still using the Iron-off Resist Technique from Jennifer McGuire Ink for all the background though!
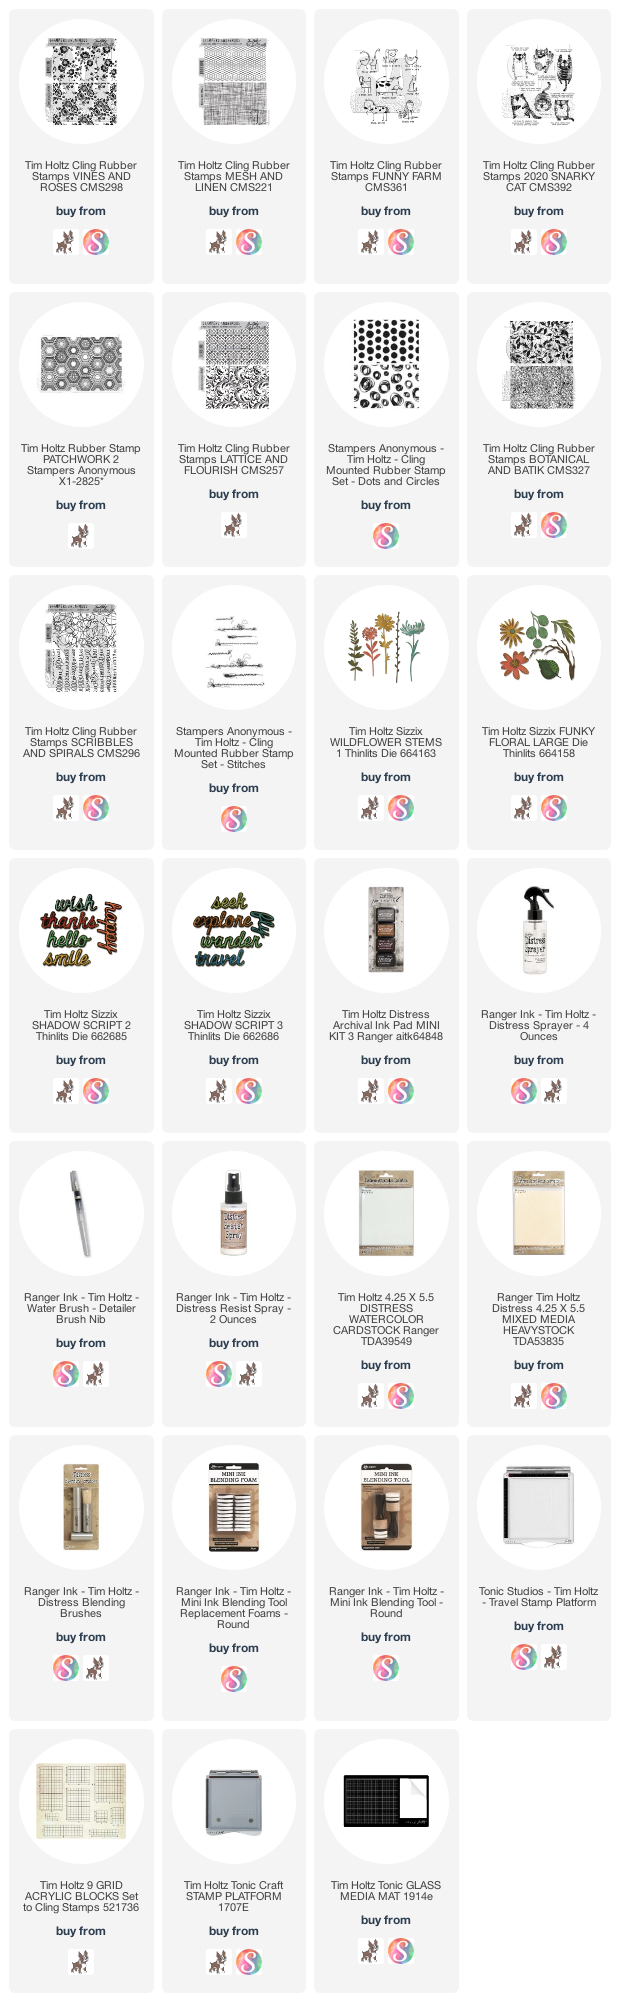
I began by using the beautiful Vines and Roses CMS298 stamps for my background. As will all the other cards, stamp the background onto the smooth side of a piece of Distress Watercolor Cardstock in Clear Distress Embossing Ink. Then cover with Clear Superfine Detail Embossing Powder and heat emboss. Then color the background with Distress Inks. I used Barn Door and Peeled Paint. Lastly, mist with water and set aside to dry.
When it is dry, lay a new piece of Distress Watercolor Cardstock smooth side down onto the inked side of the stamped piece. Thoroughly iron over them with a hot, dry iron until the embossing powder has had a chance to reheat and soak into the new piece of Watercolor Paper. It should look like the one on the left above.
Ink it the same way you did the first one, mist and let it dry. Notice how the original maintained the detail and white resist but the second one on the left has a softer, more watermark appearance to it. Both lovely!
To make these cards I so loved the backgrounds that I didn't want to cover them up. So I used the Linen stamp from Linen and Mesh CMS221 and inked it with the same Distress Inks, then sprayed it lightly with water and did a watercolor stamp onto another piece of Distress Watercolor Cardstock. I cut two strips and adhered them under each side of the background, machine stitched down both sides and then across the sentiment banner. That's it. Just let all you hard inky work shine on these cards!
I cut two more strips of that linen background but I lightly inked it a bit with Old Paper Distress Ink before adhering it so the white area wasn't so bright and it blended with the darker background on this second card.
I did the same technique with the Vines stamp on that set and inked it with different colors.
Here is what it looks like after you iron it off.
And then when you ink the second print with the same inks.
I used another Stampin Up stamp and these dies were from a set my mom gave me from Anna Griffin. I again used the same Linen stamp along the side and I cut the front of the card thinner than the back so that you can see the linen before opening it.
I love how this second version seemed to have more green and teal in the outcome.
This last one uses a favorite background stamp that was released at Halloween a few years ago. It is called Ornate from the Ornate & Lace CMS348 set. It is very thing and dainty and I went with an odd color combo for absolutely no reason.
The Black Soot kind of ironed off a little with the embossing powder on this one which I thought was interesting.
The second version turned out much more colorful.
For the second print to run along the right side of the inside of the card, I chose the floral stamp from Dots & Floral CMS220. It's one of those stamps that stamps the solid background and not the floral. I love the effect. Again I trimmed the front of the card by 3/4"-1" so that the floral would show along the side.
Then I cut a Wildflower Stem from the Wildflower Stems #1 set out of Black Out Cardstock and then simply matted the sentiment by Thomas Moore.
I decided to put all three of these together today because they all used some of my older wooden stamp sentiments and they have a very different feel from all the Snarky Cats and Funny Farm cards. I hope they still inspire you to use your background stamps with this technique and enjoy the experimentation.
Let's go spread some kindness,
Tami
I
am an affiliate with Simon Says Stamp and Scrapbook.com so the links
below send you to one of those stores depending on which logo you
choose. If you wish to purchase something from either store and use one
of my links below, I get a small percentage of your order, at no additional cost to you. This helps me to defray the costs of this blog, the time, the ideas and tutorials I post here. Your help is greatly appreciated! Thank you!