Saturday, August 16, 2025

NEW Snowflakes and Twinkle from Tim Holtz and Ranger Ink

Welcome to the Distress Family to Snowflakes and Twinkle! New from Tim Holtz and Ranger Ink for this season are Snowflakes Glitter Mica Flakes, and Twinkle Texture Paste which is a clear texture paste with translucent glitter, different from last year's Sparkle Texture Paste which has a tiny silver glitter in it. 
 
I had some fun making with these new sparkly wintery products, so lets get making with them.  
 
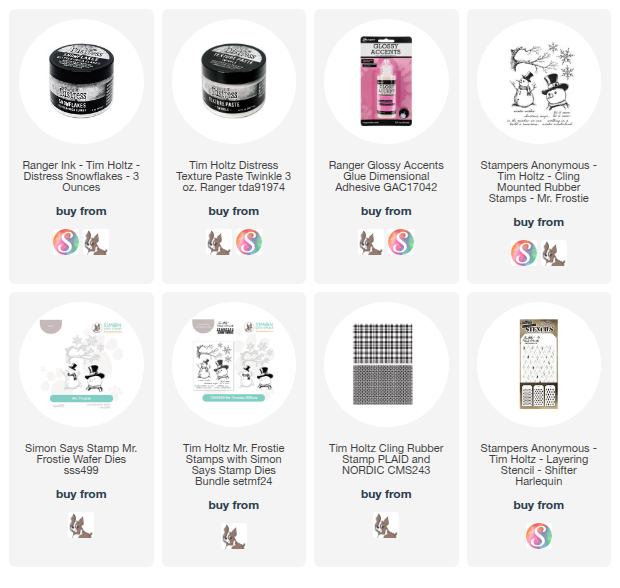
I gathered the new products as well as Mr Frostie CMS499 as well as the coordinating dies from Simon Says Stamp (all products are linked below) and I added the Plaid and Nordic CMS243 background stamps and the Small Harlequin Shifter Stencil. You will also want some Distress Inks and Stains, Watercolor Paper, White Heavystock and Glossy Accents or Collage Medium.
I began by spraying an A2 piece of Distress Watercolor Cardstock with Speckled Egg Distress Stain.
Just lightly spray it and move it around with water. You don't want this layer to be too dark.
Now stamp the plaid background stamp in Speckeld Egg Distress Ink. Again this won't be terribly dark, we want to keep all the layers on the background light, 
Using Tumbled Glass and Broken China, color the Harlequin Shifter Stencil in two corners of the card.
Once the harlequins are stenciled, realign the stencil over the Tumbled Glass harlequins and spread some Twinkle Texture Paste over it and even over the plaid parts that weren't stenciled.
While the Twinkle Texture Paste is drying, stamp Mr Frostie, the branch, the snowflake and the hat and scarf.
Once the images are colored, we want to try and seal them with a little bit of MicroGlaze. This is not making things waterproof, it just makes the colors a bit water resistant to try and keep the colors from bleeding into the glitter or texture paste.
To do this, get a tiny bit of the glaze on your finger and rub it over the image then let dry.
With a clean cloth, wipe over the Glaze to buff off any excess.
Using the dies from Simon Says stamp, cut out the images, and cut two extra Frosties and one extra branch from White Heavystock. You also want to get a white cardbase out as well.
Now that it is dry, here is the Twinkle Texture Paste.
I also put a little Twinkle Texture Paste on my finger and rubbed some on the snow part of the snowman.
Once the branches were layered and attached to the card front, I trimmed off the side of the trunk and then applied Glossy Accents to the top of the branches where snow would gather.
Then dump the Snowflakes onto the top of the branch and let is stick naturally, don't press! Dump the excess back into the jar and let dry.
Here is what it will look like as it dries.
Stamp your sentiment in Archival ink and cover with a bit of Twinkle and let dry.
Stamp the small snowflake in Speckled Egg Archival Ink, then cut out with the die. In order to line up the die properly, cut the shape out of a piece of scrap cardstock and rotate until it fits. 
Then rotate the dies until it fits down into the template. Tape to keep it secure and cut. If it doesn't cut all the way through, remove the template and fit the die back into the groove and cut again.
Apply some Twinkle Texture Paste over the Snowflake and let dry.
Here are some close ups of the Twinkle Paste and the Snowflakes.
Doesn't it look great on those branches?
Attach the layers of Mr Frostie, add the die cut hat and scarf. Then attach the nowflake to his hand.
To finish off the card, apply Glossy Accents or Collage Medium along the bottom of Mr. Frostie and the bottom of the card. Cover with Snowflakes Glitter Mica and put excess back in the jar.. 
I matted the sentiment on just a piece of white heavystock. 
Look at all that luscious sparkle!
Mr Fostie Looks like he is in a snow drift.
There you have a super easy wintery card or decor piece. for your home or a loved one. 

Thanks for checking out my blog tutorial.
 
I'm wishing you a very creative day! 
Tami

I am an affiliate with Simon Says Stamp, Whimsy Stamps, and Scrapbook.com. The links below send you to one of those stores. If you wish to purchase something and use one of my links below, I get a small percentage of your order at no additional cost to you. This helps me to defray the costs of this channel, the time, the ideas and tutorials I post here. Your help is greatly appreciated! Thank you!


Sunday, August 3, 2025

Beware! - Whimsy Stamps

Get ready for some spooky fun! We are kicking off the HALLOWEEN  season today over at Whimsy Stamps, and we are inviting you to join us. 

Not only will we be sharing loads of HALLOWEEN inspiration the next three months, but we have some fun games and prizes as well. 

All of the Halloweeners are sharing a HALLOWEEN project and are including a word that is part of a fun HALLOWEEN phrase game. Details are in the photo above, but you are definitely going to want to join our Whimsy Stamps and Inspiration Facebook Page. There is so much wonderful inspiration and support there, and it’s so easy to join. Once you are in, look for the post with the picture above and follow the links to all the Halloweeners blogs or Instagrams to learn the words, then put them together to get a phrase. 

 Here is my video ttutorial for today's card.

 Here is a little peek at the top of the wallpaper boarder.

 You can really see how that tiny stitching die really made such a differen e separating the boarder from the rest of the "wallpaper".

  Here is a good look at the main focal point. 

 
The pearl embellishments were perfect for this card!
This sentiment strip die is newlu released and is part of the Quick Strips 2 die set, which comes with three styles in two different sizes each.
Machjine stithing is something I love to do on all my cards. I added a few messy spot along the edges and then a pile of messy thread under the raven. You can glue these on, or just hold them in places and stitch back and forth over them which is what I did.

Remember to visit all the Halloweeners to get all the word clues for the HALLOWEEN word game. Have you guessed what my word is yet? 😉 

 If you guesses HALLOWEEN, you would be correct. Good luck and I hope you find the rest of the words to guess the phrase. 

Have a creative day,

Tami 

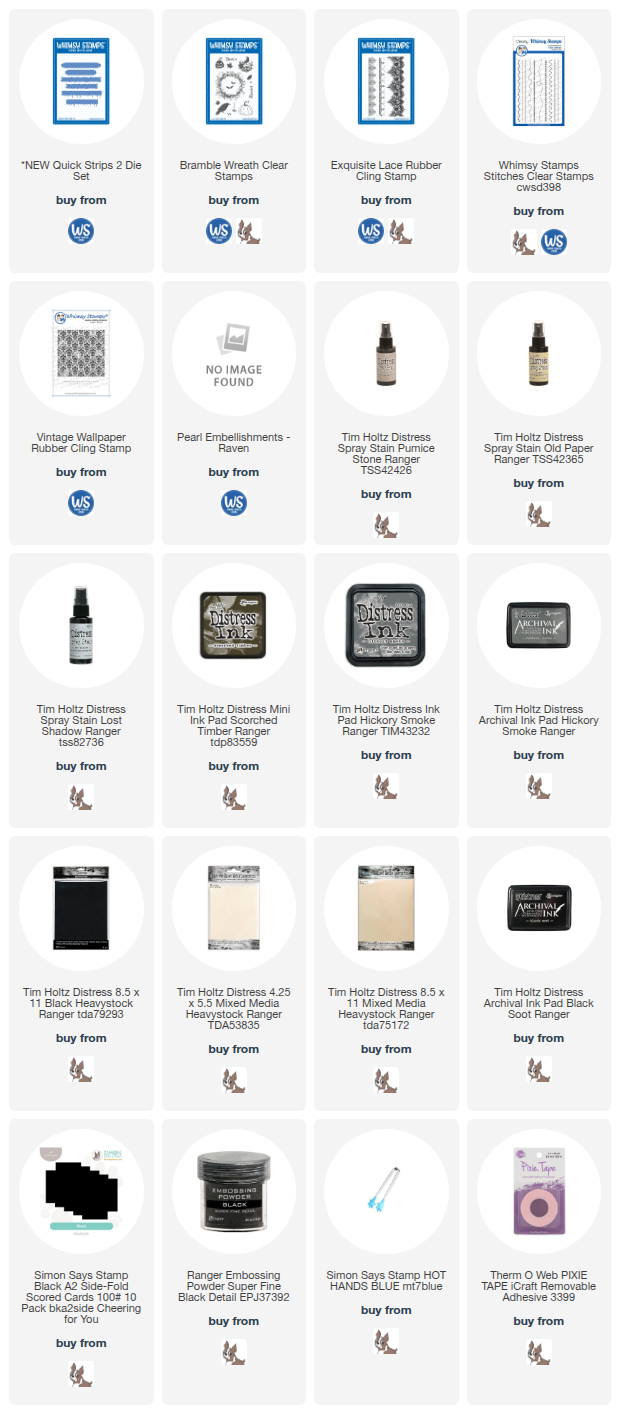
I am an affiliate with Whimsy Stamps, Simon Says Stamp and Scrapbook.com. The links below send you to one of those stores. If you wish to purchase something and use one of my links below, I get a small percentage of your order at no additional cost to you. This helps me to defray the costs of this channel, the time, the ideas and tutorials I post here. Your help is greatly appreciated! Thank you! 
 
If you order from the Whimsy Stamps website using any of the links below, use my code PLAYSWELLWITHPAPER for 10% off at check out. 

Monday, July 28, 2025

Cadaverous Anatomy 101 - Stampers Anonymous

Today's project for Halloween in July is a major Throwback! In fact, I had completely forgotten I even made this. LOL! But once I started looking at this long forgotten piece, it began to come back to me, 

So lets not waste any time and step back to August of 2019. It was the year that I made urns out of gears and thimbles, the year I made drippy candles, and the year I made some of my first stone mausoleums. It was a really fun, creative, challenging year and I can see why this blog post ended up falling by the wayside and never getting published.

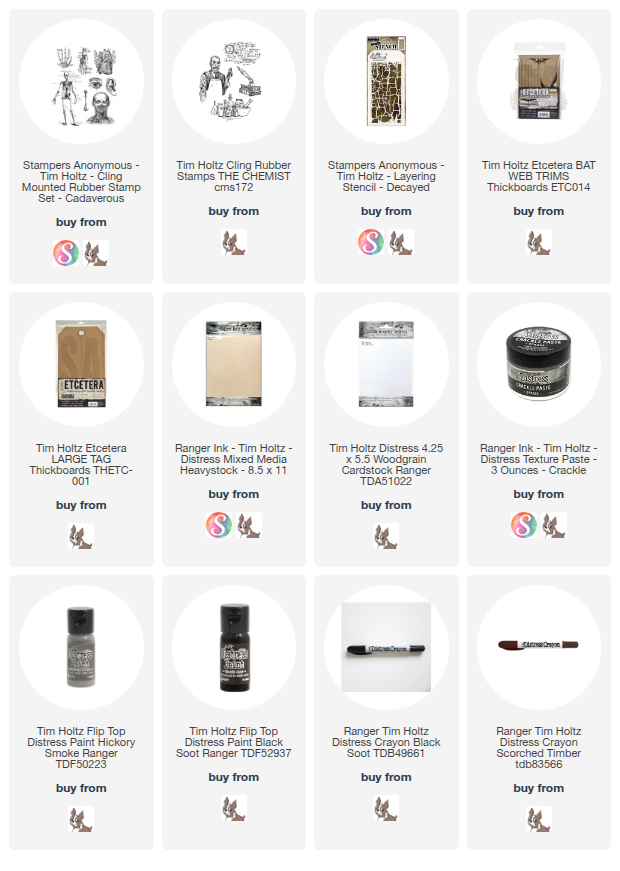
I diodn't do a complete tutorial for this apparently, but I took a few pics of the beginning stages. I started by painting a large Etcetera Tag with H/ickory Smoke Distress Paint. Then I used the Decayed Layering Stencil to apply some Opaque Crackle Texture Paste to all the edges of the tag. Let it dry and crackle.
Then I did a rough sanding over the crackle paste to knock the high pices down and even chip off some of the bits to really amke it look decayed.
I added another layer of Hickory Smoke Distress Paint,
I also crackled the Bat Etcetera Trim and the tag Reinforcer, then painted them black. I added two legs to the Bat Trim as I wanted this to be a table in a creepy science classroom. 
Once all the paint was dry, I put some Distress rayon in Black Soot and Walnut Stain, but I think Scorched Timber would be better, all around the outside edges of the tag and rubbed it in with my fingers so it settled into the crackles and also aged the tag.
Stamp all the Cadaverous images onto some Mixed Media Heavystock in Back Soot Archival. Then carefully color the in with Distress Inks to look as Anatomy class posterish as possible, You can see that I roughed up the edges, and inked them to look like moisture and mold had aged them over the year. Attach them to the tag with Collage Medium on the back. Then poke a few holes and stick some of the Tiny Fasteners int the corners like tacks.
This area I was imagining to be the professor's desk where he lectures. I used images from the stamp set called The Chemist CMS172, such as the books and the bottles, to set on the table and the floor of the classroom. Cut them out and pop them up with chipboard or foam tape.
For the top of the desk and the chalkboard, I colored some Distress Woodgrain paper with Distress Inks and then cut it into strips. to make a frame around a piee of black cardstock that I had stamped an image from The Chemist onto in Picket Fence Distress Ink.I also added some wood grain to the desk top before adding the bottles. The bones are fro the skeleton diagram stamp that I fussy cut.
The legs of the table were also covered with woodgrain paper leaving only the bat with the black crackle texture. Color, distress and roll the edges of the ear and eye images before putting them on the florr with the books. I wanted these to look like they had been rolled up for storage and the crazy professor had pulled them out and shown them in class and they ended up falling to the ground. This central area will be sticking out fro the tag slightly and has the most dimension on the tag.
On the right side is the large skeleton diagram that takes up most of the space. Make it as you did the three smaller "posters" on the left side. below it are two more bones cut from that second diagram I stamped and just fussy cut the bones and put them on the floor and the table.

Well that is is for this long forgotten Halloween make from 2019. Going over this again reminded me what a fun and creative year that was and also how much I ended up liking this piece once it was finally finished and the story it tells of an anatomy class taught long, long ago.

 I hope you found something in this post that was helpful and inspiring. Thanks so much for stopping by and checking out this project. 

I hope you have a very creative day, 

Tami

I am an affiliate with Simon Says Stamp, Ranger Ink, and Scrapbook.com. The links below send you to one of those stores. If you wish to purchase something and use one of my links below, I get a small percentage of your order at no additional cost to you. This helps me to defray the costs of this blog, the time, the ideas and tutorials I post here. Your help is greatly appreciated! Thank you! 
Wednesday, July 9, 2025

Halloween Screams Boo Bus -Whimsy Stamps

This card from last year for Whimsy Stamps and it still makes me smile! It was inspired by Monsters University and is a different take on a card I made a few years ago with some monsters and a truck. These Monsters and the bus all have dies, so that makes it nice!
 
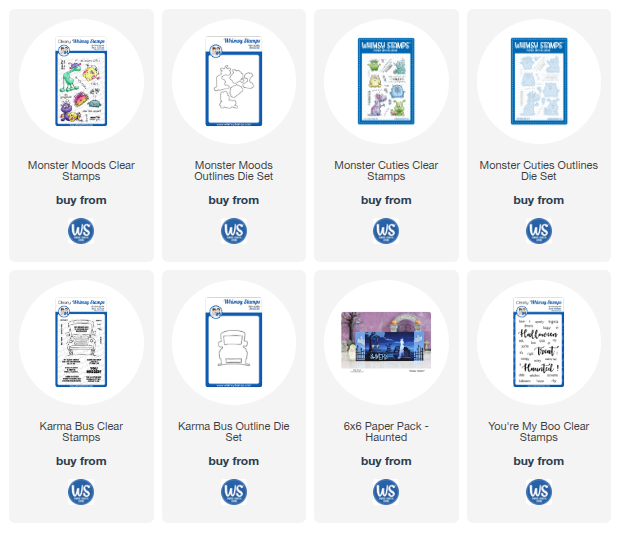
All the supplies I used to make this card are still available and linked below.  If you order from the Whimsy Stamps website using any of the links below, use my code PLAYSWELLWITHPAPER for 10% off at check out.

Here is the video tutorial I made for this card and I hope you enjoy it. 

I did hand cut the title that I stamped in black and orange.

This one with the eyes. hahaha! love her!
This dud with the horn ears is super cute.
Then there are these cuties with all theri teefs
I mean, these monsters are way too cute to scare! 
This guy looks like hes late and trying to get the bus to wait so he can get on.
Oh my, and this little one is way too adorable to spook anyone. It's like the little sibling monster wayving good bye to his monster siblings.
 
Thank you again for following along and I wish you a most creative day!
Tami
 
I am an affiliate with Whimsy Stamps, Simon Says Stamp and Scrapbook.com. The links below send you to one of those stores. If you wish to purchase something and use one of my links below, I get a small percentage of your order at no additional cost to you. This helps me to defray the costs of this channel, the time, the ideas and tutorials I post here. Your help is greatly appreciated! Thank you! 
 
If you order from the Whimsy Stamps website using any of the links below, use my code PLAYSWELLWITHPAPER for 10% off at check out. 

Tuesday, July 8, 2025

Going Batty for Texture - Whimsy Stamps

Today's Halloween in July repost is a set of cards I made last October with this sneaky vampire die cut and flying bats stencil from Whimsy Stamps. This just screamed Scooby Doo to me. So much so that I couldn't stop hearing the do do do doooooooooo dododododo music from Scooby. I was in the midst of packing up my studio for the renovation and I got the video tutorial posted but not this blog. 

These are fun and simple cards to make that still pack texture and interest, so let’s get started! 

 
I just couldn't decide from the fabulous background in the Nevermore Paper Pack, so I chose three and made three versions of this card. 
I actually recommend this because if you have the Black Opaque texture paste out, you might as well make several backgrounds at one.
Compartmental making always saves time in the long run and you end up with more cards to share with friends and family.
 
Thank you again for following along and I wish you a most creative day!
Tami
 
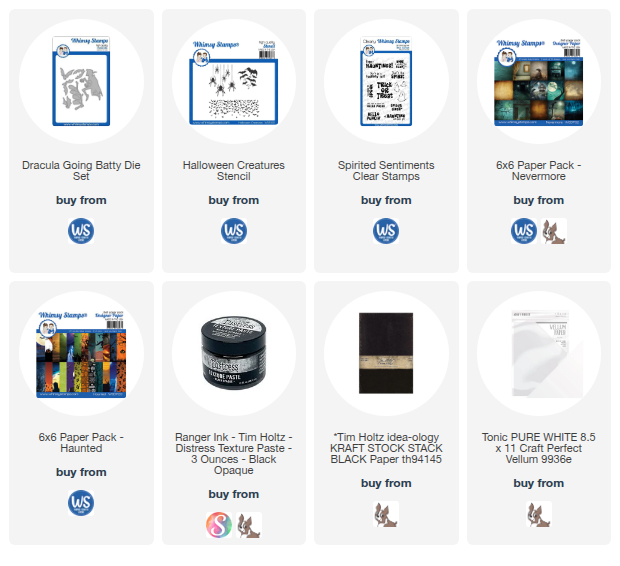
I am an affiliate with Whimsy Stamps, Simon Says Stamp and Scrapbook.com. The links below send you to one of those stores. If you wish to purchase something and use one of my links below, I get a small percentage of your order at no additional cost to you. This helps me to defray the costs of this channel, the time, the ideas and tutorials I post here. Your help is greatly appreciated! Thank you! 
 
 If you order from the Whimsy Stamps website using any of the links below, use my code PLAYSWELLWITHPAPER for 10% off at check out.