Today's project for Halloween in July is a major Throwback! In fact, I had completely forgotten I even made this. LOL! But once I started looking at this long forgotten piece, it began to come back to me,
So lets not waste any time and step back to August of 2019. It was the year that I made urns out of gears and thimbles, the year I made drippy candles, and the year I made some of my first stone mausoleums. It was a really fun, creative, challenging year and I can see why this blog post ended up falling by the wayside and never getting published.
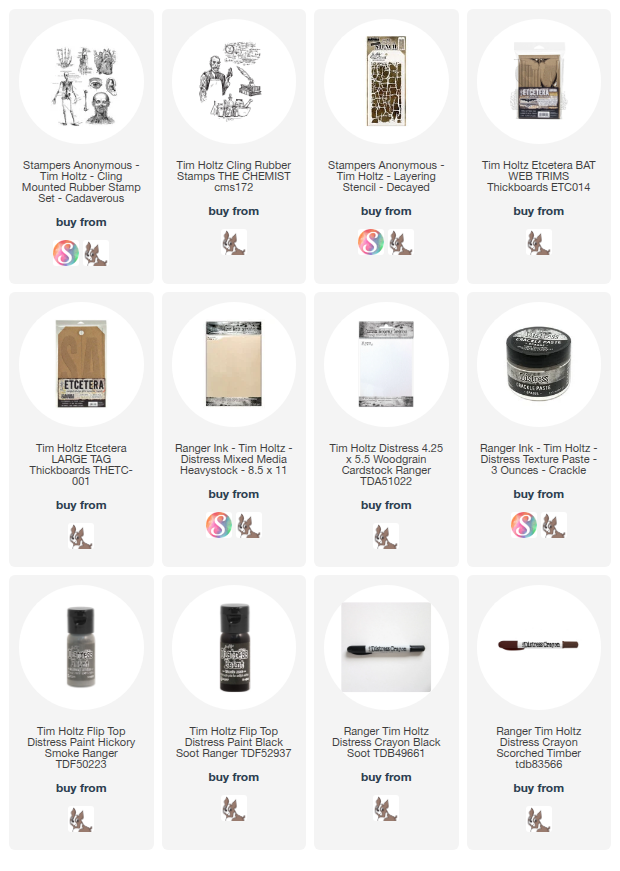
I diodn't do a complete tutorial for this apparently, but I took a few pics of the beginning stages. I started by painting a large Etcetera Tag with H/ickory Smoke Distress Paint. Then I used the Decayed Layering Stencil to apply some Opaque Crackle Texture Paste to all the edges of the tag. Let it dry and crackle.
Then I did a rough sanding over the crackle paste to knock the high pices down and even chip off some of the bits to really amke it look decayed.
I added another layer of Hickory Smoke Distress Paint,
I also crackled the Bat Etcetera Trim and the tag Reinforcer, then painted them black. I added two legs to the Bat Trim as I wanted this to be a table in a creepy science classroom.
Once all the paint was dry, I put some Distress rayon in Black Soot and Walnut Stain, but I think Scorched Timber would be better, all around the outside edges of the tag and rubbed it in with my fingers so it settled into the crackles and also aged the tag.
Stamp all the Cadaverous images onto some Mixed Media Heavystock in Back Soot Archival. Then carefully color the in with Distress Inks to look as Anatomy class posterish as possible, You can see that I roughed up the edges, and inked them to look like moisture and mold had aged them over the year. Attach them to the tag with Collage Medium on the back. Then poke a few holes and stick some of the Tiny Fasteners int the corners like tacks.
This area I was imagining to be the professor's desk where he lectures. I used images from the stamp set called The Chemist CMS172, such as the books and the bottles, to set on the table and the floor of the classroom. Cut them out and pop them up with chipboard or foam tape.
For the top of the desk and the chalkboard, I colored some Distress Woodgrain paper with Distress Inks and then cut it into strips. to make a frame around a piee of black cardstock that I had stamped an image from The Chemist onto in Picket Fence Distress Ink.I also added some wood grain to the desk top before adding the bottles. The bones are fro the skeleton diagram stamp that I fussy cut.
The legs of the table were also covered with woodgrain paper leaving only the bat with the black crackle texture. Color, distress and roll the edges of the ear and eye images before putting them on the florr with the books. I wanted these to look like they had been rolled up for storage and the crazy professor had pulled them out and shown them in class and they ended up falling to the ground. This central area will be sticking out fro the tag slightly and has the most dimension on the tag.
On the right side is the large skeleton diagram that takes up most of the space. Make it as you did the three smaller "posters" on the left side. below it are two more bones cut from that second diagram I stamped and just fussy cut the bones and put them on the floor and the table.
Well that is is for this long forgotten Halloween make from 2019. Going over this again reminded me what a fun and creative year that was and also how much I ended up liking this piece once it was finally finished and the story it tells of an anatomy class taught long, long ago.
I hope you found something in this post that was helpful and inspiring. Thanks so much for stopping by and checking out this project.
I hope you have a very creative day,
Tami
I
am an affiliate with Simon Says Stamp, Ranger Ink, and Scrapbook.com.
The links below send you to one of those stores. If you wish to purchase
something and use one of my links below, I get a small percentage of
your order at no additional cost to you. This helps me to defray the
costs of this blog, the time, the ideas and tutorials I post here. Your
help is greatly appreciated! Thank you!


1 comment:
This is SO cool Tami! All the details the woodgrain finishes, the aging with Distress Crayons, I love your amazing explanations and tutorials. I'm so glad you shared this, it's such a cool piece! xoxo
Post a Comment