Showing posts with label Wildflower Stems 2. Show all posts

Thursday, March 21, 2019

Botanical Tag - Tim Holtz Chapter 2 Dies

It's Spring! And with the coming of spring we have some new Chapter 2 dies from Tim Holtz and Sizzix. I made this botanical tag as a sample for Tim's garden shed Sizzix booth at Creativation 2019.
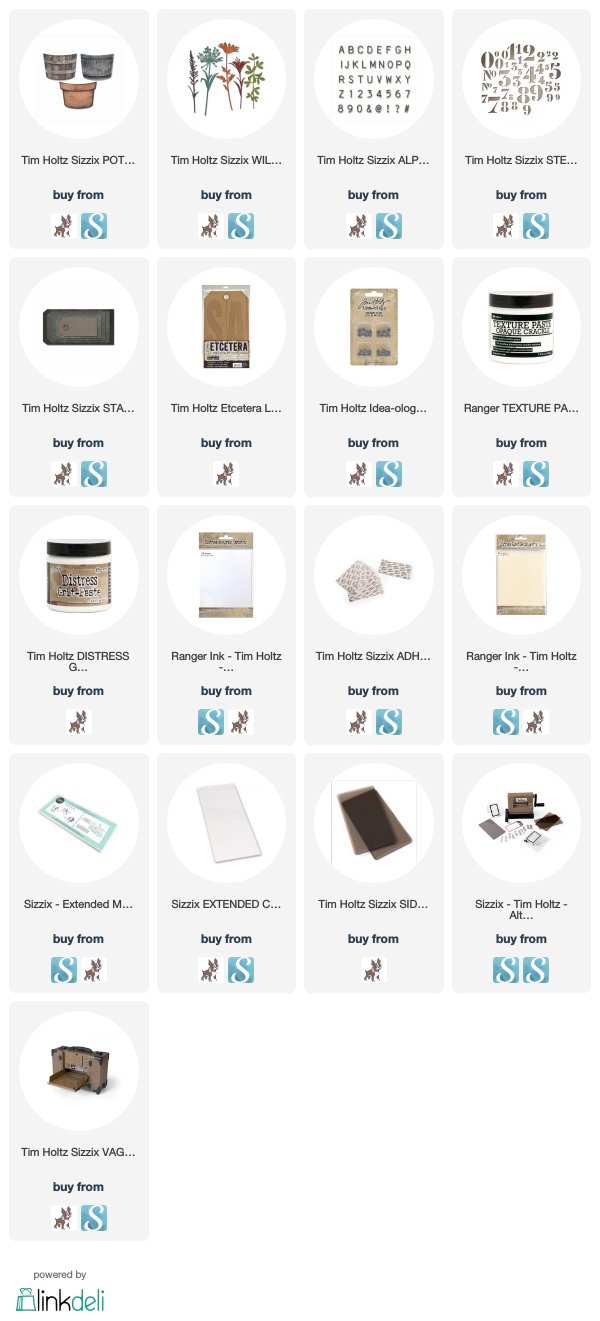
It showcases one of the NEW Sizzix Chapter 2 dies called Potted that I paired with one of the Chapter 1 die sets called Wildflower Stems 2
To highlight the various ways the Potted die can be used, I cut three large tags from the Stacked Tags die set, and then picked one of the Wildflower Stems 2 to be growing out of it. 
I colored each tag with some Hickory Smoke and Pumice Stone Distress ink using the "wrinkle-free Distress method."
For the first tag, I picked the daisy stem, cut three of them from Distress Mixed Media Heavystock,  and watercolored them with Distress Inks.
On the first tag, I made the barrel. I colored some Distress Woodgrain Cardstock with brown Distress Inks, and then cut out the main bucket shape. I cut out a second bucket shape from chipboard. Then I cut the woodgrain bucket into vertical strips to mimic the boards that make a bucket. The bands were cut from Distress Mixed Media Heavystock and then colored with Distress Inks. I finished it off with two of the small Hexnut Hardware Heads colored with Alcohol Inks to make them look old and rusted.
The second tag has purple salvia growing out of an old, mossy terra cotta pot.
I cut three of this shape from the Wildflower Stems 2 set and watercolored them green and various purples.  These could be lavendar, or liriope, or I chose to make them salvia.
For this potted sample I went with the terra cotta pot version.  You can make the pots two ways.  You can cut the back as the main, tall pot/bucket/barrel size, or as I did here, I used the smaller size pot which can double as a center band for the taller pot. This made my terra cotta pot a little shorter than the other two on this piece but I like the option of having it both ways. I colored it with Distress Ink and then sealed it with Distress Collage Medium Matte.
For the moss, I pounced some grit paste onto the terra cotta pot with my finger, let it dry, and then colored it with Peeled Paint Distress Crayon.
For the last tag, I went with the Tiger Day Lily in a aged galvanized bucket.
I cut three of the daylily stems and colored them with Distress Inks just like the other three.
For the aged galvenized bucket, I cut both the small and large container shapes. I colored them with Distress Oxides and Distress Inks. Then I cut the No7 from the Numbers die set. I colored the cut out pieces with Black Soot Distress Ink and then inserted them back into the spaces so that it kind of looks like the numbers were stenciled onto the bucket.
The labels for all of the flowers were cut from a NEW Alphanumeric called just that, Label.  It's one of my new favorite alphabets. It's tiny and you can cut a ton of words for even a small space. Look at all those letters in this set!

All of these tags were adhered to a large Etcetera Tag that had been aged with Ranger's Opaque Crackle Paste.
Thank you for visiting today!
Tami

I am an affiliate with Simon Says Stamp and Scrapbook.com so the links below send you to one of those stores depending on which logo you choose.  If you wish to purchase something from either store and use one of my links below, I get a small percentage of your order, at no additional cost to you. This helps me to defray the costs of this blog and the ideas and tutorials I post here, and your help is greatly appreciated! Thank you!
        

Monday, February 11, 2019

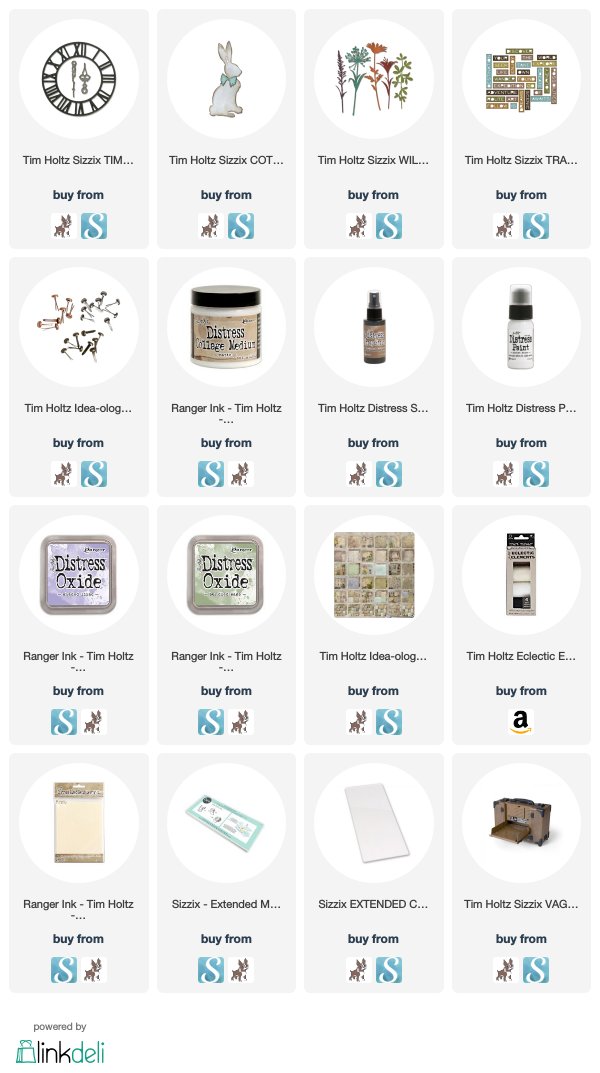
Possibilities - Tim Holtz Sizzix Chapter 1 Timekeeper

With the coming of springtime there are always new possibilities ahead. On this card, Mr. Cottontail ponders what wonderful new things await him.
I used several new dies released from Tim Holtz Sizzix Chapter 1 for 2019 and some paper from the Ideaology Wallflower Stash.
 The Timekeeper clock was cut from chipboard and Distress Woodgrain cardstock.
To make the hands stand out, they were stained brown, then covered with Distress Collage Medium and then had Picket Fence Distress Paint rubbed into the depressed areas so that they would stand out from the clockface. They were attached to the card in the middle with a Long Fastener.
The lavender or salvia, which ever flower you choose it to be, is from the Wildflower Stems 2 die set. I cut several out of Distress Mixed Media Heavystock and then colored it with Distress Oxides in Bundled Sage and Shaded Lilac.
I bunched them together and then tied the stems together with a piece of Eclectic Elements Craft Thread.
Cottontail was cut from chipboard for a base and then from natural canvas that I adhered to the chipboard base. The canvas bow is colored with Distress Oxide in Shaded Lilac
Because both the Timekeeper and Cottontail dies are steel rule dies, they can cut a variety of things that the thinlits just can't. Everything from chipboard to fabrics, leather, thin wood veneer, thin sheet metal, it really is amazing. And the detail that Tim and Sizzix have managed to get with a steel-rule die is remarkable. Truly remarkable!
I finished the card off by cutting the word POSSIBILITIES from the Traveler Words die set. I cut it directly out of the background Wallflower paper and layed it over a dark brown mat.
This one was actually a really simple card. No techniques, just a lot of fun cutting these lovely dies and layering them on a card.

Thank you very much for stopping by my blog.
Tami

I am an affiliate with Simon Says Stamp and Scrapbook.com so the links below send you to one of those stores depending on which logo you choose.  If you wish to purchase something from either store and use one of my links below, I get a small percentage of your order, at no additional cost to you. This helps me to defray the costs of this blog and the ideas and tutorials I post here, and your help is greatly appreciated! Thank you!

Monday, January 28, 2019

Hope - Tim Holtz Sizzix Chapter 1 2019 - Retro Repeat

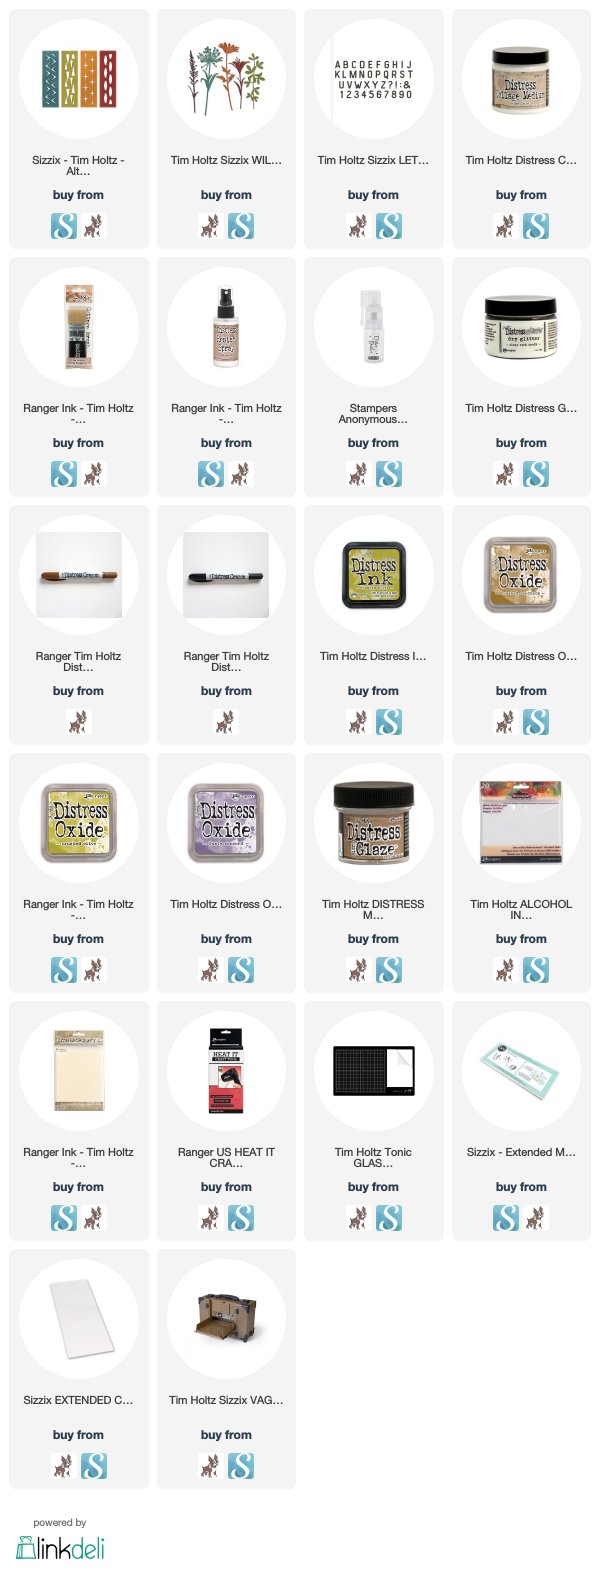
It's never a bad thing to start the week off with a little HOPE. So in that light I present to you my HOPE card featuring dies and inks from Tim Holtz Sizzix Chapter 1 2019.
This card features one of the Retro Repeat dies. These dies are kind of along the lines of the Shifter Stencils from Stampers Anonymous but they are in Sizzix die form. You run the die through with one pass and then line it up and run it through again and again to make a pattern.
On this card I ran this pattern through once on the top for a border and then three times on the bottom for the repeat pattern.
On the cover art you can see the pattern on the die that you get if you cut it just once. I did that on several cards because I just wanted one little bit of the die, but on this card it was nice to repeat the pattern and break up the color on the top piece of the card.
For the focal point I added one of the Wildflower Stems 2 that I cut from Distress Mixed Media Heavystock, then watercolored. When it was dry I rubbed some of the Distress Resist Spray on the petals with my finger, and dusted them with Clear Distress Rock Candy Glitter from the Glitter Duster.

The sentiment was cut from Black Chipboard using the Bigz Letterboard alpha released in late 2018. I sprayed it with Distress Resist Spray and then dusted them with Distress Rock Candy Glitter as well.
The green/yellow background peeking through the Retro Repeat pattern is just Distress Mixed Media Heavystock colored with Crushed Olive Distress Ink and Distress Oxide.

The top layer was a piece of Alcohol Ink Cardstock, which is glossy, but very pourous. It was colored with Dusty Concord, Crushed Olive and a tiny bit of Brushed Corduroy Distress Oxides applied to the Alcohol Ink cardstock with the Wrinkle-Free Distress Method (apply the oxides to the non-stick mat, spritz with water, lay the cardstock in the Oxide, dry, tap it into the remaining beads of Oxides, dry, tap again, until you like the coverage. Then return the vibrant color of the Oxides with a layer of Microglaze and buff it with a dry cloth. Tim has done this method in several videos.)

Then I cut it with the Retro Repeat and attached it to the Crushed Olive background using Distress Collage Medium.  When it was dry I rubbed some Black Soot and Vintage Photo Distress Crayons into it and wiped away the excess with a damp cloth leaving bits in the recessed portions of the repeat pattern.
I know this wasn't a tutorial, but I hope by explanations were clear enough. Feel free to message me if you need something clarified. As always I hope you found something of interest or something that inspires you to experiment with your supplies.
Tami


I am an affiliate with Simon Says Stamp and Scrapbook.com so the links below send you to one of those stores depending on which logo you choose.  If you wish to purchase something from either store and use one of my links below, I get a small percentage of your order, at no additional cost to you. This helps me to defray the costs of this blog and the ideas and tutorials I post here, and your help is greatly appreciated! Thank you!