Showing posts with label Distress Oxide. Show all posts

Thursday, September 5, 2019

Monster Reunion Class of 1818

I had a ball making cards and tags with the Monster Reunion stamp set from Tim Holtz and Stampers Anonymous. The monsters are endearing and their humorous little sentiments will make you smile. I thought it would be fun to actually make a reunion for them, so I built them a Haunted little venue for their class of 1818 reunion (the year Mary Shelley first published Frankenstein.)

Fair warning -- I have been breaking my posts up for most techniques, but this is really just one long technique of building a house, so settle in with a cup of tea or something before you get started.  I'll try to let all the step-out photos do the talking.
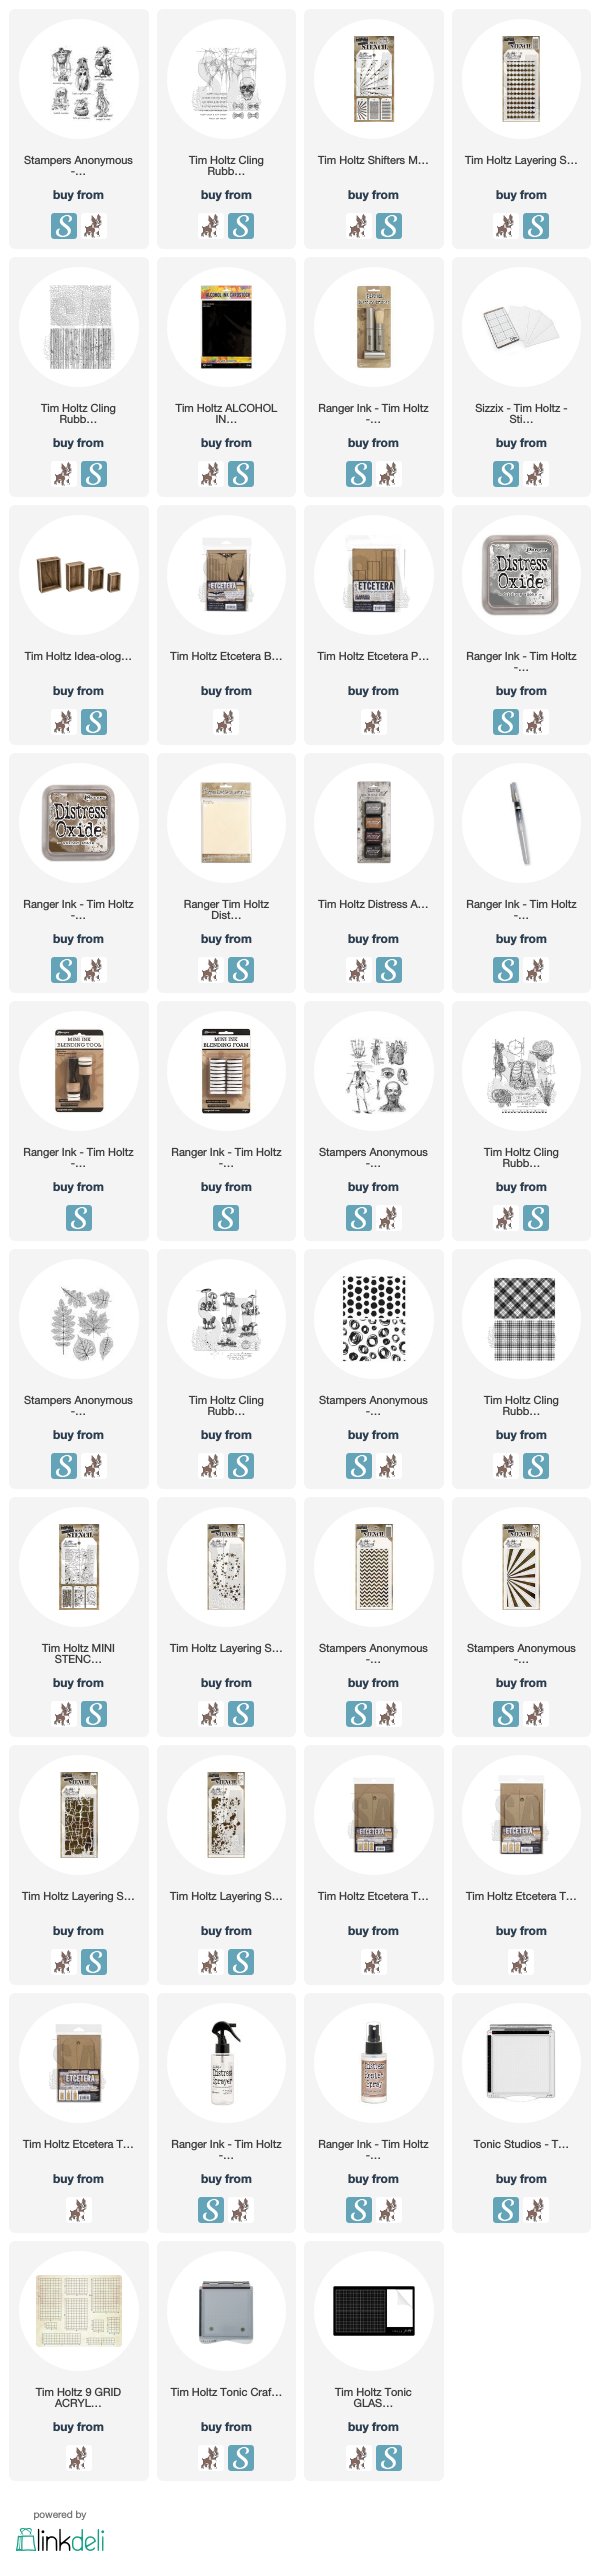
To begin, you need the following supplies: the two largest vignette boxes, two of the web Etcetera Trims and the Pinked Etcetera trims, black and Antique linen Distress Paint and Collage Medium.
You will also need some chipboard that you will need to kind of fiddle with using your own measurements. I measured the top of both vignette boxes and then made some triangle shapes from the chipboard that will fit on the top of the boxes to shape the roof.
Here you can see how I painted the boxes black and the straight part of the trim black (as well as the Pinked trim that isn't pictured as it was a late addition) and two of the four roof triangles.
Assemble the boxes, trim and roof triangles in this manner. I adhered everything with Distress Collage Medium and held it in place until it as dry. This takes a little patience as it doesn't dry immediately.  NOTE - there should be two or three more triangles on the top of the upper box for the roof as well.  I was winging it and snapping pictures as I went and changed things along the way, so some of my pictures don't show bit I added later.
Next, cut two pieces of the Alcohol Ink Black Cardstock to fit both boxes. Stamp the new, gorgeous cobweb onto it with some Distress Oxide in Pumice Stone. It stamps beautifully, but you need to let it dry or dry it with a heat tool so that it doesn't smudge.
I love how Oxides stamp on this Alcohol Ink Black Cardstock! And you will be using the two together for much of this project.
Next we are going to put wood siding all along the sides, back and trim of the piece. Stamp the planks onto the black cardstock with Walnut Stain Distress Oxide. Then cut the planks into strips just wide enough for the sides of the box.
Once you have the width cut, then use scissors to cut the planks.
Ink the edges with Distress Oxide and then adhere the planks onto the sides of the boxes.
The boxes are different widths so keep this in mind.
You also need to put planks on the sides of the roof peaks.
I put the planks on the sides and then trimmed them with scissors once they were dry.
Both sides should be completely covered as shown here. You will want to do the same thing to the back of the boxes. I attached pieces of different lengths all across the back so it purposefully looks like the lumber was pieced together.
I wanted it raised just a little bit off the ground, so I added some of the Pinked Etcetera Trim with Distress Collage Medium.
I cut the pieces to fit with my Tim Holtz Scissors.
It takes some effort to get them to fit and then I touched up the paint once it was dry.
There were little bits of places on the front that needed covered, so I cut some of the planks in thin strips and then attached them on the front edges of the boxes and the trims.
Now on to the roof. The new Scallop Shifter Stencil can be used for many things, but I thought it might make a cute roof.
 I again used the Alcohol Ink Black Cardstock with Distress Oxide
 Attach the paper onto the Media Mat with some Sizzix Sticky Grid underneath.
 Put the small Scallop stencil on the paper, and hold it down on top with some tape so you can easily lift it without moving it too much to check your progress.
 Load some Distress Oxide in Hickory Smoke or Pumice Stone onto a Distress Brush.
 Once you are happy with the coverage, you need to cover the stenciled pattern with the stencil so that clean cardstock shows through. You can see above how it is covered by the stencil. Then using the brush, add more oxide through the stencil.
When you are finished it should look something like this, very roof tilish. Be sure and dry it.
You will need to trim the bottom edges of the scallops. Then cut a piece to fit over those triangles we attached at the beginning. I cut the front pieces and then cut the back pieces and adhered them.
There will be edges and some gaps, so I covered those with some moss.
I let the roof hand over the edges on the sides just a tiny bit.
Stamp the Monsters in Black Archival Ink on Distress Mixed Media Heavystock, and then color them with Distress Inks and a Waterbrush. You will need to stamp several pumpkins and several tombstones.
I made a little scene on the back of the building with Dracula and tombstones.
As you can see, I cut up one of the tombstones so it looks like it is sinking. I also cut up bits of the soil and added it here and there.
It is important to add some pieces of chipboard here and there to add dimension. There is more moss added as well to cover any unsightly edges.
In the top box, I added some pumpkins. and then Mummy.  Start with the pumpkins.
Put some moss on the bottom of the box, then cut out some pumpkins and cut two pumpkins apart. Glue the pumpkin parts around the whole pumpkin. Then attach the mummy to the front of the box.
Again, add moss to the bottom of the box. Add in most of the remaining tombstones, again cutting some so that they look like they are broken and sinking into the ground.
On the bottom front of the box, adhere the skeleton lady and add a tombstone with some chipboard for dimension as well as some of the soil from some of the broken tombstones in the box,
I added some extra flowers here and there as well.
Here you can see some of the broken tombstones in the box.

There is a pumpkin and some pumpkin pieces in the corner behind Frankenstein's Monster.
I added a few pieces of chipboard behind him and then hid some thick black foam behind him to keep him stable as he stands up.

As you can see I had some things that worked, somethings I needed to add later, and some things that didn't work and I scrapped it or adjusted as need be. Have fun experimenting and making your own Monster Reunion.
Tami

I am an affiliate with Simon Says Stamp and Scrapbook.com so the links below send you to one of those stores depending on which logo you choose.  If you wish to purchase something from either store and use one of my links below, I get a small percentage of your order, at no additional cost to you. This helps me to defray the costs of this blog, the time, the ideas and tutorials I post here. Your help is greatly appreciated! Thank you!
Friday, February 15, 2019

Dinoland - Tim Holtz Sizzix Chapter 1 2019

I hope you are ready for some Dinoland fun!  While I was using the Prehistoric dies from Tim Holtz and Sizzix to make some cards and things for kiddos, I kept thinking about Claude Bell's Dinosaurs roadside attraction out on the 10 fwy on the way to Palm Springs. That inspired this retro gameboard that I imagined a child begging their parents to buy them from the giftshop when they stopped to see this iconic California roadside attraction.
Photo Credit: http://boiteaoutils.blogspot.com
If you have ever driven out to Palm Springs from the LA area, you can't help but notice some giant dinosaurs along the the 10 Freeway. They were made by Claude Bell, an artist and sculptor who had worked for Knott's Berry Farm Amusement Park.  He owned a restaurant called the Wheel Inn that was along the 10 freeway, so he built the dinosaurs to get people passing by to stop and then hopefully they would grab a meal in his restaurant.

Photo Credit: http://www.air-and-space.com
He worked on the dinos for years. If you are from my generation, you may recognize them from the 1980's movie "Pee Wee's Big Adventure." The dinosaurs were eventually sold and are now known as the Cabazon Dinosaurs, but they are still there and you can visit them! I have!

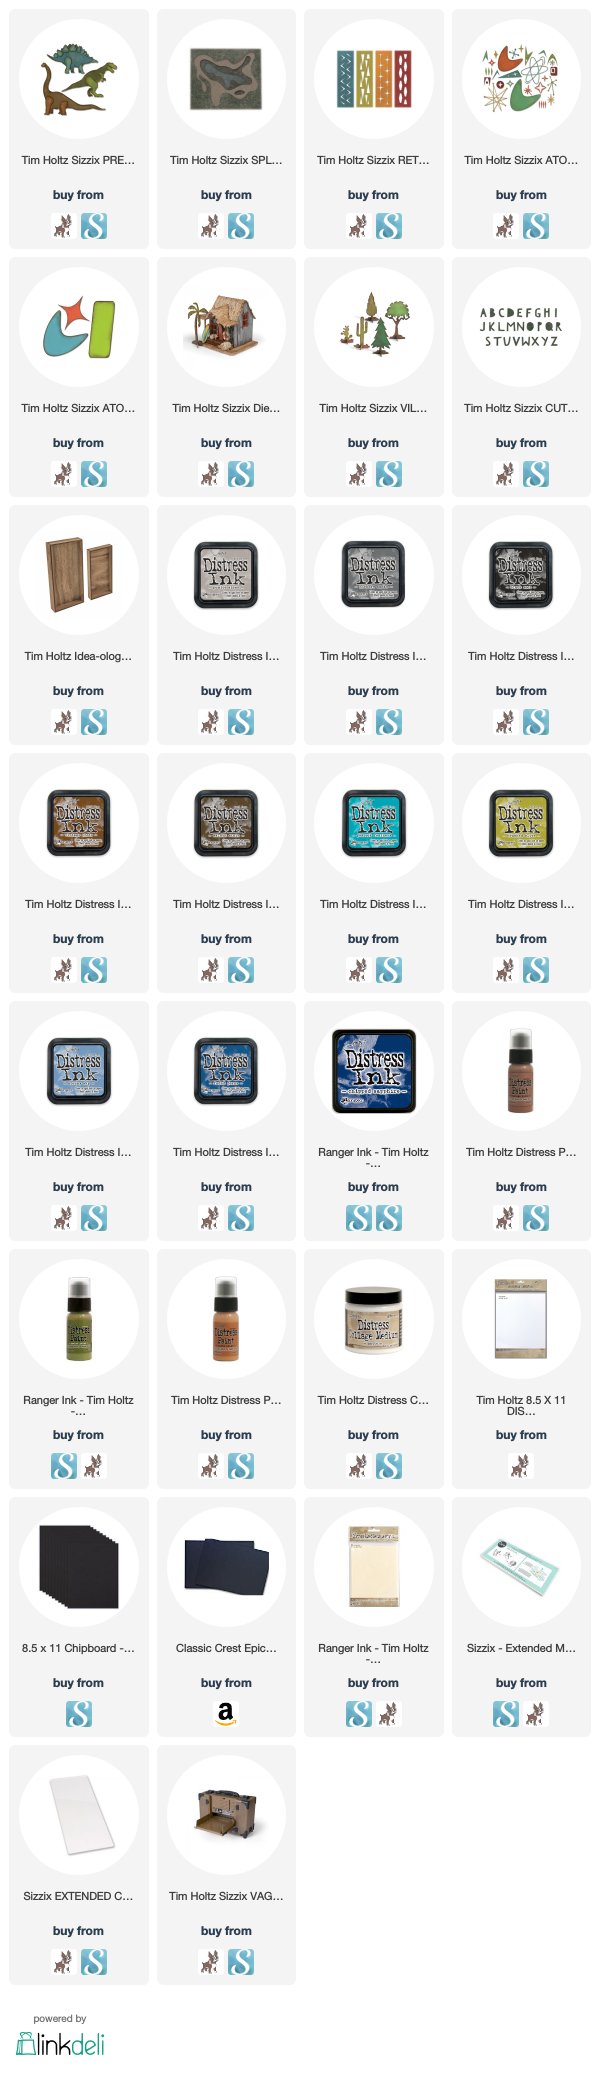
Now that you know the inspiration, let's get back to the project and we'll start with making the dinos. These are thinlit dies and they can't cut really thick items, so to make them sturdy and to stand up, I cut two dinosaurs and their layered parts from Distress Mixed Media Heavystock that I had colored with Distress Inks and Oxides. You need to cut them once with the color facing the die and once with the color facing away from the die so the dinosaurs have color and layers on both sides. Then I cut several of just the dinosaur bodies from a thick 130 lb Heavyweight Black Cardstock. When you have all the pieces cut, layer all of these pieces together.
To get the dinos to stand up, I cut some of the tree bases from the Village Landscape die from the same amount of colored MM Heavystock and the black heavystock.
I layered them and then cut a slit in the dino feet that was the same shape as the one on the tree base.
I fit them together and glued them in place on the dino legs. Do not glue any of the trees or dinosaurs onto the piece. This was supposed to be something you would buy for your child from a quirky roadside attraction to remember it and to play with.  So the dinosaurs and trees need to be able to move around and attack each other or eat the trees or get stuck in the tar. Rawwr!
This Splat is a crazy, fun die that can be so many things! Spilled coffee, spilled paint or ink, part of a map, just a fun blob of color, an island, a lake... you get the idea. I saw it as a watering hole and a tar pit for the dinosaurs.
I cut the pieces out of Distress Mixed Media Heavystock and then colored the different pieces in blues and greys. Then I placed them inside of each other and sprayed each piece with Distress Resist Spray for some shine.  This also kind of glued them together. When I adhered them I made sure to let the water and the tar "spill" over the sides of the gameboard.
This brings me to the sides of the Vignette Tray. I painted the top of the tray with Peeled Paint, and Vintage Photo to look like grass with some dirt showing through. Then I painted the edges of the tray with Rusty Hinge Distress Paint.
To age the edges I covered them with Walnut Stain Distress Paint and then wiped it off leaving it in the crevasses. 
 
Next I took some Distress Woodgrain Cardstock and stained it brown with various Distress Stains. I used the 8.5x10 woodgrain. 
Then I cut the piece into strips wide enough to fit around the edge of the tray. To add interest I used one of the Retro Repeat dies and instead of cutting it vertically as you would for a card, I cut it horizontally. These photos were taken to show the technique and are not the pieces I used on my sample.
 Once you cut the first run, you need to carefully lay die over previously cut parts and continue the pattern.You can see how I did this below.
 You need to really adhere the paper and the die very well to do this so it doesn't shift.
Once that was cut, I added the stained strips of Retro Repeat woodgrain to the sides of the tray with Distress Collage Medium Matte. Some of the stain comes off because Distress reacts with water and so it also reacts with the moisture in the Collage Medium. That is fine because it ages the painted portions that show through the cutouts.
The last thing I did was to make the sign to get people to visit my roadside attraction. I wanted people to see it and stop! For this I used the Atomic Bigz die.
Before I tell you what I did, look at the point on that shape. This is a steel rule die! Isn't that amazing?
I cut two of the pointed shapes and one of the rounded rectangles from black chipboard. Then I cut the same from some Distress Mixed Media Heavystock. I colored the paper with Distress Inks and Oxides and then adhered them to the chipboard and then to each other. I cut two 1/2" strips of the black chipboard as the posts. To give the sign a retro feel, I angled the posts. I had to use a box cutter to make a slit along the back of the top of the Vignette Box for the posts to slide down into so the sign would stand up and stay put.
The name DINOLAND was cut from the Cutout Uppercase Bigz alpha.
Lastly the trees were from two different dies from the Village series. They are all steel rule, so you just need to cut two pieces of DMM Heavystock for each tree you make, and one from black chipboard. Color the DMM Heavystock and adhere it to the chipboard shapes, then add the feet.


You can make as many dinos and trees as you want as well as maybe even some dinos that you cut off their feet so they look like they are swimming or sinking in the tar.
This gameboard cleans up easily by taking the moveable parts off and pulling the sign out the slots, you can put them in a bag and store it in the tray that will fit easily in a drawer.

I hope you have a RAWWWRING good time with this project!
Tami

If you would like to see Tim discuss many of the dies used on this project, watch this video from Sizzix:

I am an affiliate with Simon Says Stamp and Scrapbook.com so the links below send you to one of those stores depending on which logo you choose.  If you wish to purchase something from either store and use one of my links below, I get a small percentage of your order, at no additional cost to you. This helps me to defray the costs of this blog and the ideas and tutorials I post here, and your help is greatly appreciated! Thank you!