Showing posts with label Curio Box. Show all posts

Monday, August 3, 2020

Thin Ice Curio Box Stocking Stuffers - Sizzix Chapter 3 2020

I'm back with more Curio Box Stocking Stuffers or Christmas Quick Gifts. Today I'm featuring the boxes paired with the new Thin Ice dies from Tim Holtz Sizzix Chapter 3 release.

Note on the Curio Box: After my last post on the Winter Critters Curio Gift Boxes, I had some people contact me with concerns that they could not get the box and had been told it was discontinued. I contacted a friend who is in the Sales and Marketing Department at Sizzix and was assured that it is NOT discontinued. It was such a popular die when it was released in January of 2020, that it has been difficult to keep up with demand. Because of it's immediate popularity, it has been put on the Essentials list of dies, which means it will be around for some time. So never fear, you will be able to find it soon enough. Isn't that great news?
To begin with, I cut the Curio Box from some older Idea-ology Christmas paper scraps that I had on hand. Don't forget to go through your old scraps and see what you still have. The bottom of the box was cut from Chipboard or Little Sizzles Mat Board from Sizzix.  Remember that the Curio Box Bigz XL die comes with a set of Framelits that cut out shapes in the lid to reveal things. I used both of the ovals for this set of Stocking Stuffers. It allowed more of the fun paper to show and gave me more space to attach the dies directly to the box.
On this first box, I only attached one of the trees from Thin Ice. They come with some little dies with snowy bits that you can use or not use. There are some indentions made in the trees that help you to see where the snow goes. I was following the packaging and could not find where this one little bit of snow went, so I am including this here so you can see where it goes if you end up with the same problem I had.
For the second gift box I cut one of the skating elves. This die is one single silhouette die, but I wanted to make it a little more colorful. To make a skating elf with a colorful outfit, you need to cut several. Here is what I did -
  1. I cut two elves out of Distress Watercolor Cardstock. Use one as the base and color the flesh tones and the skates. 
  2. Then cut the trim pieces by hand from the second one. I cut the puff ball on the hat, the hat band, the cuffs and the trim on the bottom of the shirt. Set those aside. 
  3. Cut one elf from the paper you want for the outfit. I used a red pattern. Cut away the hat and cut the shirt and shorts as one piece. 
  4. Attach the hat and outfit to the base and then add the white trim from step 2. 
  5. Lastly, take a scrap of paper that you want for the scarf. Lay it over that area of the elf die and cut. Trim away just the scarf shap and adhere over the shirt. 
You are finished. So cute!

Add a gift card and/or some candy and these boxes make great quick gifts or stocking stuffers (or as I learned from my British friends, stocking fillers.)  It's so easy to whip up several of these for colleagues, delivery people, or other service workers. 

Thank you for checking out today's post and if you would like more detail or need any clarification, please feel free to contact me through the link in the column on the right. I'm happy to try and help.

Tami

I am an affiliate with Simon Says Stamp and Scrapbook.com so the links below send you to one of those stores depending on which logo you choose.  If you wish to purchase something from either store and use one of my links below, I get a small percentage of your order, at no additional cost to you. This helps me to defray the costs of this blog, the time, the ideas and tutorials I post here. Your help is greatly appreciated! Thank you!

Wednesday, July 29, 2020

Critters Curio Box Stocking Stuffers - Sizzix Chapter 3 2020


When I was making some samples for the Tim Holtz Sizzix Chapter 3 release, I wanted to be sure to include gift items. As I was contemplating that, my eye fell on my Curio Box die and I started imagining how I could use it as a gift card holder.  These little Winter Critter stocking stuffers were the outcome.
First I made a couple of Curio Boxes according to the directions. I cut the inside box from Chipboard or Sizzix Little Sizzles Mat Board, and the outer box I cut from some Idea-ology Abandoned paper. The decorative opening is cut using a set of framelits that are included with the Curio Box Bigz XL die. There are  two of these ticket shapes and two ovals as well as a little banner shape.  To keep any goodies from falling out of the box, I cut a piece of a transparency and adhered it to the inside top of the box. That way I could add the gift card and then a bunch of candies.
I added a small Stacked Tag to the front of the Curio Box with the Winter Critters deer. He's super cute in the little scarf. The tag allows for the To and From to be written on the front or the back of the tag. And if you look behind the tag, you can see that I filled the Curio Box with Rolos. All stacked in rows they kind of loosely resemble a gold tree.
The second Winter Critter Stocking Stuffer was made the same way, as the one above.
The difference is the tag is cut from the Curio Framelits. You can see the banner die that is included in the framelits running along the bottom of the tag. That is a place for the giver to write the name of the receiver.
On this tag I featured the cool Winter Critters bunny with her pink ear muffs. I think this one is funny because the ear muffs aren't anywhere near her ears. LOL. But they look good and that's what really matters.
I filled this curio box with Andes mints that are again held in the box by a clear transparency that was cut and attached to the inside of the box lid.

These are really simple to make and are a cute way to give a gift card or just some yummy candy. I got a little enamored with these curio box stocking stuffers and you will see a few more variations on these in upcoming weeks.

Thank you for stopping by friends!
Tami


I am an affiliate with Simon Says Stamp and Scrapbook.com so the links below send you to one of those stores depending on which logo you choose.  If you wish to purchase something from either store and use one of my links below, I get a small percentage of your order, at no additional cost to you. This helps me to defray the costs of this blog, the time, the ideas and tutorials I post here. Your help is greatly appreciated! Thank you!

Wednesday, February 26, 2020

Garden Bunny Hop - Tim Holtz Sizzix

 I am so happy to have Sizzix invite me back as a guest blogger for Tim Holtz Chapter 1 dies for 2020. Tim and Sizzix have again outdone themselves with some absolutely delightful dies.

 The Bunny Hop dies inspired me to make this piece. My grandmother used to read Beatrix Potter stories to me when I was little, and that memory prompted me to make a mini version of Mr. McGregor’s Garden using Sizzix Tim Holtz dies.
Yes, even the carrots and cabbages are all Tim Holtz dies! I had so much fun working with Tim's dies to make all of the gardeny goodness in this piece. 
 
This was originally made for the Sizzix Making Blog in Jan of 2020, but that is no longer active and I do not have a saved copy of the blog I wrote. So I'm going to do my best with the photos I could find to describe how I made parts of this piece. 
My job in making these pieces was to use dies that were new and promote them. So for these tiny cabbages, I used these two flower dies from Funky Florals. I cut several of each from both green and purple to make both cabbages. I also died some small Idea-ology Baubles with Lettuce Alcohol Ink.
Spray the inked and die cut flowers with water.
Then crinkle them up into balls.
Uncrinkle and then put a bit of Collage Medium in the middle of the flower and add a green Bauble. 
 Now shape the paper around the bauble, folding and crinkling it up toward the top of the bauble so it looks like the center of a cabbage. Add a little more Collage Medium as needed to get the paper to adhere to itself and the bauble.
 They should look like these. Do this to half of the flowers cut.
The second half of the flowers are for the outer cabbage leaves. These start out the same as the others. Wet, crinkle into balls, then uncrinkle. Add collage medium to the center of the flower and put one of the paper wrapped baubles in the middle.
Squeeze the petals up just like you did before. I think if you left it like this it looks like an artichoke. 
Then gently pull the outer petals out and down a little as the Collage Medium dries to form the outer petals so they curl back a little and look like a cabbage.
These cabbages are really tiny because they were going on a garden card with lots of other things and with some carrots I also made with die cuts. to show how versatile a die cut can be rather than reaching for Idea-ology.
 I used these dies from Funky Florals to make carrots. You will need more green paper for the carrot tops and orange paper for the carrots 
I took the leaf shape and cut the orange paper from it. then I curled the leaf up using Collage Medium to make a cone shape. 
 When you get all the leaves rolled up you need to add some of the green leafy die cuts into the top of the cone.
 
Trim the top of the cone carrot so it is flat. 
 Trim this fer piece down so it fits the size of the carrot a little better.
 
Glue the green fern piece into the top of the carrot cone with a little Collage Medium and you are done.
 
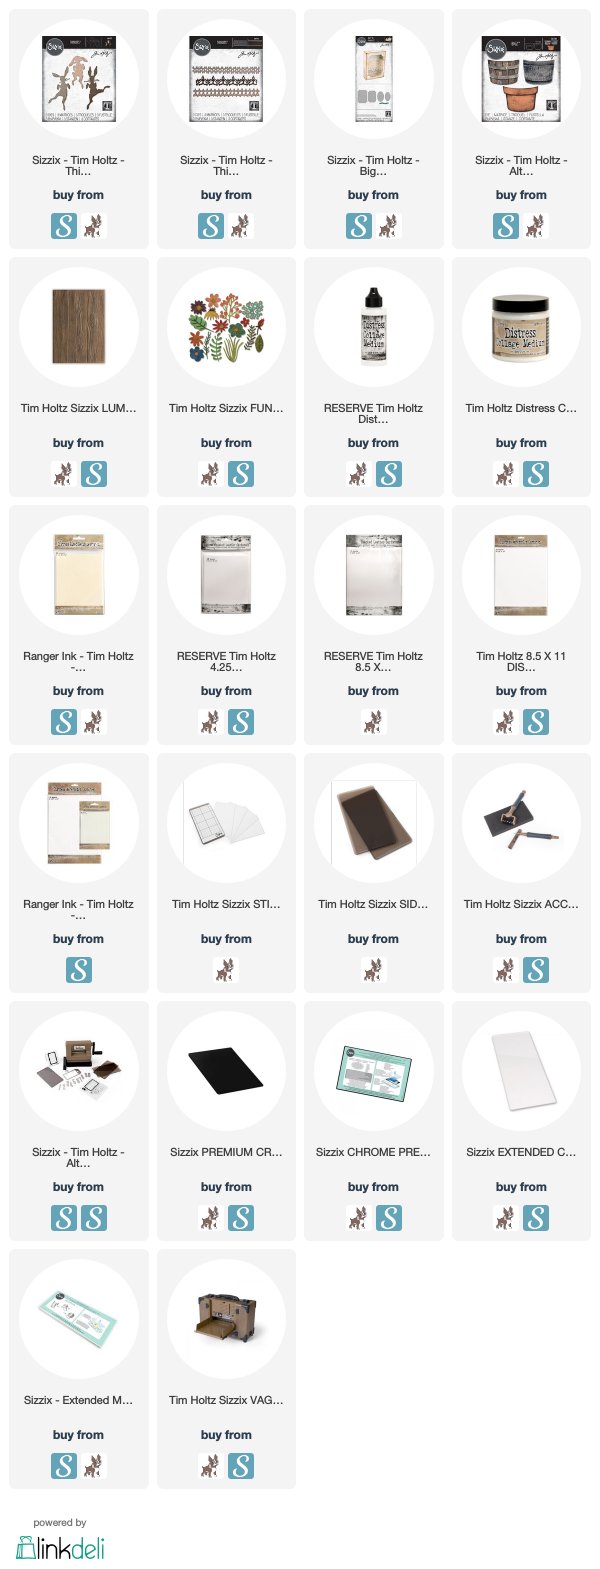
I have links to some products below, but  since the Funky Florals and many other products I originally used are no longer available, if you don't have the Funky Florals, I have linked to a few options below.

 Thank you!
Tami

I am an affiliate with Simon Says Stamp and Scrapbook.com so the links below send you to one of those stores depending on which logo you choose.  If you wish to purchase something from either store and use one of my links below, I get a small percentage of your order, at no additional cost to you. This helps me to defray the costs of this blog, the time, the ideas and tutorials I post here. Your help is greatly appreciated! Thank you!