There is just so much great product in the 2019 Halloween Ideaology release from Tim Holtz and Advantus! With each release I find that I want to use so much of the product ,but end up only using a small portion. So this year I vowed to use up as much as I can so I can enjoy it all and not just squirrel it away in my stash.
These #8 Etcetera Tags and Etcetera Trims are part of what inspired this project.The Etcetera Tags from Stampers Anonymous come in 5 sizes: Large, Medium, Small, Mini and #8 (or I call them "Tiny.") You get five #8 Etcetera Tags in a package for $5.99
The Etcetera Trims come in three styles: Bracket, Pinking, and Scallop. There are five sets of thin and thick trims in three widths each. So you get five of each size and width in each pack for $5.99. Such a great deal!
To make this project I used one package of #8 Tags and used trims from the pinking and bracket trim styles.
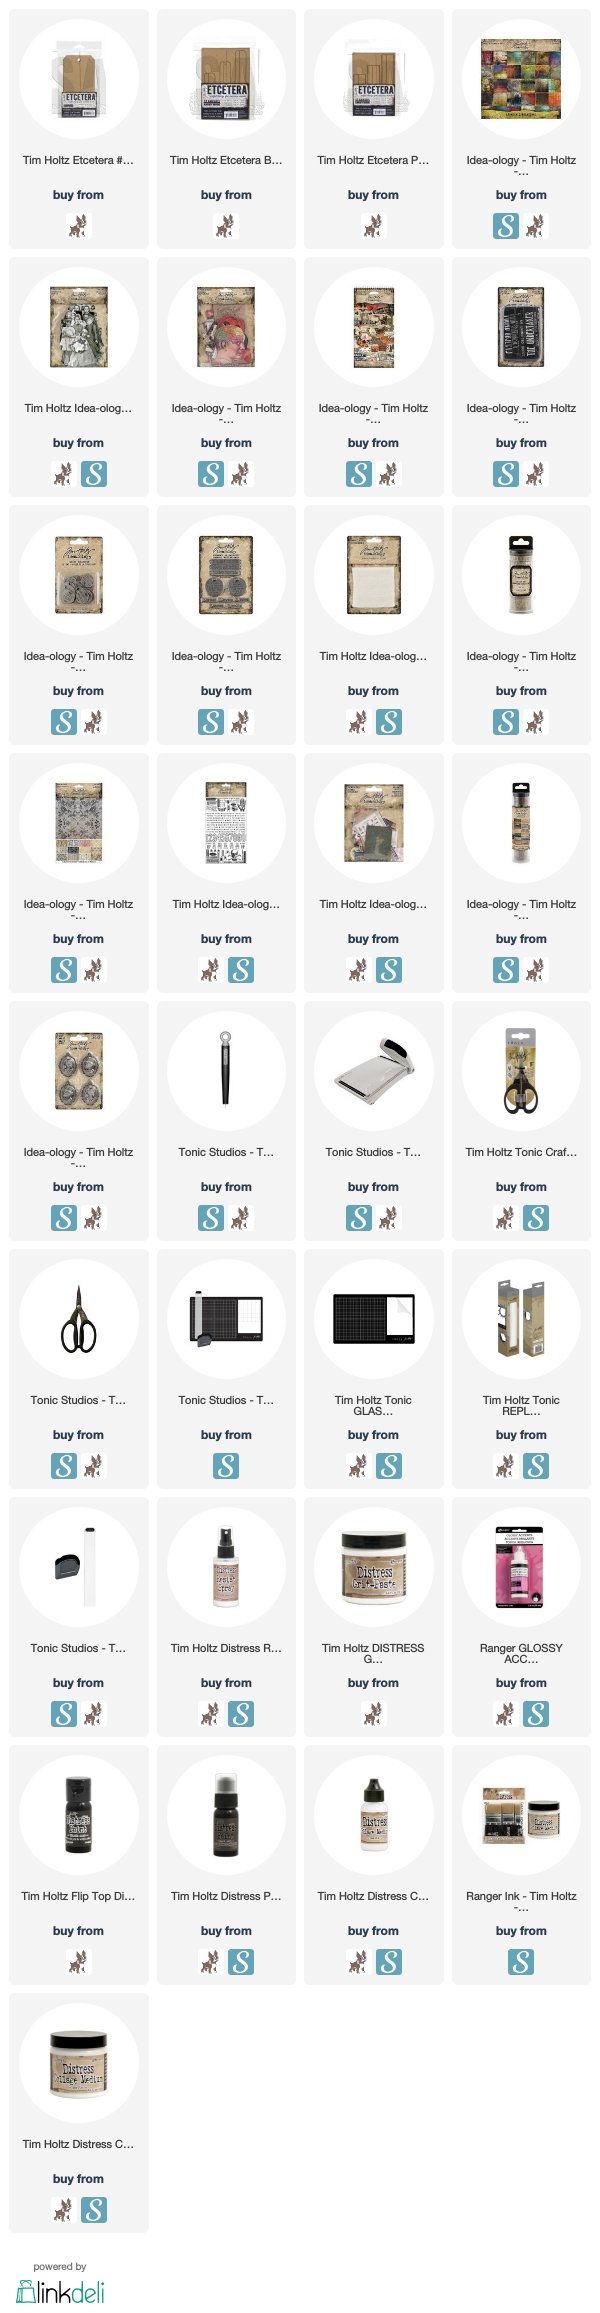
I gathered a bunch of things from my Halloween 2019 Ideaology stash and got to work. Some of the things you will definitely want to consider using are: the beautiful Abandoned paper stash for your base, then the new Halloween Quote Chips, Hardware Heads, Ephemera Pack, Tokens, Curiosities Sticker Book, and Paper Dolls. Optional things would be Design Tape, Mummy Cloth to tie through the top of the tag, and other odds and ends left over from your Halloween makes.
As you can see from the photo above I explained how I put all the tags together. Each tag was assembled in the same basic design format.
1. Cover the tag and the trim by tracing around them on the back of the paper you want to use.
2. Cut the paper along the traced lines. This is a little bit of a pain on the pinking trim seen above, but worth it and the sanding covers and mistakes.
3. Attach the paper to the tag and the trim with Distress Collage medium.
4. Cut the trim to fit the width of the tag. I used my Tonic Scissors to do this and then lightly sanded the end of the trim.
5. Next I sanded around all the edges of the tag and trim, allowing the white core of the paper to show, but didn't ink it because I thought the white kind of tied all the bits together.
6. Attach the trim to the bottom of the tag by putting a little bit of Collage Medium on the top of the trim and the bottom of the tag and then holding them together tightly until the Collage Medium takes hold and they stick together. You will need to be careful with the tag for a few hours until it really dries, so keep it flat as you work on the others.

- On each tag, add some Ephemera collage it onto the tag.
- A Quote Chip attached to the bottom of each tag where the trim and tag meet.
- Hardware Heads on each end of the quote chip.
- Pop up the Paper Doll with Chipboard or dimensional adhesive, or I cut up some of the quote chips I knew I would never use so they were the same height as the Quote Chip. When you attach them, I attached their feet to the top of the quote chip for stability.
- Add a Token to the Paper Doll
- Choose some Clippings Stickers to tell a story about the Paper Doll. (This is my favorite part! I love looking through the Clipping stickers to make up stories about the Paper Dolls. LOL!)
These twins had a treacherous imagination that haunted them. One other thing to point out here is that I colored the 31 with Distress Ink so it tied the green paper on the trim with the top of the tag.
This blueish purple paper in the Abandoned stash is beautiful! I really love it. I thought it went perfectly with this Clown Paper Doll. Since I used the Masquerade Quote chip, I put a mask on Dorothy from the Sizziz Masks Die Set Tim just released. They fit the Paper Dolls!
On this one I used a Quote Token from the Adornment Charms. I thought the quote went well with the fact that Dorothy liked spooky things.
Another Quote chip on this one. I went with the double trouble theme on this one with the twins. Again, I added green to the 31 to tie in the trim.
I forgot to mention that I sprayed all of the Paper Dolls that I was using in this project with a layer of Distress Resist Spray. I let it dry and then sprayed them again and dried. This gave them a mottle, shiny clear covering and it also added to their stability.
I used a lot of the stickers from the Sticker Book on this one. The bugs in the sticker book are smaller than the ones in the Ephemera so they fit better. These two just look like they are planning mischief don't they?
You have been warned!
This is Rosalie. Sadly she is surrounded by toxic things and will eventually lose her mind. I don't know exactly what happened, but I think it had something to do
with poison and her fascination with it eventually drove her crazy.
Well, at this point I hope you don't think I have lost my mind! Although I wouldn't blame you if you did.
This was a fun, simple way to use my Halloween stash and to make things that could be decor pieces, place settings, made into a banner, gifts for friends, party favors...sky is the limit.
Have fun!
Tami
I am an affiliate with Simon Says
Stamp and Scrapbook.com so the links below send you to one of those
stores depending on which logo you choose. If you wish to purchase
something from either store and use one of my links below, I get a small
percentage of your order, at no additional cost to you. This helps me
to defray the costs of this blog and the ideas and tutorials I post
here, and your help is greatly appreciated! Thank you!