Reminiscent of a safari I took at the base of Mount Kilimanjaro when I
lived in Kenya, this piece showcases both Clarence and Mini Clarence in a
scene inspired by the Clarence and the Watering Hole project I made
back in 2021.
Here is the video tutorial of this make.
The Alpine dies on the tag appear farther back because they are higher up on the tags, and the greenery in front appears to be closer to us. it all works as forced perspective.
To mirror the orientation of Clarence, you just need to cut the paper with the die facing the back of the paper, then assemble and it will be facing right instead of left.
I love how the burlap embellishments turned out using an old Christmas
die set called Holiday Blocks and the Woven 3D Texture Fade.
To give the greenery a little height and to help stand Clarence up away from the tag (again to help with the perspective)I added some of that wrapped wire that I used on the Mini Winnie Vacation dome to make the palm tree trunk. Here I just cut a short piece to attach to the greenery in the front. Then I poked a hole in the top of the box and glued the taller piece into the hole for Clarence and also to attach more greenery. The higher pieces of greenery also help the mountain to feel farther in the background.
I attached the large Clarence to the front of the bottom box and that was plenty to secure him in place.
Those burlap pieces are so good!
I opted not to put greenery all the way around this time and to decorate both boxes instead. I also chose just to make a watering hole on the top and not have it spilling over as a waterfall this time.
Thanks you so much for spending some time with me and this piece. I really love how it turned out and I hope you like it too!
Tami
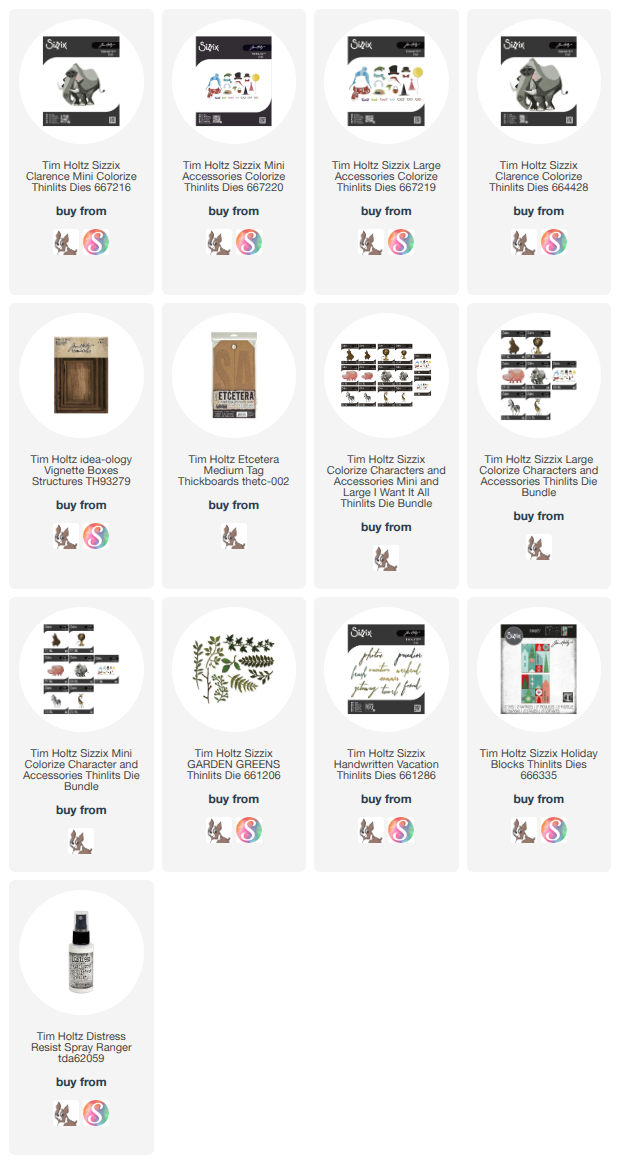
Below are my affiliate links to some of the products I used to make today's project.
The minute I saw Bernice the hippo was part of the Tim Holtz Sizzix Chapter 2 release, I just knew I had to combine her with the other colorize friends to make a piece inspired by the jungle room from Disneyland's It's a Small World attraction. This is what came out of that inspiration.
I did make a short video walk through of this piece and you can view it here on my YouTube channel:
To begin with, I took 3 packages of Ideaology Mini Framed Panels. These have been retired but you can currently still get them. I have links to two retailers below where you can purchase some. Begin by adhering 5 of the panels together on a flat surface as shown above. I put some Distress Collage Medium on the sides of the panels where they joined and then let them dry overnight.
Once the panels were dry, I cut 5 of the Folkart Flowers background die from Kraftstock and adhered one to each panel with Distress Collage Medium.
Make sure that these pieces are completely adhered and dry.
Paint the panels with a layer of Pine Needles Distress Paint.
Once the paint is dry, Cover the entire piece with Distress Collage Medium to seal the paint.
Before the Collage Medium dries, smooth it out with your fingers to get the brushstrokes out of it.
Scribble some Pine Needles Distress Crayon over each panel.
Rub the Distress Crayon into the details of the Folkart Flower dies with a Distress Stencil Brush to make them stand out.
Before adding the frames onto the panels we want to add some layers of vines and greenery to make it feel like the jungle room. Color some Distress Mixed Media Heavystock with various colors of green Distress Inks and Oxides, You want 7-8 pieces and make 2-3 of those differing shades of green.
From 5 of the green pieces, cut 5 of the Flower Fields dies. Two will be adhered from the top going down as you see above, and on the bottom three panels they will be from the bottom up.
To add another layer of vines, I used the Funky Nature die set from the Chapter 1 release. I used this long leafy piece as some additional vines in the top two panels, so cut quite a few of them from a different green paper and adhere them hanging down like vines.
In the bottom three panels I cut the fern looking leaf on the left and adhered it along the bottom of each panel for added greenery.
Here you can see the panels in progress. I adhered all the vines and greenery on the panels before I added the frames onto them. For the frames, I painted them with Shabby Shutters Disress Paint. Then sealed each frame with Distress Collage Medium. Once it was dry, I worked some Walnut Stain Distress Crayon into the indentions in each frame to distress them and to bring out the details. Then I adhered the frames to the panels with Distress Collage Medium.
You can also see that I cut each character out of cardstock scraps so I could see where each would go and where I needed to cut the Gertrudes, Clarence and Winifred so they fit in the frame and fit the characters in the attraction. This really helped so that I didn't ruin the colorize characters once they were finished.
Here is a close look at the Clarence panel. You can see the Flower Field die on this panel has been cut in half and adhered in each corner of the wider panel, then I filled in with more vines and flowers from Funky Nature.
I wanted to tie in all the colors of the animals with the flowers that are in that room in the attractions. I used this one flower die from Funky Nature for all of the flowers on this piece, so you need to cut a lot of them and then water color them individually when you see where you need them to go.
With the flowers on the greenery I also wanted some dimension, so I layered two flowers and used the Tim Holtz shaping tools.
In the Harrison panel, the Flower Fields greenery was left whole, as it fit perfectly across the panel. I added Funky Nature fern pieces on top of the Flower Field, then Harrison and lastly I added some of the leaf dies from Funky Nature all along the front.
The Winifred panel was again wider than the Flower Field die, so I cut it in half and put each half in the corners, with the additional Funky Nature ferns and flowers.
I cut three Getrudes, but flipped one so she would be facing the opposite direction.
The giraffe in the attraction are orange with blue manes and pink flowers so that is what they got. To make room for the pink flowers, I did hand trim some of the blue spots on this colorize layer.
They also have poofy horns in the attraction which I think is adorable so I colored some small pom pom balls I had with Picked Raspberry Distress Ink and stuck them to each giraffe's horns for that extra Mary Blair flair.
One element that is in this section of the small world attraction is the amount of green leaves that are covering up the stage areas. So I cut this leaf from Funky Nature from more of the green Heavystock used earlier. This leaf has a second die for the veins, but I didn't cut that. I wanted it to have a bit of that artsy craftsy feel of Mary Blair, so I drew them in with a white gel pen.
Lastly we have the lovely Bernice. I used a lot of Kitsch Flamingo with these characters and I'm so glad I had it for this piece! Once she was put together, I added the same flower as the giraffe, but in Wilted Violet Distress Ink, and her eyelashes are bits of her tail. I cut two extra tails from black cardstock, trimmed them down and voila! Lastly, her teeth are just leftover pieces of Distress Heavystock. I realized I needed Bernice to have teeth too, so I looked around and found the oval pieces that had come out of her nose. I trimmed the end of each nose oval so it resembled a hippo tooth and then adhered them under her top lip.
I hope the YouTube talk through and these step outs help answer any questions you might have about how I made this fun piece. If you think of something I missed, feel free to contact me through the link on the right.
Thank you so much for stopping by my blog and for your interest in this project. Your support means so much to me!
Thank you, Tami
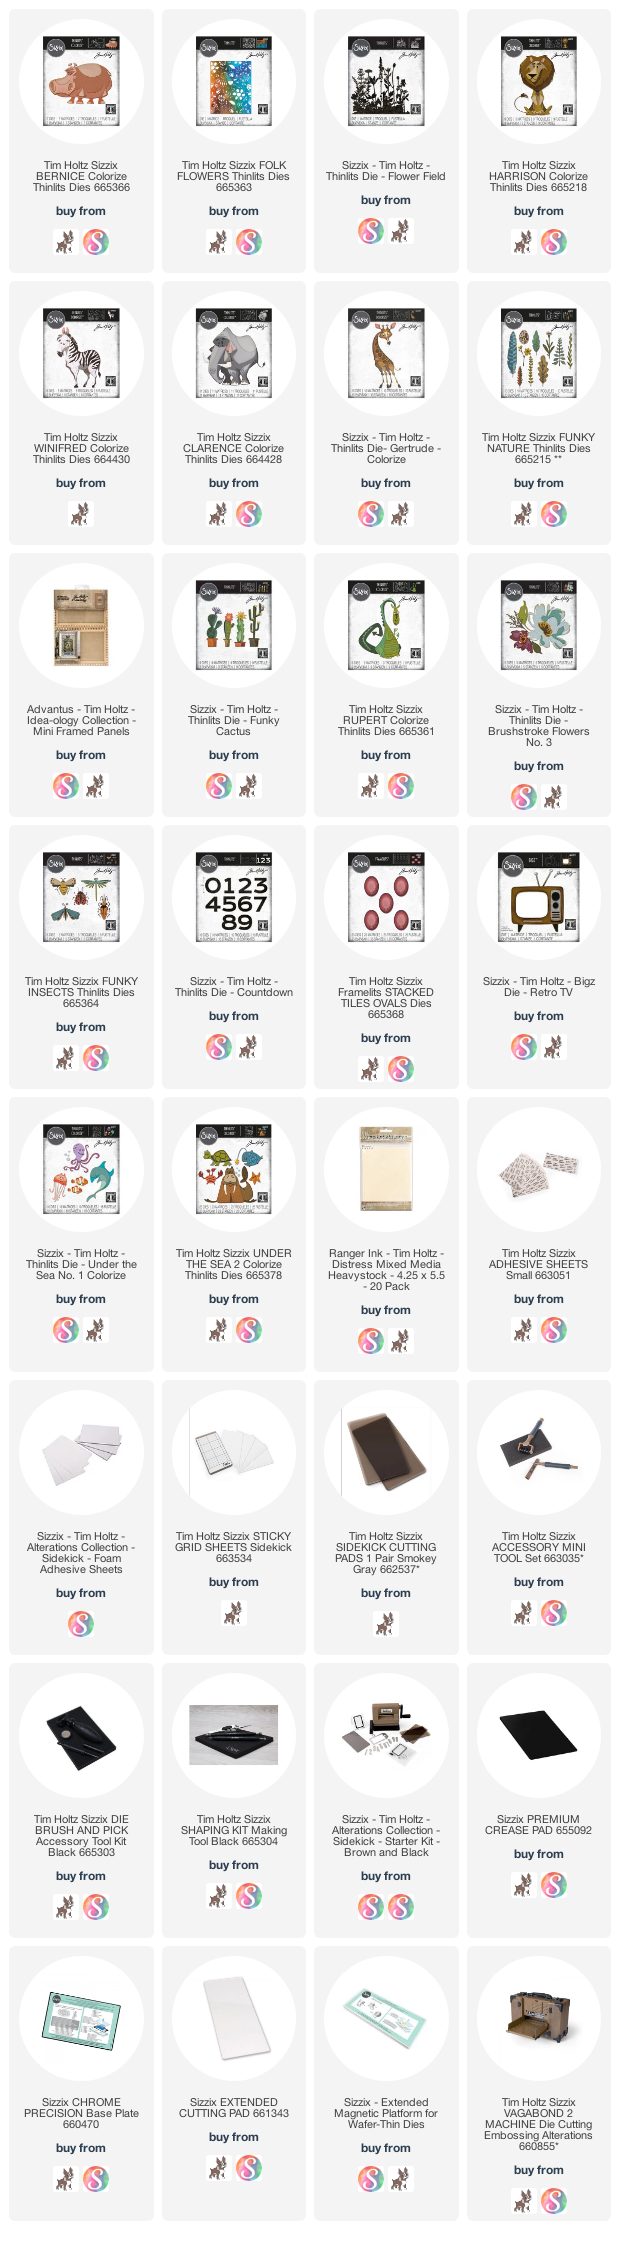
I am an affiliate with Simon Says Stamp and Scrapbook.com so the links below send you to one of those stores depending on which logo you choose. If you wish to purchase something from either store and use one of my links below, I get a small percentage of your order, at no additional cost to you. This helps me to defray the costs of this blog, the time, the ideas and tutorials I post here. Your help is greatly appreciated! Thank you!
I am so happy to have once again share a
project with Tim Holtz Colorize. Clarence is the elephant from the Tim Holtz Chapter
2 2020 release and he is just adorable. This project is one that I'd had in mind since
the first time I saw Clarence, so I originally posted it as a tutorial on the Sizzix blog back in 2020. But that blog is long gone and so is the tutorial. I searched my archives and found it, so I thought I would post it here to help celebrate the 2026 re-release of Clarence and the addition of his little brother Mini Clarence.
Clarence reminds me of Colonel Hathi from Disney’s Jungle Book, but as I was considering a project with him, I kept thinking about the really cute scene in Disney’s Tarzan where they are all playing in the waterfall and the little elephant, Tantor, dips his toe in and says, “Is this water sanitary? It looks questionable to me!”
That scene is the thing that inspired this fun, themed piece. Every time I look at it I smile. I hope it makes you smile too.
Here is a link to my video talk through of this tutorial if that would be helpful along with this written blog tutorial.
If you would like to make a similar piece, If you would like to make a similar piece, here is what you
need to do:
You need the biggest two of the four Idea-ology
vignette boxes. Set these
aside.
From Distress Watercolor Cardstock, cut all of the Cut Out Leaves twice. Set aside.
Cut several of the grass and greenery dies from
Funky Florals 1 from Distressed Watercolor Cardstock as well.
Cut two strips of Distress Woodgrain Cardstock
to fit the long sides of the large Vignette Box and two to fit the small side
of the box. Then cut the larger of the two smallest Stacked Tile squares in a
diamond shape as shown. Three on the long sides and two on the short sides.
Cut 10 of the smallest Stacked Tile Squares from
the Woodgrain Cardstock. You can cut them from the larger squares from step 4
if you would like. We won’t be using them. At this time go ahead and cut the
Splat from Watercolor Cardstock. I cut an extra piece of the splat, the solid
long inner piece.
I chose to use Distress
Spray Stain to color my pieces. I started with the leaves. Put the paper in a
Splat Box and then spray three different green colors on them.
As you can see, the green varies, which is what
you want. Dry this side.
Then flip the leaf papers over and spray the
back with stain as well. You will see both sides of the leaves and they need to
be green on both sides.
Using some Mini Snip scissors, cut the leaves
out of the paper.
While
you have the green stain out, color the other pieces of Funky Floral greenery
as well so that you have a nice pile of greenery to use later on. I also used a
blending tool to add some color to the edges of the greenery at this point.
I took a few strips of watercolor cardstock and stained them with Barn Door,
Walnut Stain, Rusty Hinge and Antique Linen. Cut out some of the Media Marks
from these pieces. I cut the x, v and o shapes. We will use these later. At
this time, I also colored the Woodgrain strips with Wild Honey and the small
squares with Peacock Feathers. Lastly, at this point I colored the Splat and
extra splat piece with three colors of blue, then sprayed them all with some
Distress Resist Spray to add a little sheen.
You
want to attach the Wild Honey woodgrain strips to all four sides of the large
vignette box. I adhered them with Distress Collage Medium. I took this
opportunity to attach the smaller box to the center top of the larger box. I
also used Distress Collage Medium for this too. It takes time for this to dry,
so I set something heavy on top and left them to dry overnight.
Once
they were dry I adhered the Media Marks pieces in a pattern to give the base a
tribal, folk art feel to it. You may notice the water on the piece now. We’ll
talk about that in the next step.
That
extra piece of the Splat was adhered to the top of the large piece and the side
of the smaller one. I trimmed the bottom of it so that it would line up with
the front edge of the larger box, and the drippy bit folds up along the back.
The
whole Splat attaches to the top of the smaller box with the longest drippy bit
falling down the side. To keep all of the pieces together, I cut an extra,
large splat out of thin cardstock and then attached the separate pieces
together on top of it so that when I bent it down the sides it didn’t have gaps
between the pieces.
Then
using a craft knife, I cut two slits in the top box toward the back. These will
hold two pieces of chipboard that I cut to fit into them to hold Clarence
upright.
I
assembled Clarence according to the colors on the back of the dies and the
shapes embossed on the pieces. Sizzix has a great assembly video that I
recommend viewing before assembling the first time. Once assembled, the two
pieces of chipboard were adhered to the back of Clarence coming out the bottom
of his feet. I covered these by cutting a second Clarence base piece and
adhering it to the very back of Clarence, sandwiching the chipboard in between.
The slits should line up with the width and spacing of the chipboard pieces.
Adhere
the chipboard into the slits and secure with some Distress Collage Medium. The
back foot will be slightly off the base, so cover it up with some of the
greenery pieces. I did this by folding over the very bottom of the grassy bits
and putting a bit of collage medium on them and then pressing them onto the
box. This allows them to stand up and add dimension.
Begin
covering the sides of the top box with leaves. Bend them back to add dimension.
Add
more leaves in layers.
You
want the leaves to cover all sides of the box.
Include
some greenery as you see fit as well.
Clumps
of greenery on the top add dimension and the feeling of a watering hole.
It
can also cover up little areas where Clarence is attached to the base.
Enjoy
a little piece of the jungle.
Below are the products I found that are still available from this 6 year old make. I know that if you don't have an item you will be able to find something to substitute. Also, check out my more recent tutorial for Clarence - Paradise Found. It was inspired by this piece and I used some other dies for the box that are still available.
Thank you so much for visiting my blog. I really appreciate your time and support!
Tami
I am an affiliate with Simon Says Stamp and Scrapbook.com so the links below send you to one of those stores depending on which logo you choose. If you wish to purchase something from either store and use one of my links below, I get a small percentage of your order, at no additional cost to you. This helps me to defray the costs of this blog, the time, the ideas and tutorials I post here.Your help is greatly appreciated! Thank you!






 Once assembled, the two
pieces of chipboard were adhered to the back of Clarence coming out the bottom
of his feet. I covered these by cutting a second Clarence base piece and
adhering it to the very back of Clarence, sandwiching the chipboard in between.
The slits should line up with the width and spacing of the chipboard pieces.



