Showing posts with label vignette boxes. Show all posts

Wednesday, January 25, 2023

Easter Vignette Box Book - Spring Idea-ology

This Vignette Box Easter Book is the second project I'm sharing using the new Tim Holtz Spring release of Tiny Eggs and Salvaged Rabbits. I have links below to past tutorials for making the Vignette Box Books (you can also search my blog for Vignette Box Books and they should pop up.) I really had so much fun making with the new Spring release. I can't wait to share more ideas!

This is the video tutorial I made for this project.

This is another rendition of the Vignette Box Books that I love to make! This version, much like the Ode to Poe is a book with an opening that lights up. I made this a little differently than the Ode to Poe, so I hope the video shows that. 

Here are links to other makes where I have tutorials for making Vignette Box Books:

The sides of the Vignette Box get scratched to make them look like pages of a book. You have to layer some 1/8" strips of chipboard along the edges of the top, bottom and side of the book and wrap with Backdrops paper used for the cover. Dark brown Distress Crayon will hide any imperfections.
I love this piece from the retired Adornments Nature pack. It's just so perfect for adding some texture and interest across the top of an oval opening.

For Tim's tutorial on making the barrel Easter basket visit: 

Don't overlook the things you have in your stash that may have been there forever! Quote chips, Baseboard Frames, Adornments.....we buys so many things when they are new and then don't use them, or only use a few things. Take time to really search your stash before starting a project and you might find some really wonderful things you had forgotten and would fit perfectly in your makes.

Thank you very much for visiting my blog. I hope you were able to take time to watch the tutorial too. I appreciate your support!

Have a creative day, 

Tami

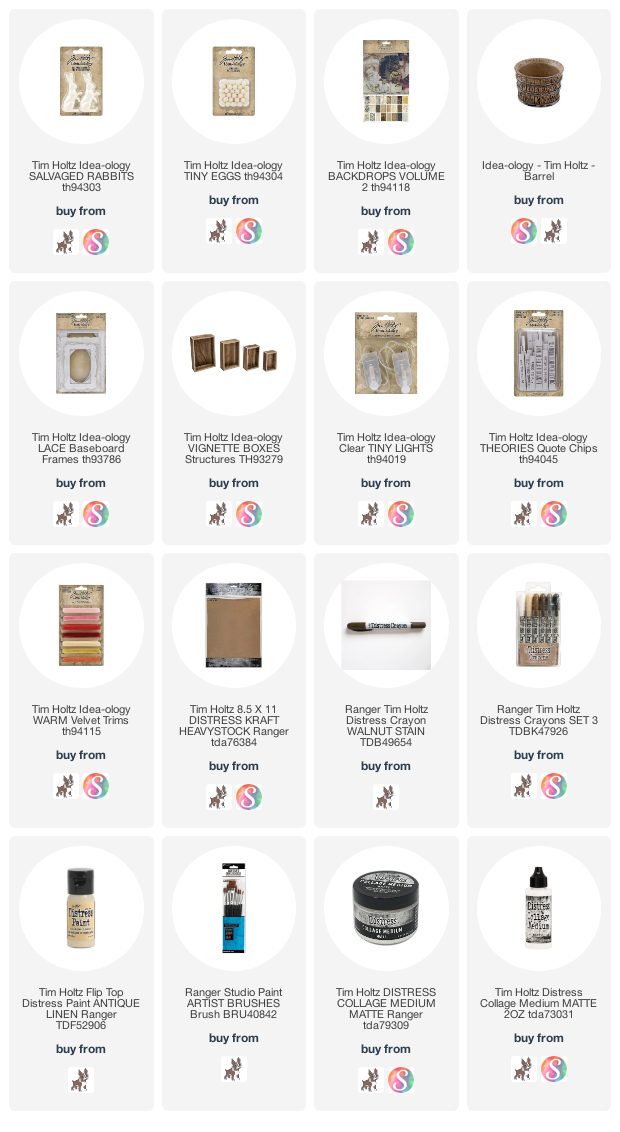
I am an affiliate with Simon Says Stamp and Scrapbook.com so the links below send you to one of those stores depending on which logo you choose.  If you wish to purchase something from either store and use one of my links below, I get a small percentage of your order, at no additional cost to you. This helps me to defray the costs of this blog, the time, the ideas and tutorials I post here. 

Your help is greatly appreciated! Thank you!

Wednesday, May 11, 2022

Live Your Story - 2022 Idea-ology


Hello fellow makers! This post has links to the two process videos I made during and after this project for the Tim Holtz Idea-ology 2022 release. I used many new products from the release, such as the Vignette Card File, Word Plaques, Memoir Ephemera, Snapshots, Remnant Rubs and Backdrops 3. 

My affiliate links to many of the products I used are at the end of this post if you haven't purchased them yet and would like to try a similar project. I also reached back into my stash and used a few retired Adornments to make book ends. The dog is from the Treasures Adornments and the camera was part of the Souvenir Adornments.

I have close-ups of this project posted below the video tutorial links if you wanted a closer look at anything.

Here are the closeups of the project without any instructions. Those are all in my videos.


 If you have any questions or need clarification on something, please contact me through the link in the column at the right. I still cannot get Blogger to let me respond to your comments, although I read each one! So thank you to those who leave sweet words of encouragement! They mean so much!

I am always very grateful for your support. Thank you!

I hope you have a crafty day,

Tami

I am an affiliate with Simon Says Stamp and Scrapbook.com so the links below send you to one of those stores depending on which logo you choose.  If you wish to purchase something from either store and use one of my links below, I get a small percentage of your order, at no additional cost to you. This helps me to defray the costs of this blog, the time, the ideas and tutorials I post here. 

Your help is greatly appreciated! Thank you!


Tuesday, July 7, 2020

Pieces of Eight - Part 1 Sizzix Chapter 3 Skelly

Yo ho, yo ho, a pirate's life for me! Look at that cool Colorize Skelly die from the Tim Holtz Sizzix Chapter 3 release. He has a definite pirate vibe to me and so I was compelled to make a fitting scene for him.
For those of you who know me, that means I was probably inspired by Disney, and you would be correct. From the time I was a little girl, I loved the musty, wet smell of Pirates of the Caribbean, but even more than that, I really loved going through the caverns with all of the gold and treasures piled high. It was the stuff of dreams, right?
Another inspiration from later in life was the Goonies. It came out when I was in high school, but it is one of my all time favorite movies and I would be remiss if I didn't admit to a bit of One-eyed Willie inspiration as well.
What do both of those have in common? "The Rich Stuff!" to quote Mikey. So let's get started learning how to make some.
Let's begin with the dies. From the Stacked Circles dies, you need to remove all five of each of the two smallest circles. You will also need the tiny skull die from the Trick or Treaters die set.
As for paper, I colored some Distress Mixed Media Heavystock with Distress Spray stain in Tarnished brass with a little bit of Antique Linen and Brushed Corduroy mixed in. I also made a few with more Brushed Corduroy in the mix so they were darker. You will need a couple of pieces in order to be able to cut enough.
I put the five Stacked Circle dies on some Sizzix Sticky Grid to hold them in place. Start with the larger of the two dies and cut a bunch of circles. I cut about 25, so I ran the dies through 5 times. Then add the small circle to the inside of each larger circle. This will form a ring. I ran the darker paper through and cut 25 rings.
You will be left with spaces between the circles as well as a bunch of the smaller circles left when cutting the rings. Use any of those scraps to cut 25 of the tiny skulls from the Trick or Treater dies.
You will assemble the coins by attaching one ring and one skull to each circle. I used Distress Collage Medium to attach them.
Next I wanted to add some "nuggetty goodness" to each coin so that they looked like old, imperfect coins, not something made in a mold.
Spray the coins 5-6 at a time, making sure to get some good droplets on them.
Put the coins immediately on a different dry paper and sprinkle Gold Fine Detail Embossing powder over them.
Shake off the excess, return it to the bottle and then heat emboss the powder on the coins.
This is what they will look like after that step. They are really cool right here, but I wanted a bit more distress.
Using your fingers, rub a bit of Vintage Collage Medium over the top of every coin. Let them dry.
They will look something like this at the end of that step. Again, pretty cool, but we aren't done yet.
Using a Black Soot Distress Crayon (you could use Walnut Stain or Ground Espresso also) scribble a bit of crayon onto each coin. Then using your fingers again, lightly dampen your fingers with a wet wipe or a tiny bit of water, and rub the crayon into all of the indentions on the coin. it's cool to let the color pool along the inside edges and in the eyes, nose and mouth of the skull. This adds great age and detail to the coins.
This is what you should end up with when you are done. A whole pile of "the rich stuff!"
In the next post I will talk about how to backlight the candles, stack the coins, and add the spiders, webs and cover the box.

Thank you, each of you, for the support by visiting today. I also greatly appreciate those who take the time to leave a comment or order through one of my affiliate links below. I grateful for any an all of the different kinds of support I get here.
Tami (B)

I am an affiliate with Simon Says Stamp and Scrapbook.com so the links below send you to one of those stores depending on which logo you choose.  If you wish to purchase something from either store and use one of my links below, I get a small percentage of your order, at no additional cost to you. This helps me to defray the costs of this blog, the time, the ideas and tutorials I post here. Your help is greatly appreciated! Thank you!