Showing posts with label Merry Misfits. Show all posts

Saturday, October 5, 2019

Happy Holidays - Merry Misfits

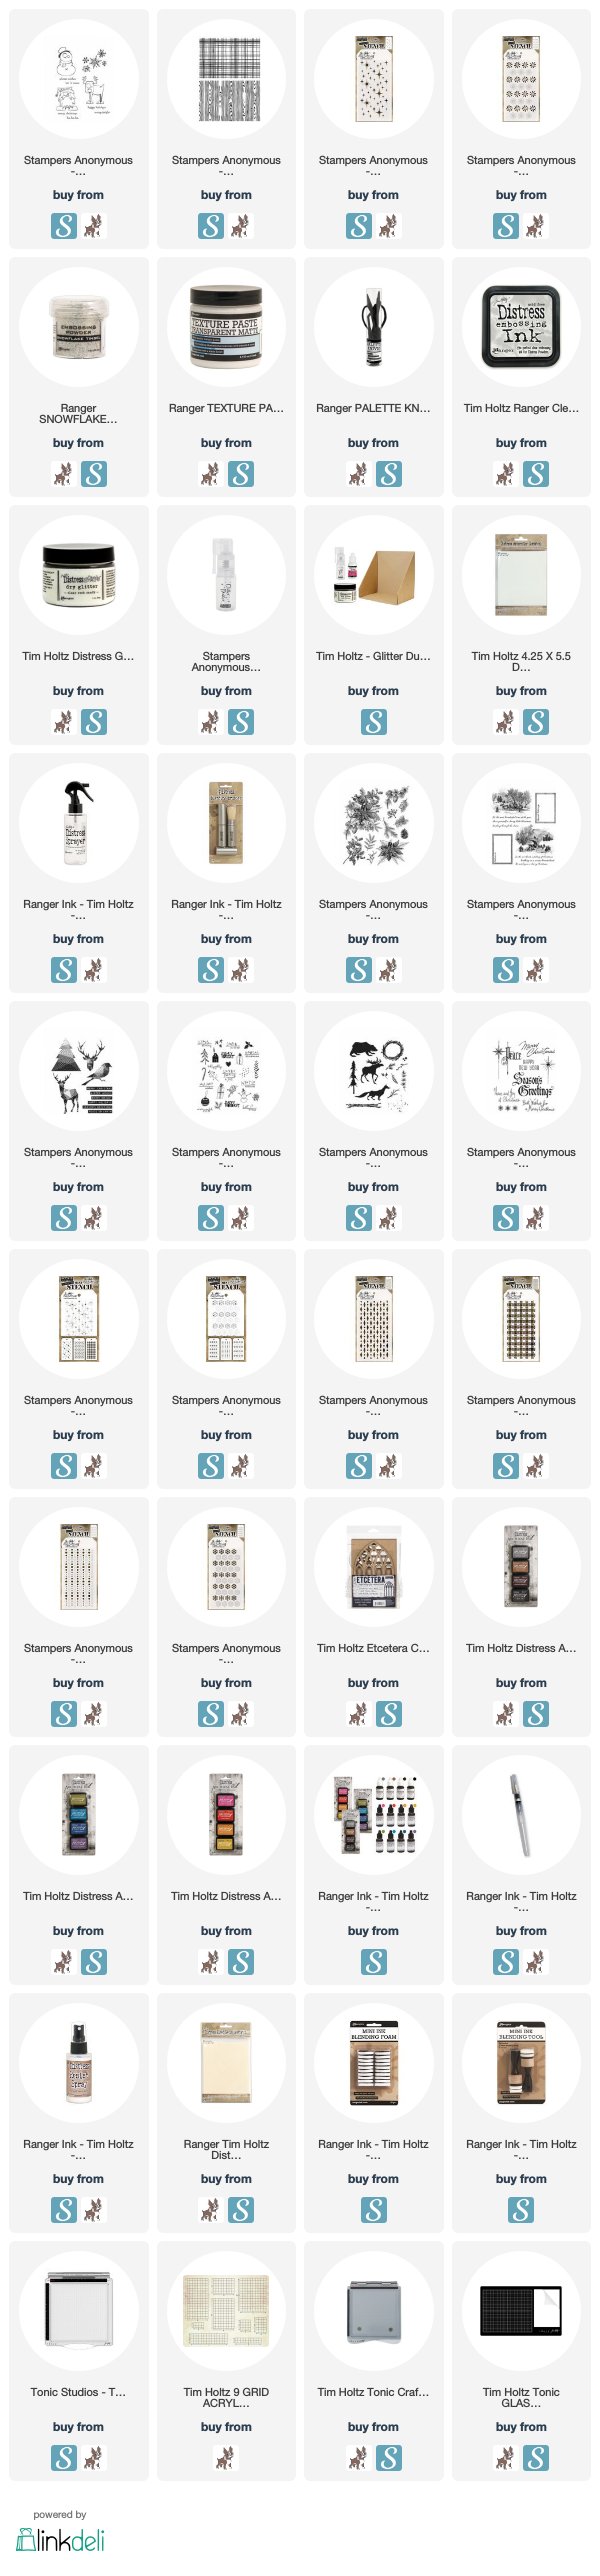
This Merry Misfit reindeer was so much fun to make a card with, that it's only appropriate to use this card to celebrate World Cardmaking Day 2019. I can't wait to get started telling you how I made it. All products used to make this card are from Tim Holtz and several companies: Stampers Anonymous, Ranger Ink, Advantus Idea-ology, and Sizzix.
For the Plaid and Woodgrain backgrounds seen above, I used both stamps in the Lumberjack set from Tim Holtz and Stampers Anonymous. I used the Archival Resist Technique for this that I have written a detailed tutorial for here. But as a quick reminder...
 Take two pieces of Alcohol Ink Cardstock. It is a glossy cardstock on one side. You need to use the glossy side. Put one piece at a time on a stamping platform or whatever you use for stamping. I hold my pieces down with some Sticky Grid sheets from Sizzix so I can use the entire background image.
 Stamp the Plaid in Barn Door Archival Ink on the glossy side of one piece of Alcohol Ink Cardstock, and Ground Espresso Archival Ink on the other.
 It's ok if the stamping isn't perfect. It adds to the distressed look and is cool. Now get out some Distress Ink to finish the technique.
Once the Archival Ink is dry, go directly onto the paper with a Distress Ink Pad to apply the background color.
 You want to rub the Distress Ink pad felt onto the glossy cardstock and you can see that it begins to color it. I work in circular motions over the whole surface.
Once the Distress Ink has saturated the background, wipe the excess away with a clean cloth.
 I used Evergreen Bough Distress Ink over the red plaid and Vintage Photo Distress Ink over the woodgrain.
I hand cut the woodgrain into planks.
Attached it to a black cardstock base with a little space in between each plank.
I cut a piece of the plaid paper out with one of the Stacked Deckle dies so that it just fit the deer and the sentiment. I cut a mat just a tiny bit bigger out of black cardstock.
I wanted snow to be a part of this card so I pulled out the Mini Snowcap Layering Stencil that is part of the Mini Stencil Set #38 from Stampers Anonymous and Tim Holtz.
Put some Distress Grit Paste through the stencil with a palette knife, onto a thin piece of white cardstock.
Immediately dust it with Distress Rock Candy Glitter using a Glitter Duster.
Let it dry and then fussy cut them out and adhere them in a few spots on the background of the card.
I didn't put this directly on the background because the ink from this technique would bleed through and color the snow and I wanted it white so I opted for the extra steps.
From this direction you can see that I stamped and cut an extra nose and set of hooves to add dimension to the deer. I also sprayed it with Distress Resist Spray to give it a shiny orange peel texture. The deer is popped up off the card as is the sentiment. I put some Grit Paste across the top of the sentiment to make it fit in with the rest of the card and so it looked like the deer was standing on some snow.
Lastly, I flicked the background with some Picket Fence Distress Paint, followed by spraying the entire plank background with Distress Resist Spray and dusting it with Rock Candy Glitter from the Glitter Duster.
Then it was time to add the snowcaps, and the plaid piece which was raised up off the card for more dimension.  The final touch was to carefully add Hardware Heads to each plank with the tiniest little drift of snow on each of the Hardware Heads.
This is a fun card to make because it's like a mini little project card. It will take a little while to do all the steps but it's fun and well worth it!
Tami

I am an affiliate with Simon Says Stamp and Scrapbook.com so the links below send you to one of those stores depending on which logo you choose.  If you wish to purchase something from either store and use one of my links below, I get a small percentage of your order, at no additional cost to you. This helps me to defray the costs of this blog, the time, the ideas and tutorials I post here. Your help is greatly appreciated! Thank you!
Ho Ho Ho Merry Christmas - Merry Misfits

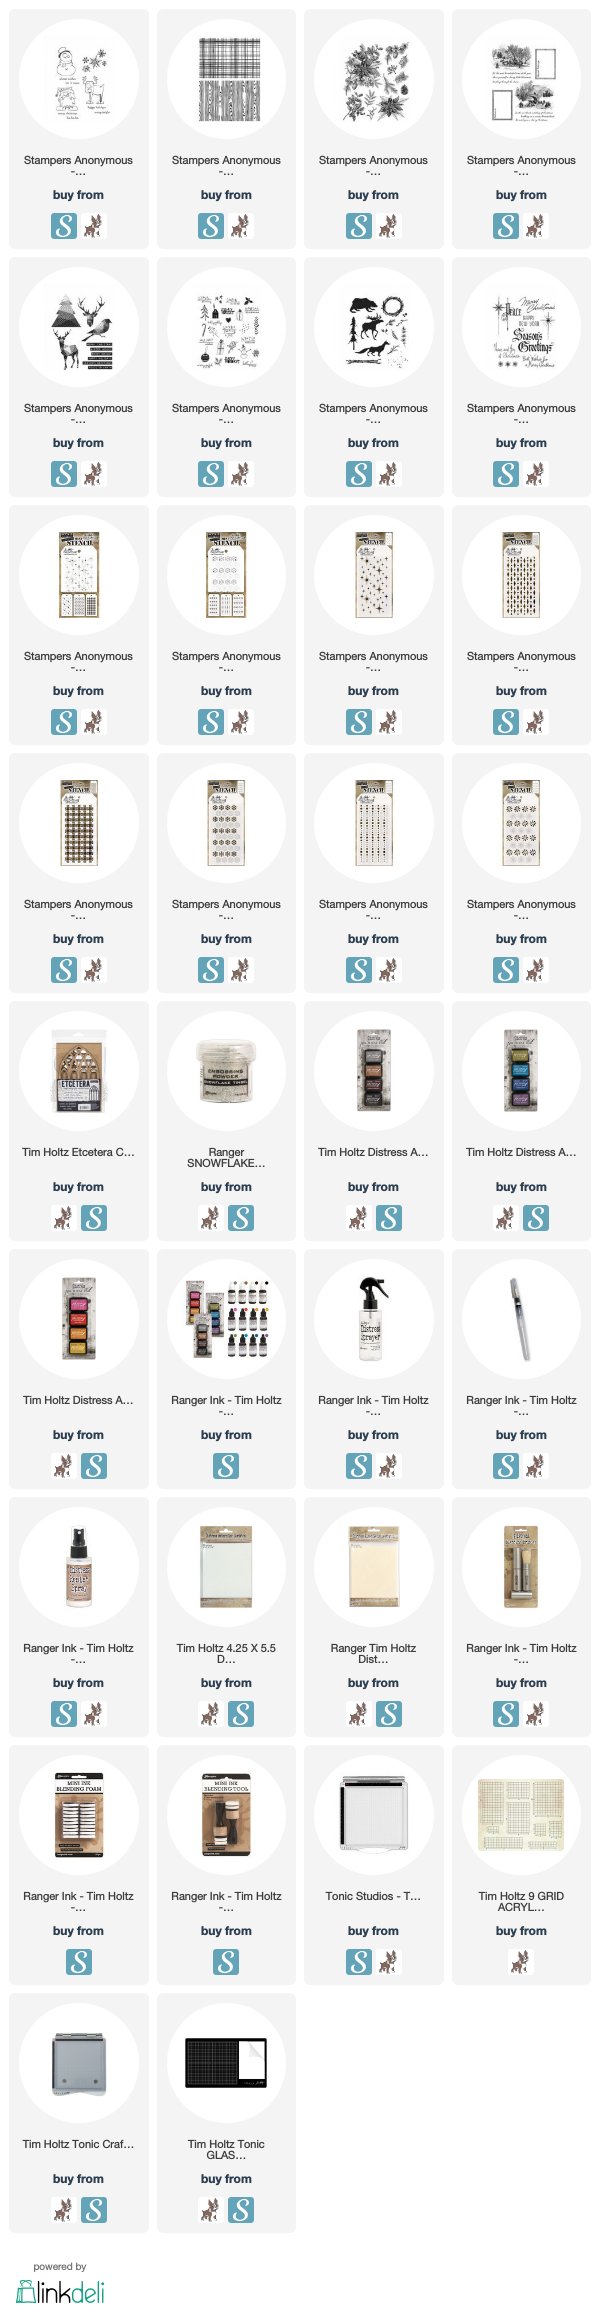
Happy World Cardmaking Day! I really enjoyed using some of the new stencils on this Merry Misfit Santa card.  Both the stencils and the stamps on this card are from Tim Holtz and Stampers Anonymous.
On a piece of Watercolor Cardstock I put some Ranger Clear Texture Paste through the new Sparkle Layering Stencil.
 It doesn't need to be a really thick layer, just lightly spread it through the stencil so there are some sparkles across the corner.
 It isn't clear when it first goes on. It's a milky white color. It doesn't matter because we are going to cover it up.
 Sprinkle some Ranger Snowflake Embossing Tinsel Powder over it.
 Set it aside and let it dry on it's own and then you can heat emboss it.

Once it is heat embossed, then I sprayed it with water and some Distress Sprays in blue. Just use any blues you have, I think this one was Blue Print.
The snow drifts are again the Lumberjack woodgrain stamped with embossing ink and then embossed with the Snowflake Tinsel embossing powder.

I kind of cut along the grain to make the snow drifts but I also made a few of my own lines just to make it a little interesting.

The Peppermint Shifter Stencil shifts to make another layer of the peppermint candy shapes. I just stenciled several in red and punched them out with a 3/4" circle punch.
I popped up a couple of the drifts at different levels and tucked the peppermints behind and between them.
I wanted to add a little interest to Santa so I stamped three of him and then cut out the hat brim, hat pom pom, mustache out of one, and his whole beard, face and hat brim out of the other one.

I layered them into three layers, then painted some Collage Medium onto the beard, mustache, brim and pom pom and spritzed them with Clear Rock Candy glitter from the Glitter Duster.
Here you can see come of the layers a little better. It's just fun to add some dimension.

Although there are several steps to this card, it is a pretty simple card to make! I hope you are inspired to get a head start on some fun Christmas cards soon.

Thank you so much for stopping by my blog. I so appreciate all the support, whether it be reading and commenting on social media, or following my blog, or commenting on my blog, or placing an order through one my affiliate links below.  I truly appreciate it all. It makes the time and effort I put into this blog and the tutorial totally worth it.  Thank you, thank you! You are rock stars!
Tami

I am an affiliate with Simon Says Stamp and Scrapbook.com so the links below send you to one of those stores depending on which logo you choose.  If you wish to purchase something from either store and use one of my links below, I get a small percentage of your order, at no additional cost to you. This helps me to defray the costs of this blog, the time, the ideas and tutorials I post here. Your help is greatly appreciated! Thank you!

Monday, September 30, 2019

Let it Snow - Merry Misfits

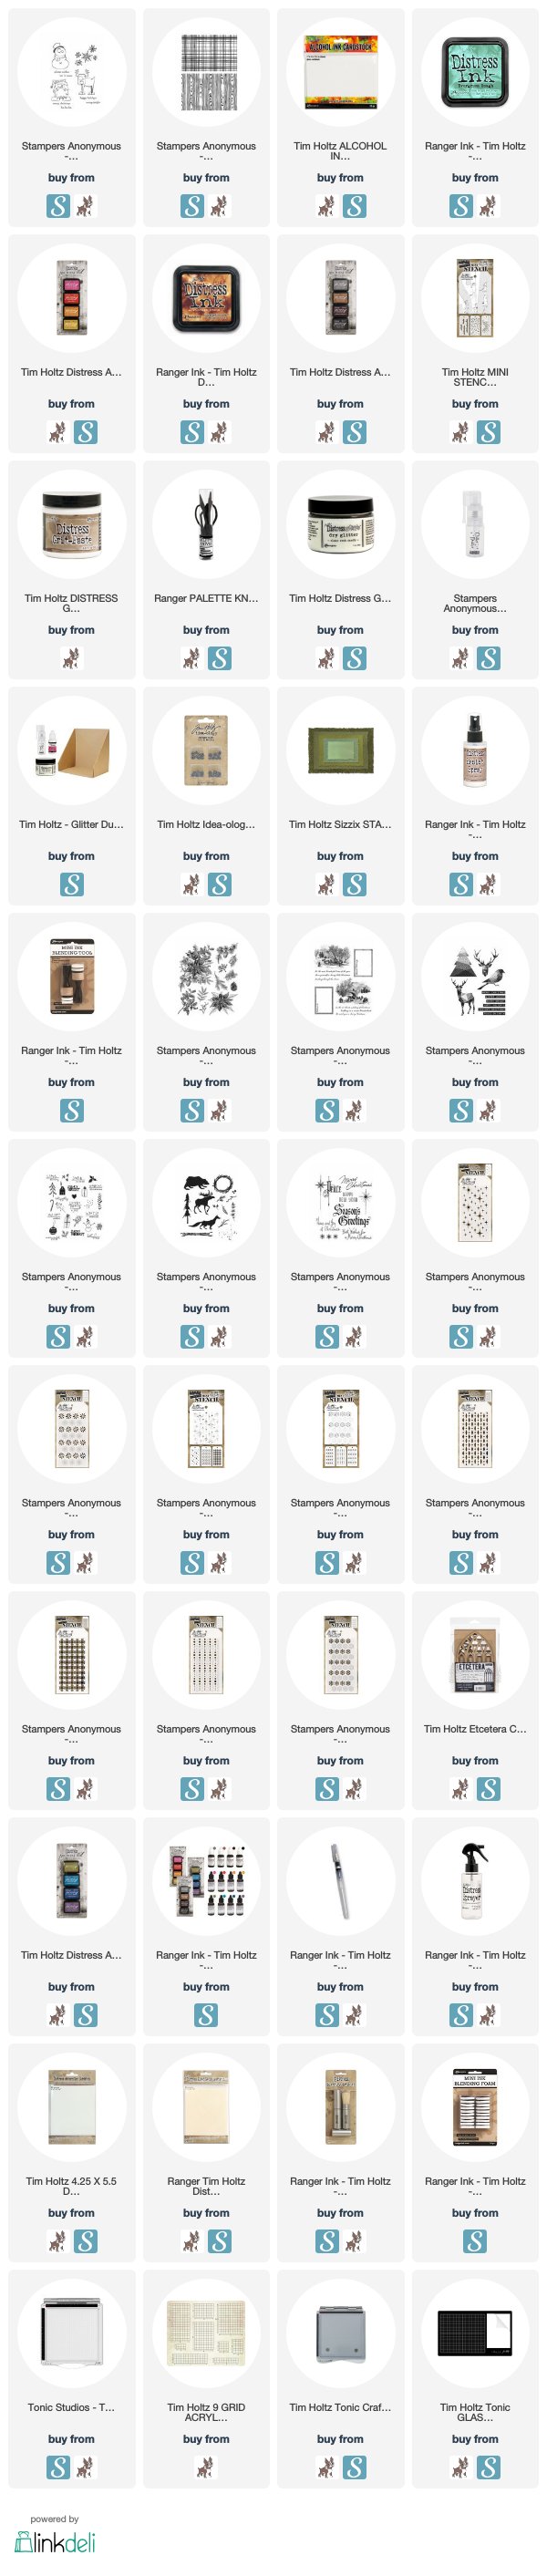
 This delightful little snowman is part of one of the new Christmas stamp releases from Tim Holtz and Stampers Anonymous called Merry Misfits.
 To make this card I stamped the snowflakes from the set onto a piece of Distress Watercolor Cardstock, then embossed them with Ranger Snowflake Tinsel Embossing Powder. It is a white powder with tiny glitter pieces in it so it sparkles. Then I lightly colored it by spraying it with water and then lightly spraying some blue Distress Ink colors on it -- just use the colors you have. I think I used Blueprint and maybe Faded Jeans.
Then I stamped the woodgrain from the lumberjack set onto another piece of watercolor cardstock and embossed it with the Snowflake Tinsel. I used the same blue colors and watercolored the knot in to the woodgrain with a waterbrush so it looked like a little pond.
 Before I assembled the card I colored another piece of watercolor paper with Chipped Sapphire, then trimmed both pieces and edged them with a bit of brown Distress Ink.
 If you look closely here you can see the bits of glitter in the Snowflake Tinsel.
 To make the snow drifts I just cut the wood grain stamped paper along one of the lines above the pond that looks a little like a snow drift.
The trees were stamped from the cute set called Seasonal Scribbles. I stamped three trees in Pine Needles and then cut them out, inking the white around it with Pine Needles also.
 Here you can see how the knot in the wood is colored to make a little pond, and the Snowflake Tinsel makes the snow drifts sparkly.
 The snowman was stamped in Distress Archival Black Soot and colored lightly with Distress Inks. Then I made some pupils in his eyes with Distress Inks and a tiny detail brush. I cut him out, sprayed him with Distress Resist Spray and added Clear Rock Candy Glitter with a Glitter Duster, He's popped up with dimensional adhesive.
That's it! A super fun and festive card.
Thanks for stopping by!
Tami

I am an affiliate with Simon Says Stamp and Scrapbook.com so the links below send you to one of those stores depending on which logo you choose.  If you wish to purchase something from either store and use one of my links below, I get a small percentage of your order, at no additional cost to you. This helps me to defray the costs of this blog, the time, the ideas and tutorials I post here. Your help is greatly appreciated! Thank you!