The background was made using that technique that's been my favorite of late -- Watermark Resist Ink with Distress Ink. I just LOVE the light multi-colored background that it leaves.
As a reminder, of the process, I applied a piece of Sizzix Sticky Grid to my stamp platform.
Then I put a piece of Distress Mixed Media Heavystock onto it. I know many people try to save money by using less expensive cardstock, or other types of paper. My friends, you truly get what you pay for. Distress Mixed Media Heavystock was developed and manufactured with Distress products in mind and they work so beautifully on it. If you are going be using Distress products and want the very best outcome, it starts with the paper. It really is worth it!
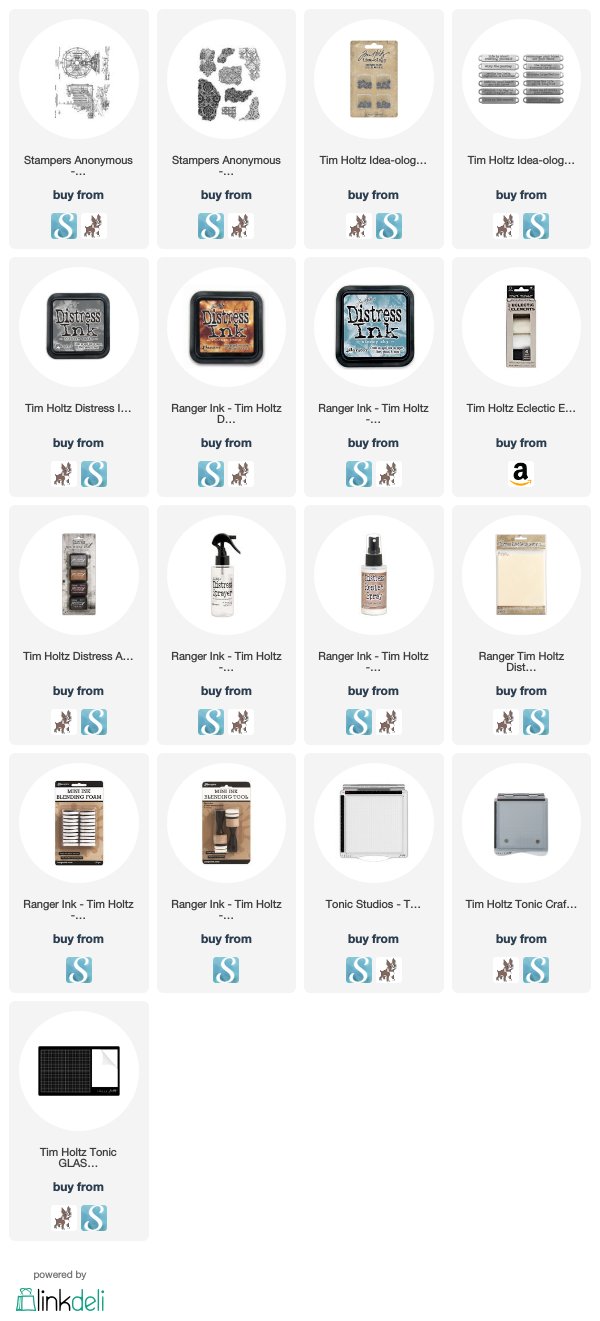
Then I arranged the different Fragments stamps on top of the Heavystock, applied the Watermark Resist Ink, and stamped until I could see that I had indeed gotten a good sheen of the resist ink on the entire piece.I dried it with my heat tool and then applied Distress Inks. I believe I used Vintage Photo, Stormy Sky, and Hickory Smoke on this piece. I'm sorry, I didn't write it down when I was designing back in January.
Here is a sideways (sorry!) short video that shows this technique.
I used the Wrinkle Free Distress technique of applying the inks to the nonstick mat, spritzing with water and laying the piece in the inks, drying, inking, drying, and spritzing the piece in between to keep the background soft without the dark spots you so often get with this technique. When the Distress ink soaked into the Watermark ink, enough that I was satisfied, I stopped.
I really can't tell you how much I love this technique.
For the focal point, I stamped the fan from the Inventor 8 set onto the background, and into a clean piece of Heavystock. I water colored the fan on the clean piece, cut it out and then sprayed it with a couple of layers of Distress Resist Spray. It is also one of my very favorite things from this year! I'm totally addicted to it. I then adhered the colored fan above the image stamped on the background using dimensional adhesive to give it even more focus
I finished the card with an Ideaology Word Band tied with some Eclectic Elements Craft Thread and added two of the new Ideaology Hardware Heads. They are so fabulous!
This fan card is a "breeze" to make and I hope you will give it a try!
Tami
I am an affiliate with Simon Says Stamp and Scrapbook.com so the links below send you to one of those stores depending on which logo you choose. If you wish to purchase something from either store and use one of my links below, I get a small percentage of your order, at no additional cost to you. This helps me to defray the costs of this blog and the ideas and tutorials I post here, and your help is greatly appreciated! Thank you!


2 comments:
Love it!!! I will have to give this technique a Whirl, it is just so Fancinating to get all that pattern with the soft colors, Love all the Punny remarks you made. I am a FAN...LOL ;o))
Thanks for the wonderful tutorial. You are absolutely correct about using the correct paper. It does make a difference.
Post a Comment