I wanted to make a home decor piece as a housewarming gift for a friend who is Irish. She is also a twin, so I had to take the picture of the piece with my Bobbsey Twins books in the background. :-)
This may look like a basic Etcetera Tag, but there is a lot of prep work to each of the elements before you get to putting it together. So let's get started.
The background weathered wood technique is something I used on multiple projects recently so I made a video detailing how to do it. For this background, I added a bit of Forest Moss Distress Paint so it looked not only weathered, but as if it has some algae or moss growing on it. You can learn how to do this technique here:
Once I made the wood planks, I decided to apply them to an Etcetera Tag. Before adhering them I needed to prep the tag. I used Ground Espresso Distress Ink Stain and applied it to the entire tag.
Once that was done, then I could attach all the planks using Distress Collage Medium.
I arranged them on the tag and then adhered them. You will need to trim bits here and there, then rough that area and ink it. I used the Tonic Snips to cut the hole in the tag. Also, don't forget to use one of the left over planks to apply to the reinforcer. Rough up the edges and then trim out the center and adhere it over the hole at the top of the tag.
I used the Watermark Resist technique that I have been using recently to make several pieces of paper from which I could cut the Fragmented Hearts to make the shamrock.
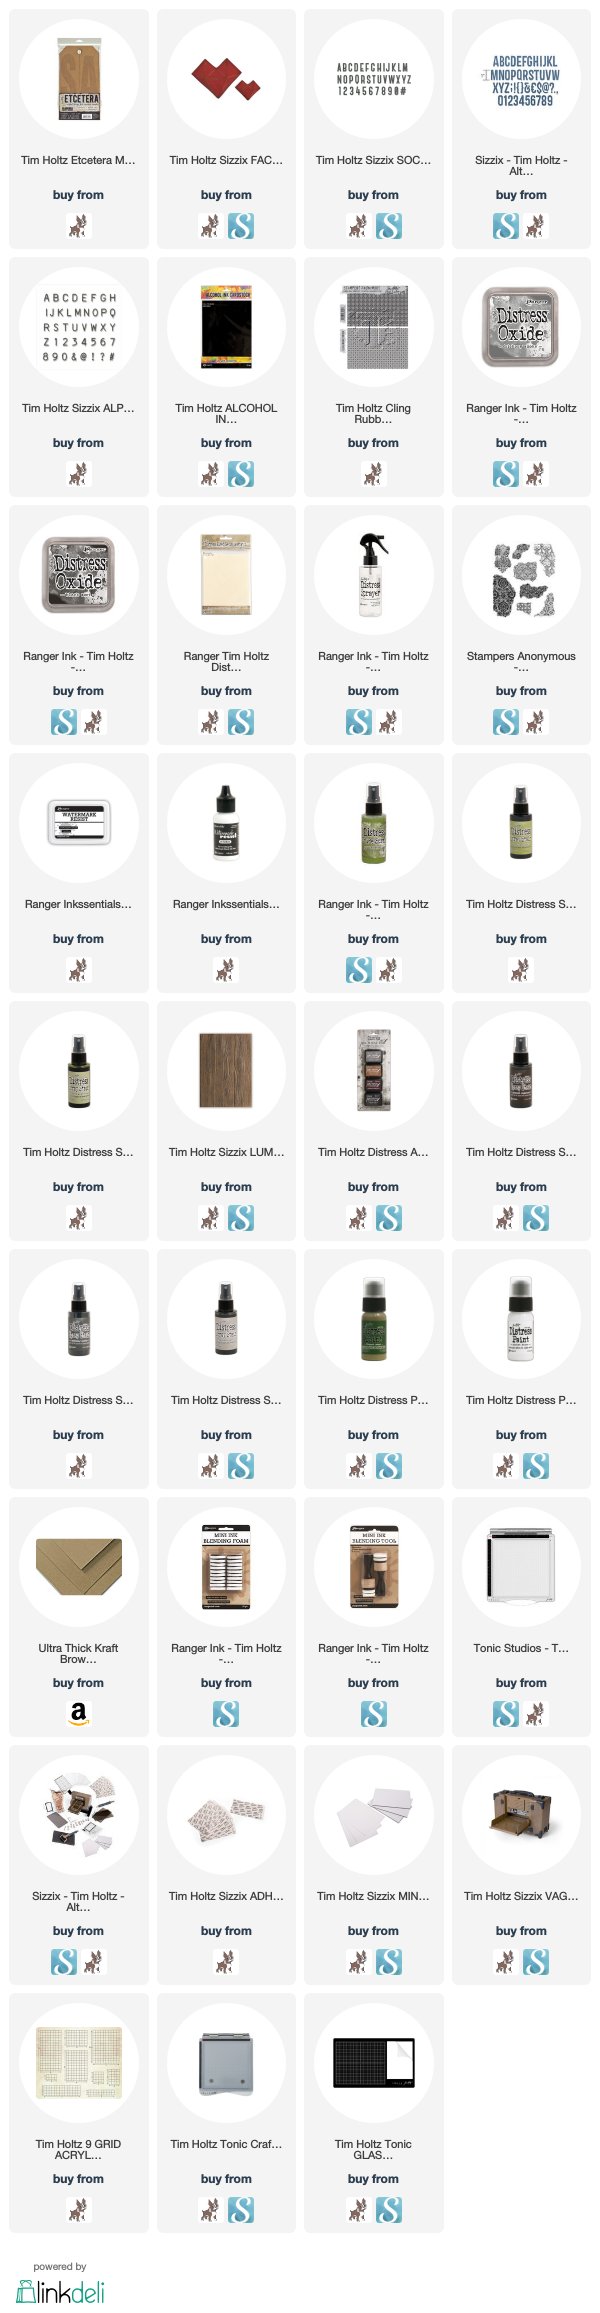
You need these supplies to do this. Stamping Platform, Distress Mixed Media Heavystock, Fragments CMS368, Watermark Resist Ink, Water Sprayer, Peeled Paint Distress Oxide Spray, Peeled Paint Distress Spray Stain and Shabby Shutters Distress Spray Stain.
Arrange the stamps so that they cover the piece of Heavystock.
Stamp three pieces of Heavystock with Watermark Resist Ink and dry.
Spray the pieces with Peeled Paint Oxide Spray -- don't forget to wipe the nozzle when you are done.
The spray with Peeled Paint Distress Spray Stain.
Then with Shabby Shutters Spray Stain.
Spray all three with water. This really lets it soak in and softens the coverage so the Watermark stamping shows through.
You can see even before it dries that the stamped portions are soaking in the ink.
As it dries you will see the stamped images even more as they soak in the ink.
This is what the finished product looked like.
Then I cut the large and small faceted hearts out of each piece. You need three to form a shamrock, You will need four if you want a lucky four-leaf clover. I assembled the three hearts and arranged them on the planks. Then free-hand cut a stem from a left-over piece of the green paper. I adhered the stem first and then the three hearts.
You may also notice that I poked holes in the ends and center of each of the planks to mimic old nail holes. I feel like I have to do this on almost all of the planks I make.
Now on to the wording. I used one of my favorite new products from Tim Holtz and Ranger, the Black Cardstock in the Alcohol Ink line. It is so cool and feels like suede. When I was experimenting with it this winter, I tried stamping on it with Distress Oxides and I LOVED the outcome.
Place a piece of the black heavystock on a stamping platform. Then choose a stamp you want to show on your letters.
This is how the Tiles and Mosaic CMS259 background stamp looks stamped in Hickory Smoke Distress Oxide.
And how it looks stamped in the Black Soot Distress Oxide. I dried them thoroughly and the chalky oxide finish does lightly wipe off onto the suede finish of the cardstock. I love the effect.
I then ran the paper and some black cardstock through the newest Bigz alpha released from Tim Holtz, called Society. It's a lovely blocky font.
The smaller letters are a new Alphanumeric alphabet from Tim Holtz
called Label. It is a really tiny little alphabet. I love it! I cut the
letters from white cardstock on my Sidekick, and adhered them to 1/2"
strips of the black cardstock that had been stamped with the Hickory
Smoke Oxide.
The word Friend is cut from the Tall 1" Alphanumeric thinlits from Tim Holtz. I also cut the letters out of black Sidekick foam so that these letters had dimension.
I'm pleased to say that my friend loved this tag and is going to leave it out all year round. I enjoyed all of the steps to this tag and found it to be a labor of love for someone special.
Thank you for following along this far! That was a lot of information for what looks like a simple tag. I hope you will come back to check out the vignette tray I made for my own home decor.
Tami I am an affiliate with Simon Says Stamp and Scrapbook.com so the links
below send you to one of those stores depending on which logo you
choose. If you wish to purchase something
from either store and use one of my links below, I get a small
percentage of your order, at no additional cost to you. This
helps me to defray the costs of this blog and the ideas and tutorials I
post here, and your help is greatly appreciated! Thank you!
These are the two newest items in my March St Patrick's decor.
I used several bits of new and some old Idealogy.
In keeping with my theme of celebrating the real Patrick, a Scottish missionary to Ireland (his is a fascinating story including kidnapping, slavery, escape, forgiveness...worth reading about him if you haven't gotten a chance) I added these two vignette boxes.
Medium box used the same basic elements but I added a key that says Life and a saying from the Chit Chat Sticker so that together it "says" the key to life -- live each day with grace and authenticity.
I love these new additions to my slowly growing St Patrick's day decor. Below are some other photos from this year.
Back in March I taught a class at my LSS using Authentique's Lucky paper collection. It was a lot of fun creating as I didn't have anything St. Patricksy to scrap and had never decorated for it either. I ended up creating two decorative pieces and one layout.
The two page layout above uses several of the elements from the paper line as well as a couple of embossed chipboard heats painted with distress paint. It was a very simple design. I just wanted to let the really fun papers shine!
The second project was to make a decorative frame for an office desk, home mantle, or entrance table. This project uses a frame from the Dollar Tree, Antique Linen Distress Glitter, the Sizzix/Tim Holtz Alterations Banner die. The clover is four hearts cut from chipboard and covere in Peeled Paint and Shabby Shutters Distress Glitter.
The last project I made was this banner. The base was using the DIY Shop Kraft Banners. I sprayed them with Gold Perfect Pearls and water to give some shimmer. Then I punched the corners of the different title cards with a Cropadile Corner Chomper - Cloud. I made rosettes using the Sizzix/Tim Holtz Alterations Lg Rosette die. I punched 1" and 1/2" circles and sewed them into a banner with gold metallic thread and strung it along on top of the banner. The tops of the banner was covered with borders cut from a Sizzix border die.
In addition to the class for March we were also supposed to make a make n take tag for my LSS for Friday night crops. I got a chance to play with Prima Clear Crackle and I LOVED it! The only problem was we were supposed to use the canvas tags and it didn't crackle on the canvas like it did on flat surfaces. So I had to think of something else to do with it. So I used the Tim Holtz Lace stencil, covered the tag with the Crackle medium and lifted the stencil off. Then I covered the crackle with Antique Linen Distress Glitter. Once it was dry, I spritzed the linen tag with Pistachio Distress Spray Stain.
I displayed it in a frame from the Dollar Tree that I painted gold


 And how it looks stamped in the Black Soot Distress Oxide. I dried them thoroughly and the chalky oxide finish does lightly wipe off onto the suede finish of the cardstock. I love the effect.