Showing posts with label Alphanumeric Label. Show all posts

Sunday, March 31, 2019

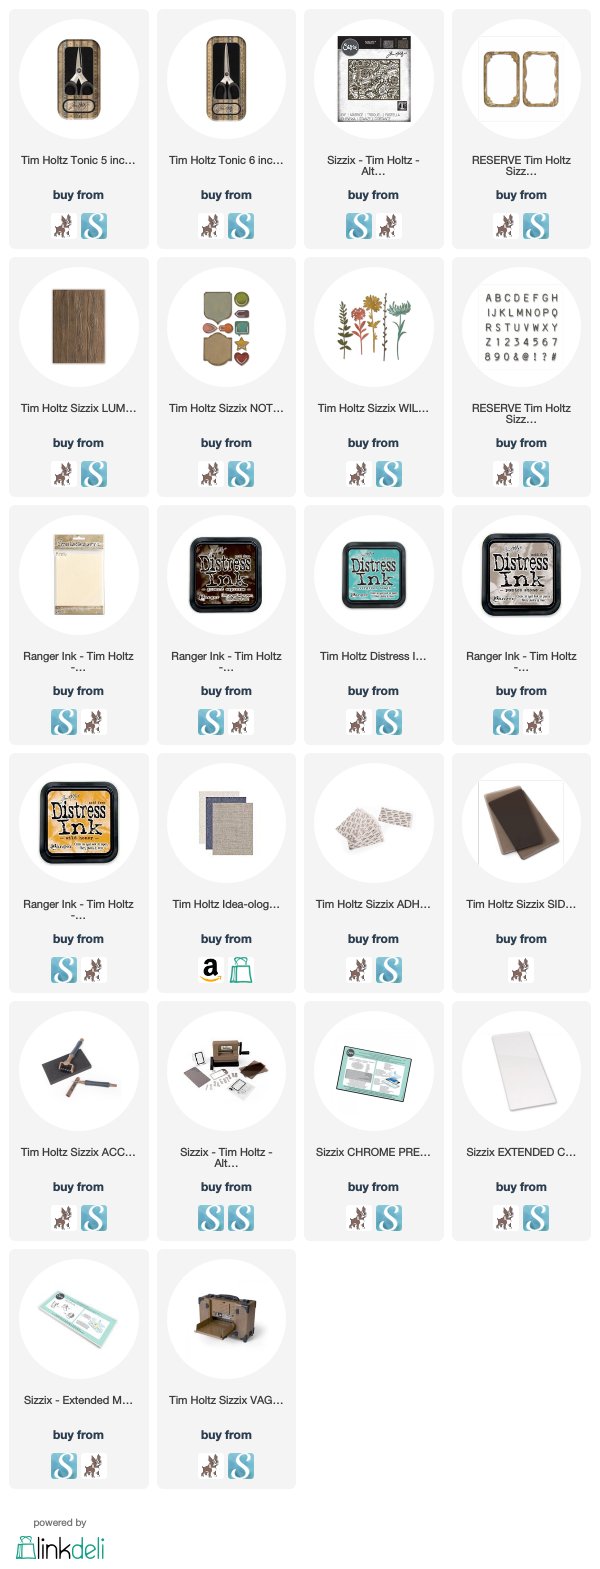
Miss You - Intricate Lace and Haberdashery Scissors

I'm back with a few more favorites from the Tim Holtz Sizzix Chapter 2 die release.  This card is chock full of textures and die cuts so let's get started.
The focal point is a watercolored daisy from the Wildflower Stems 1 thinlit set.
It is framed in one of the dies from the Trinket Frames Bigz die. I have named them the Deco frame (L) and the Bracket Frame (R) These are just names I picked so I knew which on I was talking about.
This set was designed to make frames that fit perfectly inside the Ideaology Trinket Tins. I'll be showing you a few samples with that in the future, but for today's card, I used the frame and the center cutout together to showcase the flower. I cut the frame from a piece of Distress Woodgrain Cardstock. The center is Distress Mixed Media Heavystock that was colored with the Wrinkle Free Distress method using I think Evergreen Bough, Pumice Stone, and maybe Frayed Burlap.
The sentiment was just a piece of brown colored Heavystock and the letters are the new Alpha Numeric Label also cut from Heavystock back with a piece of Sizzix Adhesive Sheet so that the letters would stick on the banner.
The background behind the lace, is a piece of Distress Heavystock colored with Hickory Smoke, and Walnut Stain Distress Inks and then run through the 3-D Lumber texture fade colored with Ground Espresso Archival Ink. 
As an added little bit of interest in the corner of the card, I cut one of the paper clips from the Noted Side Order die set out of the Distress Woodgrain piece that was cut out as the center of the frame.

This noted set is great for planners, but I have found it is perfect for adding just the right finishing touch to a card by bringing in a little bit of an accent texture or accent color with addition of one of the clips, as I did on this card. There are even a couple of shapes that are great for focal points or sentiments on cards. It's a terrific little set!
The Intricate Lace die was used to cut out a piece of linen to lay over the wood grain background. I used a piece of linen from the retired Ideaology Textiles Surfaces. I'm bummed they were retired, and I ended up hoarding multiple packages of them.
Since they are difficult to come by, I recommend grabbing them if you see them. But for those who can't get any, here is an option for you.

You will need a piece of linen fabric. and some sharp scissors. I used the brand new fabric scissors, Haberdashery from Tim Holtz and Tonic Studios. These scissors are super sharp and come in a storage tin. Hopefully that will keep them from being used on things that aren't fabricky.
s
Natural fibers and a tight weave are the best type of linen to get. I found several at my local fabric store. I checked the info on the end of the roll to be sure about the information.
In the same section as the linen and muslin, you will find a bunch of interfacing, linings, crinoline and fusible webbing. You will want a piece of paper-backed fusible web, sometimes called Wonder Under.  It must be the paper-backed kind.

The fusible web is a "web" of adhesive that becomes sticky when heated with an iron.  In this picture you can see I pulled the webbing away from the paper a little bit so you could see what I mean. You need to cut the fabric and the fusible webbing into 4.5x6 piece to fit the Intricate Lace Die.
 I used my 6" Haberdashery scissors to cut the fabric into squares. They really are very sharp and since they are tonic they are very sturdy, but light and have a soft grip.
 They cut very cleanly through the linen. Perfect!
If you look carefully you can see one side is shiny with the webbing (bottom one, and the top part is the back that is just the paper surface.
What you do is to put the side with the bumpy webbing toward the back of the fabric you are using.
You adhere it with a hot iron. The iron needs to be set on a high but dry (no steam!), then iron over the paper 5-8 seconds, then let it cool. 
Peel the paper off the back. This leaves that fusible webbing on the back of the fabric now.
 Cut a piece of lightweight cardstock the same size as the fabric. Lay the paper on the web side of the fabric, as shown above. If the webbing extends outside the edges of the paper, flip both over so you don't melt the bits of the webbing around the outside edges onto the bottom of the iron. It makes a HUGE mess. I speak from experience.
 Iron them for about 15 seconds , long enough for the webbing to melt again. Check to be sure the  fabric is completely fused to the paper.
Now you can run the fabric through the die cut. The webbing should keep it from fraying and the paper gives it stability and helps it cut cleanly.  I use the Chrome Precision Plate for cutting all the intricate thinlit dies. It really does make a difference and I recommend getting it if you cut a lot of intricate dies. The right tool for the job makes creating so much easier! You can usually get one from a big box store with a coupon.
I learned from Tim Holtz to run a lint roller over the back of the die and it would pull out some of the bits. It works very well, but be careful as you do it with this technique or you could rip some pieces if the fabric is still attached by threads.
Unfortunately some of the pieces will be stuck by a thread or two and this is where the NEW Haberdashery Scissors from Tim Holtz and Tonic USA comes in to play again. I used the smaller 5" scissors to patiently go through and snip any areas where pieces were attached by threads and to tidy up the edges. This worked so much better with the Haberdashery scissors than with the regular snips. The regular snips don't trim threads and fabric things very well, but the super sharp Haberdashery scissors worked like a dream.
To make the card, I trimmed it to fit the base and now I'll pick it up where I left off with the sample card.
I tacked it to the 3-D lumber background in the middle, added the woodgrain paperclip and then sewed all around the outside edges. I attached the sentiment by zigzagging across one side.
To finish it I tied a piece of dark green Eclectic Elements Craft Thread around the Trinket Frame and attached it with dimensional adhesive.

That's a second method for using the NEW Intricate Lace Thinlit Die. It's really fun to experiment and see what you can get to work and which things just won't cut. So be brave. Experiment with your dies and see what happens.  You just might like the outcome.
Tami

I am an affiliate with Simon Says Stamp and Scrapbook.com so the links below send you to one of those stores depending on which logo you choose.  If you wish to purchase something from either store and use one of my links below, I get a small percentage of your order, at no additional cost to you. This helps me to defray the costs of this blog and the ideas and tutorials I post here, and your help is greatly appreciated! Thank you!

Tuesday, March 26, 2019

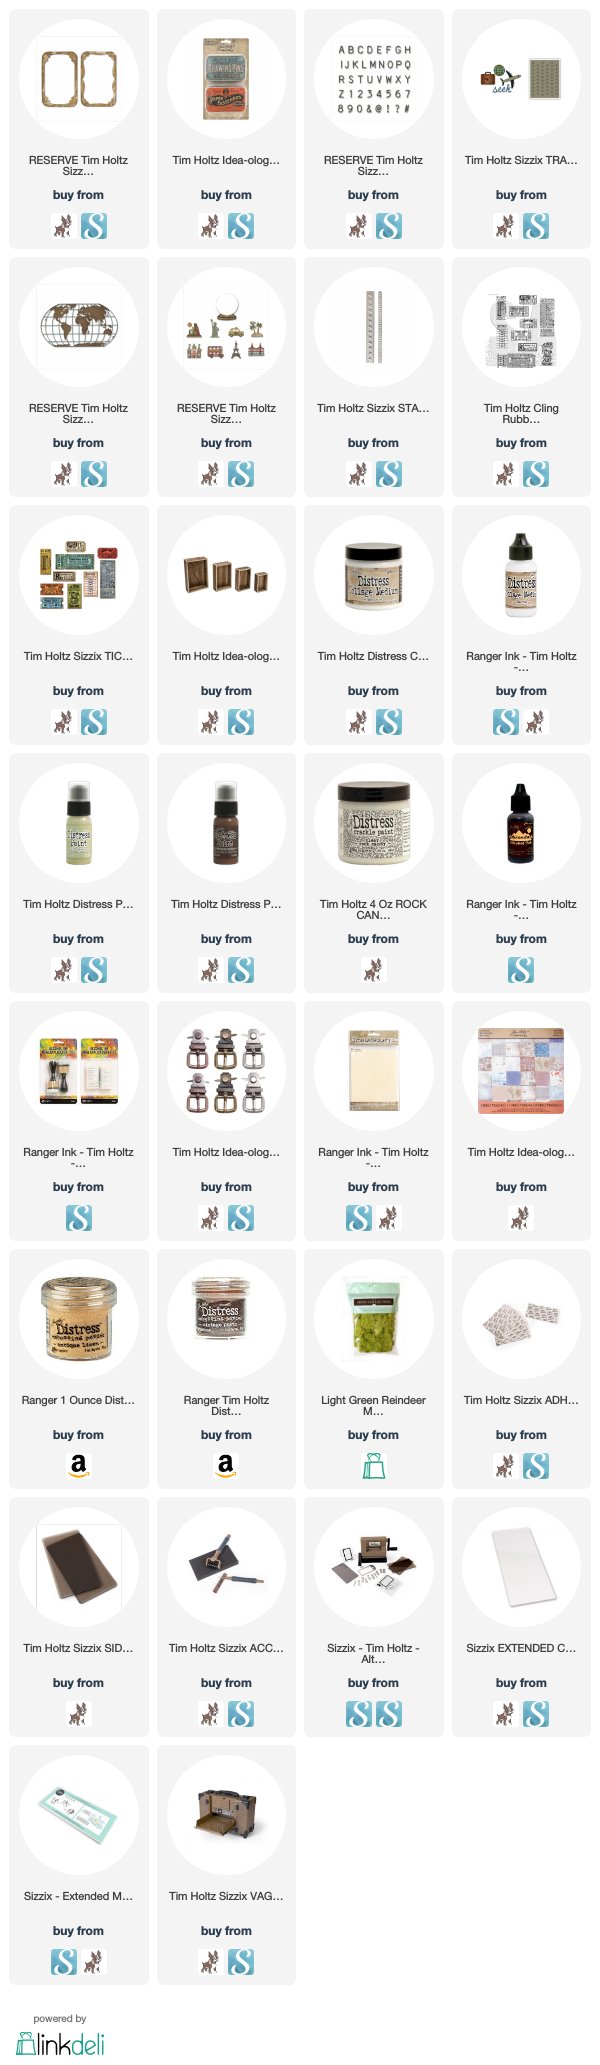
Go Seek Adventure - Tim Holtz Chapter 2


This piece was inspired in my sleep. LOL! I really have no other explanation and I don't know what sparked the idea.  You see, I was planning a sample Trinket Tin for Creativation that was spring inspired and I did get that one mostly finished, but decided to go in a completely different direction after waking up with this in my mind.

Warning, this is not going to be a tutorial because I was in the midst of inspired creating and I didn't stop to take any pictures of the process. But just know my studio was pretty messy after this one! Hopefully by explanations with the close-ups will be sufficient.
To start, I took apart an Ideaology Trinket Tin, by loosening the hinges. Next I covered it with a thin coat of Distress Collage Medium. Then painted it with Distress Paint in Vintage Photo, followed by a layer of Distress Clear Rock Candy Crackle Paint. When that was dry I rubbed some dark brown Alcohol Ink (I think Teak Wood, but it could have been Espresso) anyway, I rubbed it over the crackle paint so it went into the crevices and then wiped off the excess. 
 I had purchased a $4.99 spool of 2" Faux Leather Trim from Hobby Lobby that I thought would be perfect for this. I cut a piece long enough to go around the deeper bottom part of the Trinket Tin. Then I carefully cut that 2" wide piece into 4 equal 1/2" strips on my Tonic Cutter. I sewed down each side to make them look like bands on a suitcase. Then I went over the pieces with the dark brown alcohol ink so the texture would show.
I attached them to two Ideaology Buckles with Hex Fasteners and then adhered them around both sides of each tin with Collage Medium. Make sure that the buckles are on the top of the top tin. You have to hold it in place for awhile so that it dries. You will need to trim off the part on the bottom of each leather piece so that it sits under the tin and doesn't show on the front. Be sure not to cover up where the little metal hinges on the tins go as you will need to put them back together. The leather straps keep the top of the tin even so that it doesn't tilt back. The last thing to do before you turn your attention to the inside, is to add collage medium on the straps where the top and bottom meet, so that the lid doesn't flip closed.
The featured die for this piece is the Trinket Frame. This die is a Bigz die so it cuts thick material including chipboard. Its purpose is to make frames that will fit inside the Ideaology Trinket Tins in order to make little scenes and things.
The top inside of the tin is painted and inked along with the outside. Then I cut a piece of chipboard and the globe paper with the "bracket" Trinket Frame Bigz die. I attached the paper to the chipboard and then adhered the frame portion to the back of the top tin.
I wanted the sentiment to stand out, so I added some dimensional adhesive to the back of the inside shape cut from the frame and adhered it to the center of the top tin. See how it stand out away from the frame in the back?
Then I used the new Alpha Numeric Label dies to cut the sentiment from black paper backed with Sizzix adhesive sheets to make them easy to attach to the piece. The last detail was to cut the plane from the Side Order Travel set, ink it, spray it with Distress Resist Spray so it was shiny, and then attach it to the corner.
The bottom was what took the most time.  I started by cutting the Trinket Frame and inking it and sealing it with Collage Medium so that it looked like leather, Then I used it to trace a piece of Heavystock so I knew it would fit inside the bottom of the tin. I colored the Heavystock with Old Paper Distress Ink using the Wrinkle Free Distress Method.
I cut the Destinations globe map out of Heavystock I had inked brown. Then adhered it to the Old Paper piece and trimmed it to fit. This was attached to the back of the tin.
Then it was on to the Tiny Travel Globe pieces. I cut the ones I wanted to use out of Heavystock that I had backed with Sizzix Adhesive Strips. I cut these on my Sidekick. All the pieces for each travel place are on one die, so it was easy to sit at my Glass Media Mat, secure my Sidekick and start cutting away.
Once all the pieces were cut, I started watercoloring them with Distress Inks and adhering all the little pieces into place on each one. This was simple to do because I had put the Sizzix Adhesive sheets on the back of the paper. When all of them were colored and assembled, I sprayed them with Distress Resist Spray. This made them shiny, like the airplane in the top tin.
Before I put the pieces into place, I adhered the frame into place right behind the lip of the tin. Then I cut some pieces of black foam that I keep from the Vignette Tray packaging, into little platforms that I wanted to have the pieces sitting on so they were elevated.  I attached these in various spots at different heights along the back and front of the bottom of the tin.
I eventually covered the back pieces of foam with the green moss, but if you do this first you run into some trouble, so wait. The front pieces I covered with collage medium and sprinkled some of my precious, retired, Distress Embossing Powder, to mimic sand. Once I thought the Collage Medium was dry, I did go ahead and use a heat tool to set the powder so it didn't fall out or migrate too far.
My last task was to actually attach the Travel places into the areas where I had test positioned them. First I put a small adhesive foam square or two on a few pf the travel pieces on the back side near the bottom to give them stability. I added collage medium on the bottom edge of the dies and hled them in place until they dried, Then I covered any of the foam that showed with moss. You will most likely need some tweezers for this. I would take a small piece of moss, add a little collage medium to the bottom, and then put it into place and hold it down for a minute with the tweezers.  The other travel spots in the front, I attached with more Collage Medium along the bottom edge and held them in place until they stayed. This is not fast and you need to be patient as you hold them in place, to let the Collage Medium dry.
For the base of the piece, paint the largest Vignette Box with the Old Paper Distress Paint and wipe it off. Let it dry. Then adhere a piece of the globe patterned paper from the Correspondence Stash onto the top.
Color a piece of Heavystock with Old Paper, then cut it into 3/4"strips and run it through the 3-D Star Trim Framelit until you have enough strips to go around the outside edge.  Run the Vintage Photo Ink Pad lightly over the raised areas to give it some dimension and to really let the stars pop! Then adhere to the sides of the box.
Stamp two of the Ticket Booth stamps onto some heavy stock and ink them with Distress Ink before cutting them out with the corresponding Ticket Booth dies. Adhere these on the top of the box over the paper. Then attach the Trinket Tin in the center.

As you can see, there are a ton of steps to this piece but it isn't difficult to make. It just takes patience and a lot of die cutting and coloring.

I really hope this inspired you to want to make your own mini scene in a Trinket Tin.  It's a lot of fun!
Tami
Monday, March 25, 2019

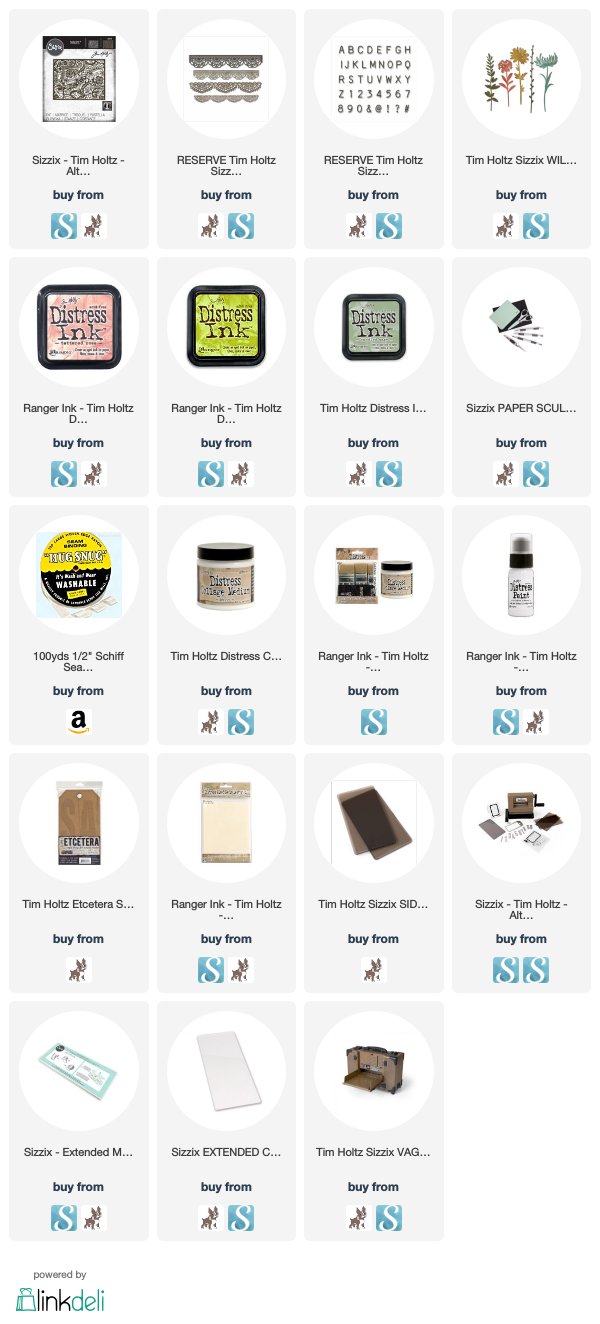
Cherish - Tim Holtz Chapter 2

There are some really gorgeous dies coming out in the Chapter 2 Sizzix release from Tim Holtz. These dies are on preorder currently and will be shipping soon! I have links at the end of this blog post.
On this spring Etcetera tag, I wanted to showcase two of my new favorites, Intricate Lace and Crochet.
The background is made of the Intricate Lace die. This is perfect for the background on an A4 card, but you can lay it next to itself and cut it twice or more to make a long lace piece as you see above.
I added a piece of Crochet lace across the bottom. This Crochet lace comes in two styles, each in two sizes. It is incredibly detailed and I love it so much. this die can also cut longer pieces of lace if it is laid end to end.
 Once you cut a piece of Intricate Lace twice from some Kraftstock, to make a large enough piece to fit over the Etcetera Tag, and one piece of Crochet to fit along the bottom, you are ready to move on.
 Use Distress Collage Medium to lay a coat over the tag. Place the Lace and Crochet dies into the Collage Medium and press them down. Make sure the decorative top of the Crochet piece covers the bottom edge of the Intricate Lace piece. It's a lovely scallop and gives the piece a finished look. Then cover the entire piece with another coat of Distress Collage Medium.
 Once it is completely dry, and you can use a heat tool, trim around the edges and lightly sand them to to give a soft, finished edge all the way around. I used my snips to trim the bits from the tag hole.
 Paint the entire piece with the color of your choice. The one in the picture here is painted with Antique Linen, but my Cherish sample tag was painted with Picket Fence.
Again, once it is completely dry, you want to go over the entire surface lightly and sand away some of the paint so the Kraftstock shows through. Sadly the Tim Holtz sanding block is retired, but I love it and would recommend getting something similar if you can. I recently bought several at a store with a weekday in it's name. :-D
Here is a close up that allows you to see the worn, shabby look of the tag. Isn't that Intricate Lace Beautiful?
Once I had the tag completed, I turned to the bouquet. For this I used the Chapter 1 Wildflower Stems 1 die set.
I chose the greenery piece on the far left and the flower on the far right. I cut multiple greenery pieces from Distress Mixed Media Heavystock. I also cut one full flower and two additional blossoms.
The greenery was colored with Shabby Shutters and Bundled Sage Distress Ink and edges with the Shabby Shutters Marker. The Flower was colored with Tattered Rose.
As you can see the Wildflower Stems aren't flat. None of them are. That's because I used the Sizzix Paper Sculpting Tool Kit to shape them and give them a little dimension.  Also, for the flower, I colored, shaped, and then attached three of the blossoms together. This really gave it even more dimension.
To finish it off I colored a small piece of seam binding with Tattered Rose Distress Ink and then used the new Alpha Numeric Label letters to spell out the word Cherish mounted on a small strip of Kraftstock.
Isn't the Crochet lace die just lovely?  It really looks like a piece of lace but it's paper!

Thank you so much for stopping by to see the details on this piece. I really love how it turned out.
Tami

I am an affiliate with Simon Says Stamp and Scrapbook.com so the links below send you to one of those stores depending on which logo you choose.  If you wish to purchase something from either store and use one of my links below, I get a small percentage of your order, at no additional cost to you. This helps me to defray the costs of this blog and the ideas and tutorials I post here, and your help is greatly appreciated! Thank you!