Maybe because as someone born and raised in California, I never really get a typical fall or winter, I tend to like to celebrate the beauty of each of those seasons in their glorified forms. I never have to rake leaves or shovel snow, but I don't get to enjoy the wonder that each brings either. So today's card celebrate the wonderful colors and beauty of fall.
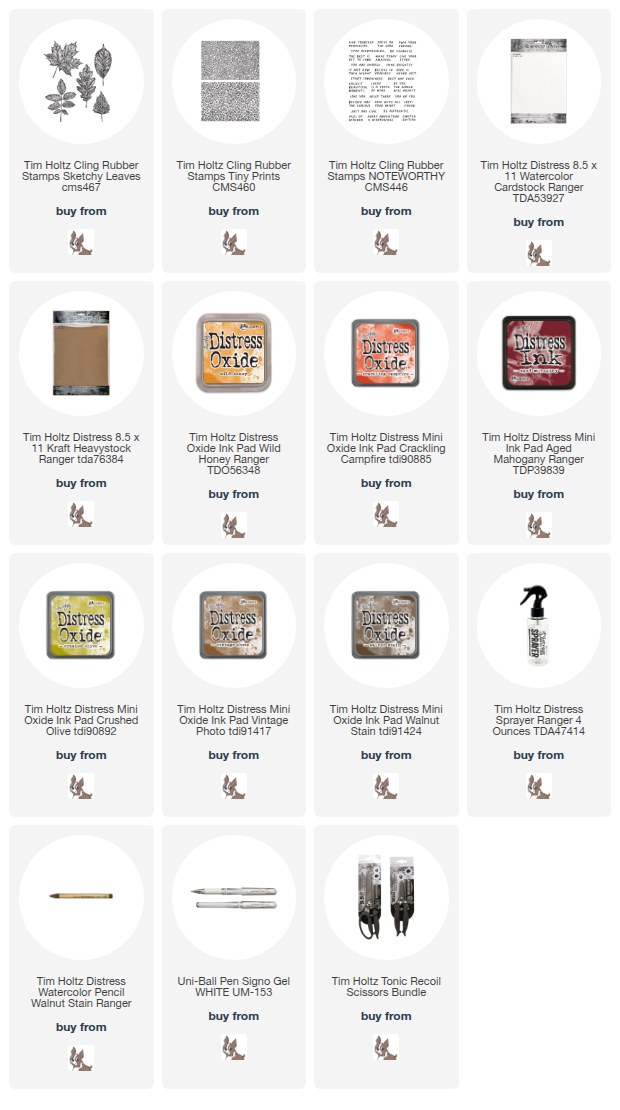
Begin by gathering some supplies, stamps, watercolor and Kradt cardstocks, blending tools and foams, a Distress sprayer, and scissors to start. I have the products I used listed below and I will name them as I go through this tutorial.
We are going to start by blending some backgrounds. I like using the Distress Mini Tool and the flat roumd foam, but many people prefer the domed foam for blending. Others like those long handled brushes. You use what works best for you, and like I said, the round flat foams work for me.
Begin with a piece of Distress White Heavystock. Start blending from one end toward the center with Wild Honey Distress Oxide.
Rotate the paper and begin blending the other end with Crackling Campfire toward the center. Where the two colors overlap will be like a third color. Go over the center area with both colors a couple of times to make the blended center extra smooth.
I made a second back ground the same way but with three colors, Peeled Paint, Wild Honey and Crackling Campfire.
Pick a background stamp. This is one of the Tiny Prints CMS460.
Put it on a stamping platform of some sort. Spray it with water a couple
of times and then stamp directly onto the Oxide blended background and
lift.
The water will cause the Oxide to react and once it is dry you will get a ghost print of the stamp on the blended background.
Next I took two of the leaf stamps from the Sketchy Leaves CMS467 and inked them with several colors of oxides. I started with Wild Honey, added Crushed Olive, Crackling Campfire, Aged Mahogany, and a little Vintage Photo. Just add what feels right. Then spray with water and stamp.

You will be able to stamp this several times. I stamped these leaves twice on Kraft Heavystock.

And I stamped it once on Distress Watercolor Cardstock.

Here you can see how it really stood up well for the three stamps. I sprayed the stamps once before each stamping but didn't add any more Oxide.

Once the images are dry, fussy cut them out. I use Tim Holtz Tonic Recoil Scissors for my Fussy Cutting, but you use whatever scissors work best for you.

Trim the tri-color band the bi-color background,s to 4 x 5.25 . Then smoosh some Walnut Stain Oxide onto a media mat. Spray with a little water, and using a Waterbrush, pick up some Oxide and flick it onto the background. Dry Completely.

Around the bi-color background, either machine stitch in brown, or using a sharp Scorched Timber Watercolor Pencil and ruler, draw lines around the outside of the trimmed card front. Do the same on the tri-color background but with a white gel pen.

Stamp two sentiments from Noteworthy. Stamp one on Kraftstock and one on Watercolor Cardstock with Walnut Stain Oxide.
Assemble the bi-color background on an A2 Kraft Cardbase. Ink around the edges with Walnut Stain Oxide. Attach the sentiment and leaf with foam squares for dimentsion, and you are finished.
Here is a close up look at some of the details of the watercolor stamping on Kraftstock.
Here you can see the Walnut Stain flicks and the sentiment.
The tri-color background is made the same way, but the cardbase is made from Distress White Heavystock, and the outlining on the card front can be made with a white gel pen or machine stitch around the outside of the card with white thread.
Pop the leaf and sentiment with foram squares and in no time you have two fall cards, or two embellishments for a Gratitude Journal.
Thank you so much for getting all they way to the end of this tutorial. I hope you found something of interest or something that inspired you.
Wishing you a creative day,
Tami
I am an affiliate with Simon Says Stamp. If you wish to purchase something
and use one of my links below, I get a small percentage of your order at no
additional cost to you. This helps me to defray the costs of this channel, the
time, the ideas and tutorials I post here. Your help is greatly appreciated!
Thank you!