Monday, September 8, 2025

Basically Boo - Whimsy Stamps Stamptember Exclusives

 Hey Makers! I am excited to share with you a very special stamp set with coordinating dies. Each September Simon Says Stamp hosts an event called Stamptember where brands from all over the paper crafting industry join Simon Says Stamp to celebrate stamping by designing exclusive stamp sets for each brand. Today is the reveal of the Whimsy Stamps Stamptember release and it is adoraBOOle! Seriously, SO cute!


 Here is a short process video of the Distress version of the card. If you would like to see the Bright and White version of this card, there is a process video on the Whimsy Stamps YouTube Channel here. 
The stamp set is called Basically Boo and it has optional coordinating dies. They are limited edition and only available while supplies last from the Simon Says Stamp website linked below. On this card I have paired the Stamptember Basically Boo Stamps and Dies with the NEW Whimsy Stamps Terrific Tickets dies and stamps. 


~Be sure you are following Plays Well with Paper on my other social media accounts : Instagram: https://www.instagram.com/playswellwithpaper/ Youtube: https://www.youtube.com/@Playswellwithpaper Blog: http://playswellwithpaper.blogspot.com/ Facebook: Plays Well With Paper Kits 

 👉🏻👉🏻👉🏻FOLLOW Whimsy Stamps ON SOCIAL MEDIA 💙💙💙 

 📷 Whimsy Stamps Instagram - / whimsystamps 

📌 Whimsy Stamps Pinterest - / whimsystamps 

📘Whimsy Stamps FB - / whimsystampsinspirations \

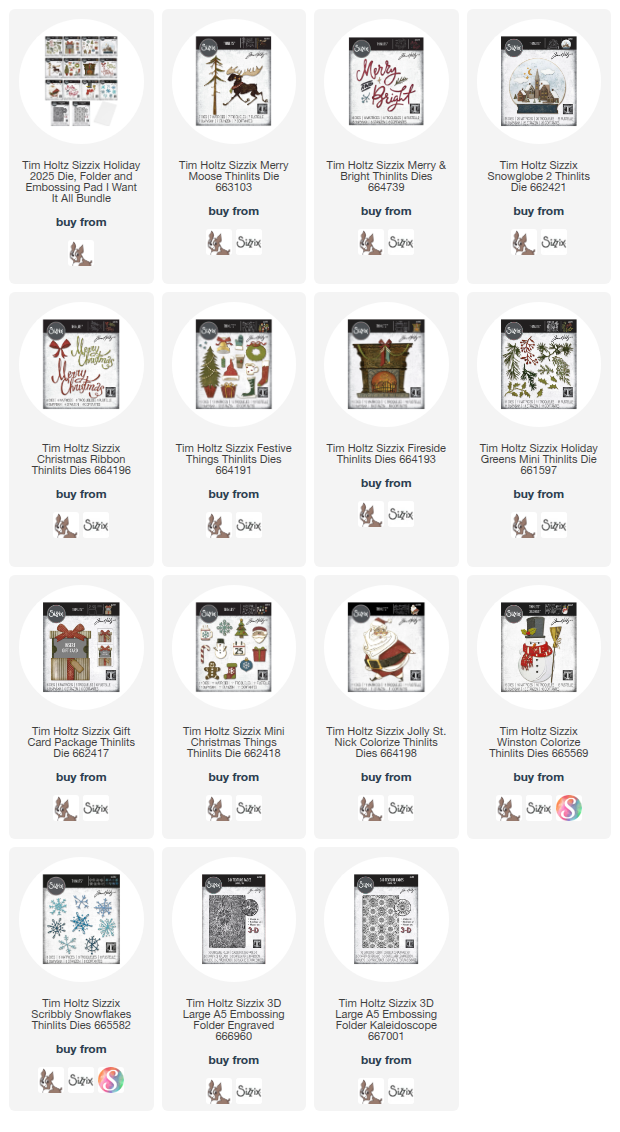
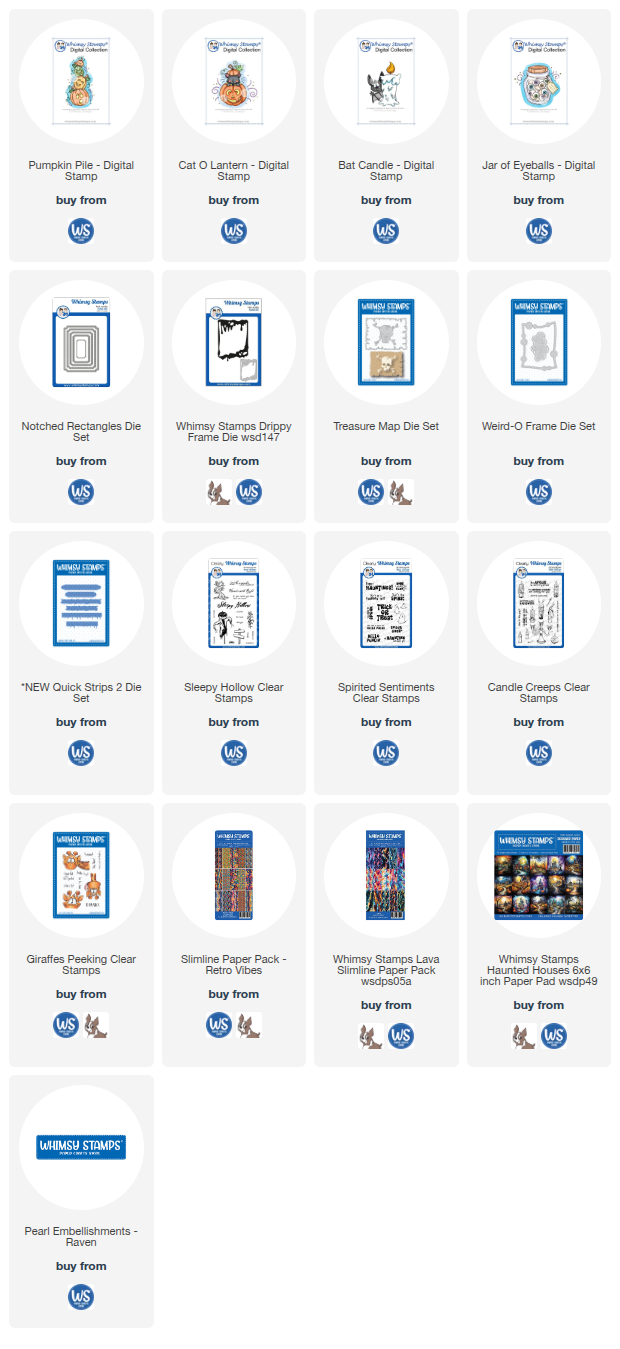
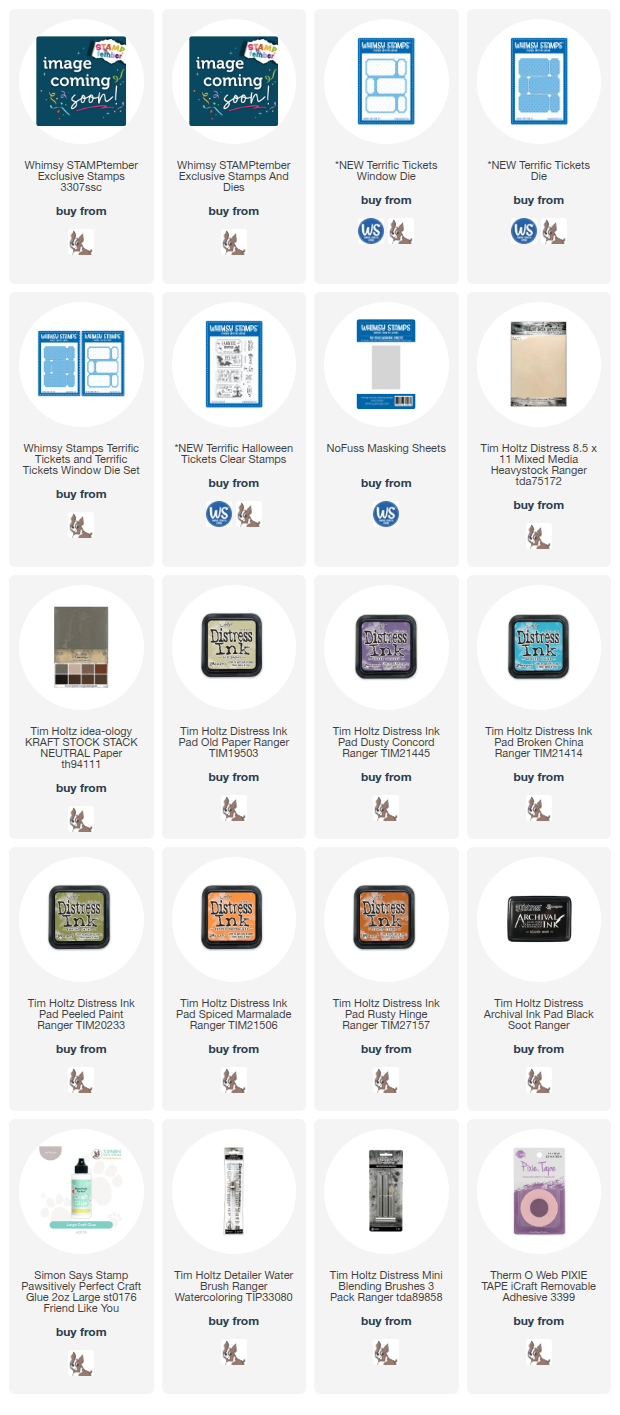
 SHOP 🛒👉🏻 Stamptember is an exclusive collaboration, so the supplies below all link you to the Simon Says Stamp website for the Stamptember products and to both Whimsy and Simon for the other products used in today’s tutorial. This post contains affiliate links. If you use these links to buy something I may earn a commission at no additional cost to you. Thanks! 💙💙💙

Saturday, September 6, 2025

Merry - Tim Holtz Holiday Classics

 I had some fun creating with the Tim Holtz Classic Holiday release. Tim and Sizzix have brought back some beloved classic holiday dies and I couldn't be happier. There were several that I didn't have in my collection and I was beyond pleased to get them. Others I have create with before and enjoyed looking at them a little differently this time, and that included this handsome, confident moose!

I began by embozzing a piece of Distress Watercolor Cardstock that had been sprayed with water and a bit of Pumice Stone Distress Stain, then embossed it with the Large 3D Kaleidoscope Texture Fade. I used the debossed or back side as I thought they looked kinds of like icy crystal shapes. 
 
The drops are called Metallic Droplets and were part of the Idea-ology Halloween line a few times.  

Look at that tree. It's such a great tree! I do messy stitching on my machine and I love the texture it adds.
 Look at how stately that moose is! I just love his jaunty air!
 
The metallic stamped background is a technique I have done many times over the years. You can see a tutorial here:  Special Delivery and see the one I used on this card that I made back in 2018 Dapper Gents.
 
I kept the sentimentsimple cutting the word Merry from the Merry and Bright die set, out of Distress Black Heavystock.
 The back side of Kaleidoscope is just a scool as the front!
 
Behind the stamped piece I added some woodgrain paper I had from an older Idea-ology Christmas release. You just need a little bit. 
Thanks so much for taking the time to stop by! I hope you found something to inspire an idea for your own projects.
I'm wishing you a very creative day! 
Tami

I am an affiliate with Simon Says Stamp, Sizzix, and Scrapbook.com. The links below send you to one of those stores. If you wish to purchase something and use one of my links below, I get a small percentage of your order at no additional cost to you. This helps me to defray the costs of this channel, the time, the ideas and tutorials I post here. Your help is greatly appreciated! Thank you!


Friday, September 5, 2025

Peekaboo - Whimsy Stamps

 I'm back with another Digital Stamp card for the Whimsy Stamps Halloweeners Design Team. These digital stamps can be downloaded from the Whimsy Stamps website and printed on cardstock to color for a card.

Here is a short process video for making this card. It's less than 10 minutes and I hope you find it helpful.
The outer frame is cut from the Weird O Frame Die. I resized the jar image several times so that I had eyeballs in different sizes to fit the little circles on the frame and then I fussy cut them out.
 
The jar has sting drawn on it for the tag, but I wanted to tie a real tag onto it, so I glued Trendy Twine Spooktacular twine over the lines and then tied it.
I printed a second jar of eyeballs and cut the tag out. The sentiment is from Giraffe's Peeking Clear Stamps and I added an extra eyeball onto the tag. 
I colored the image with Distress Watercolor Pencils. 
 The background paper is Retro Vibes Slimline Paper and the card base and frame are cut from Cardstock Warehouse paper in Amethyst and Rust. 
 
Another fairly quick and easy card thanks to the wonderful products from Whimsy Stamps. 
 
Wishing you a creative day! 😃

Tami

I am an affiliate with Simon Says Stamp, Whimsy Stamps, and Scrapbook.com. The links below send you to one of those stores. If you wish to purchase something and use one of my links below, I get a small percentage of your order at no additional cost to you. This helps me to defray the costs of this channel, the time, the ideas and tutorials I post here. Your help is greatly appreciated! Thank you!

Thursday, September 4, 2025

Scary and I Gnome It

 I'm back with a really quick and easy card for the Whimsy Stamps Halloweeners Design Team today. 

This might be one of the shortest videos I've ever done. Part of it was because my camera kept quitting as my memory was full, but mainly it's just that when you have great products like Whimsy does that coordinate so well, it makes for fun, quick crafting. 

I stamped the little Frankenstein Gnome on Mixed Media Heavystock and colored it with Distress Watercolor Pencils. 
The GnomeOween stamps come with coordinating dies for all three gnomes, the bats and the sentiments. But I didn't have the dies so I just fussy cut them all. 
The background paper is from the Haunted Houses 6x6 Paper Pack. 
Over it is the Enchanted Forest die that I cut from Cardstock Warehouse Onyx paper. It has a little shimmer to it.  I finished it off by tying a bit of twine around the top that is from Trendy Twine. 

See? Super Quick and fun to make!

I have a list of the products I used below with links and I greatly appreciate whenever you choose to shop through my links. Thank you! Also, if you shop on the Whimsy site, don't forget my code playswellwithpaper for 10% off. 

Thank you again for stopping by the blog and for watching the tutorial. 

Wishing you a creative day, 

Tami 

I am an affiliate with Simon Says Stamp and Whimsy Stamps. The links below send you to one of those stores. If you wish to purchase something and use one of my links below, I get a small percentage of your order at no additional cost to you. This helps me to defray the costs of this channel, the time, the ideas and tutorials I post here. Your help is greatly appreciated! Thank you!