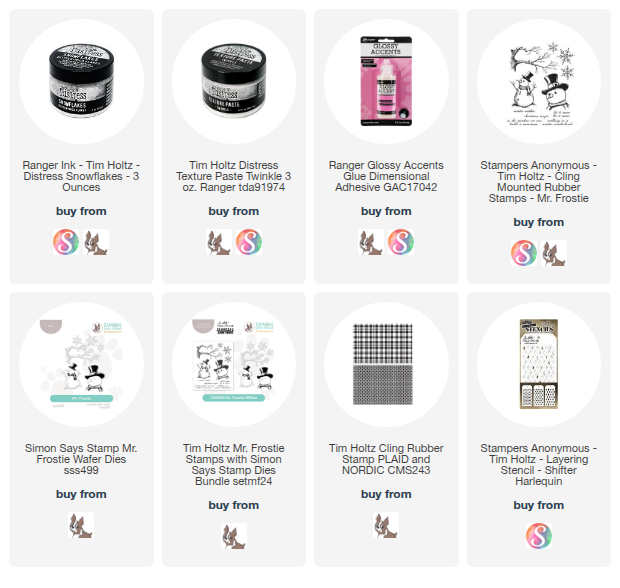
Welcome to the Distress Family to Snowflakes and Twinkle! New from Tim Holtz and Ranger Ink for this season are Snowflakes Glitter Mica Flakes, and Twinkle Texture Paste which is a clear texture paste with translucent glitter, different from last year's Sparkle Texture Paste which has a tiny silver glitter in it.
I had some fun making with these new sparkly wintery products, so lets get making with them.
I gathered the new products as well as Mr Frostie CMS499 as well as the coordinating dies from Simon Says Stamp (all products are linked below) and I added the Plaid and Nordic CMS243 background stamps and the Small Harlequin Shifter Stencil. You will also want some Distress Inks and Stains, Watercolor Paper, White Heavystock and Glossy Accents or Collage Medium.
I began by spraying an A2 piece of Distress Watercolor Cardstock with Speckled Egg Distress Stain.
Just lightly spray it and move it around with water. You don't want this layer to be too dark.
Now stamp the plaid background stamp in Speckeld Egg Distress Ink. Again this won't be terribly dark, we want to keep all the layers on the background light,
Using Tumbled Glass and Broken China, color the Harlequin Shifter Stencil in two corners of the card.
Once the harlequins are stenciled, realign the stencil over the Tumbled Glass harlequins and spread some Twinkle Texture Paste over it and even over the plaid parts that weren't stenciled.
While the Twinkle Texture Paste is drying, stamp Mr Frostie, the branch, the snowflake and the hat and scarf.
Once the images are colored, we want to try and seal them with a little bit of MicroGlaze. This is not making things waterproof, it just makes the colors a bit water resistant to try and keep the colors from bleeding into the glitter or texture paste.
To do this, get a tiny bit of the glaze on your finger and rub it over the image then let dry.
With a clean cloth, wipe over the Glaze to buff off any excess.
Using the dies from Simon Says stamp, cut out the images, and cut two extra Frosties and one extra branch from White Heavystock. You also want to get a white cardbase out as well.
Now that it is dry, here is the Twinkle Texture Paste.
I also put a little Twinkle Texture Paste on my finger and rubbed some on the snow part of the snowman.
Once the branches were layered and attached to the card front, I trimmed off the side of the trunk and then applied Glossy Accents to the top of the branches where snow would gather.
Then dump the Snowflakes onto the top of the branch and let is stick naturally, don't press! Dump the excess back into the jar and let dry.
Here is what it will look like as it dries.
Stamp your sentiment in Archival ink and cover with a bit of Twinkle and let dry.
Stamp the small snowflake in Speckled Egg Archival Ink, then cut out with the die. In order to line up the die properly, cut the shape out of a piece of scrap cardstock and rotate until it fits.
Then rotate the dies until it fits down into the template. Tape to keep it secure and cut. If it doesn't cut all the way through, remove the template and fit the die back into the groove and cut again.
Apply some Twinkle Texture Paste over the Snowflake and let dry.
Here are some close ups of the Twinkle Paste and the Snowflakes.
Doesn't it look great on those branches?
Attach the layers of Mr Frostie, add the die cut hat and scarf. Then attach the nowflake to his hand.
To finish off the card, apply Glossy Accents or Collage Medium along the bottom of Mr. Frostie and the bottom of the card. Cover with Snowflakes Glitter Mica and put excess back in the jar..
I matted the sentiment on just a piece of white heavystock.
Look at all that luscious sparkle!
Mr Fostie Looks like he is in a snow drift.
There you have a super easy wintery card or decor piece. for your home or a loved one.
Thanks for checking out my blog tutorial.
I'm wishing you a very creative day!
Tami
I am an affiliate with Simon Says Stamp, Whimsy Stamps, and Scrapbook.com.
The links below send you to one of those stores. If you wish to purchase something
and use one of my links below, I get a small percentage of your order at no
additional cost to you. This helps me to defray the costs of this channel, the
time, the ideas and tutorials I post here. Your help is greatly appreciated!
Thank you!